

The DMAF5 is a PC that we at DroiX have recently started stocking this Winter season. It’s proved quite popular, so we felt it’d be appropriate to write a little article about how you upgrade it. Like most of our mid-range PC’s and beyond, the DMAF5 is somewhat upgradable beyond the configurations we provide. This guide should help you learn how to install RAM into the DMAF5, how to install an M.2 SSD into the DMAF5, and how to install a 2.5-inch drive into the DMAF5.
The UM250 and UM700 use the same case as the DMAF5, so this guide can be applied to them as well.

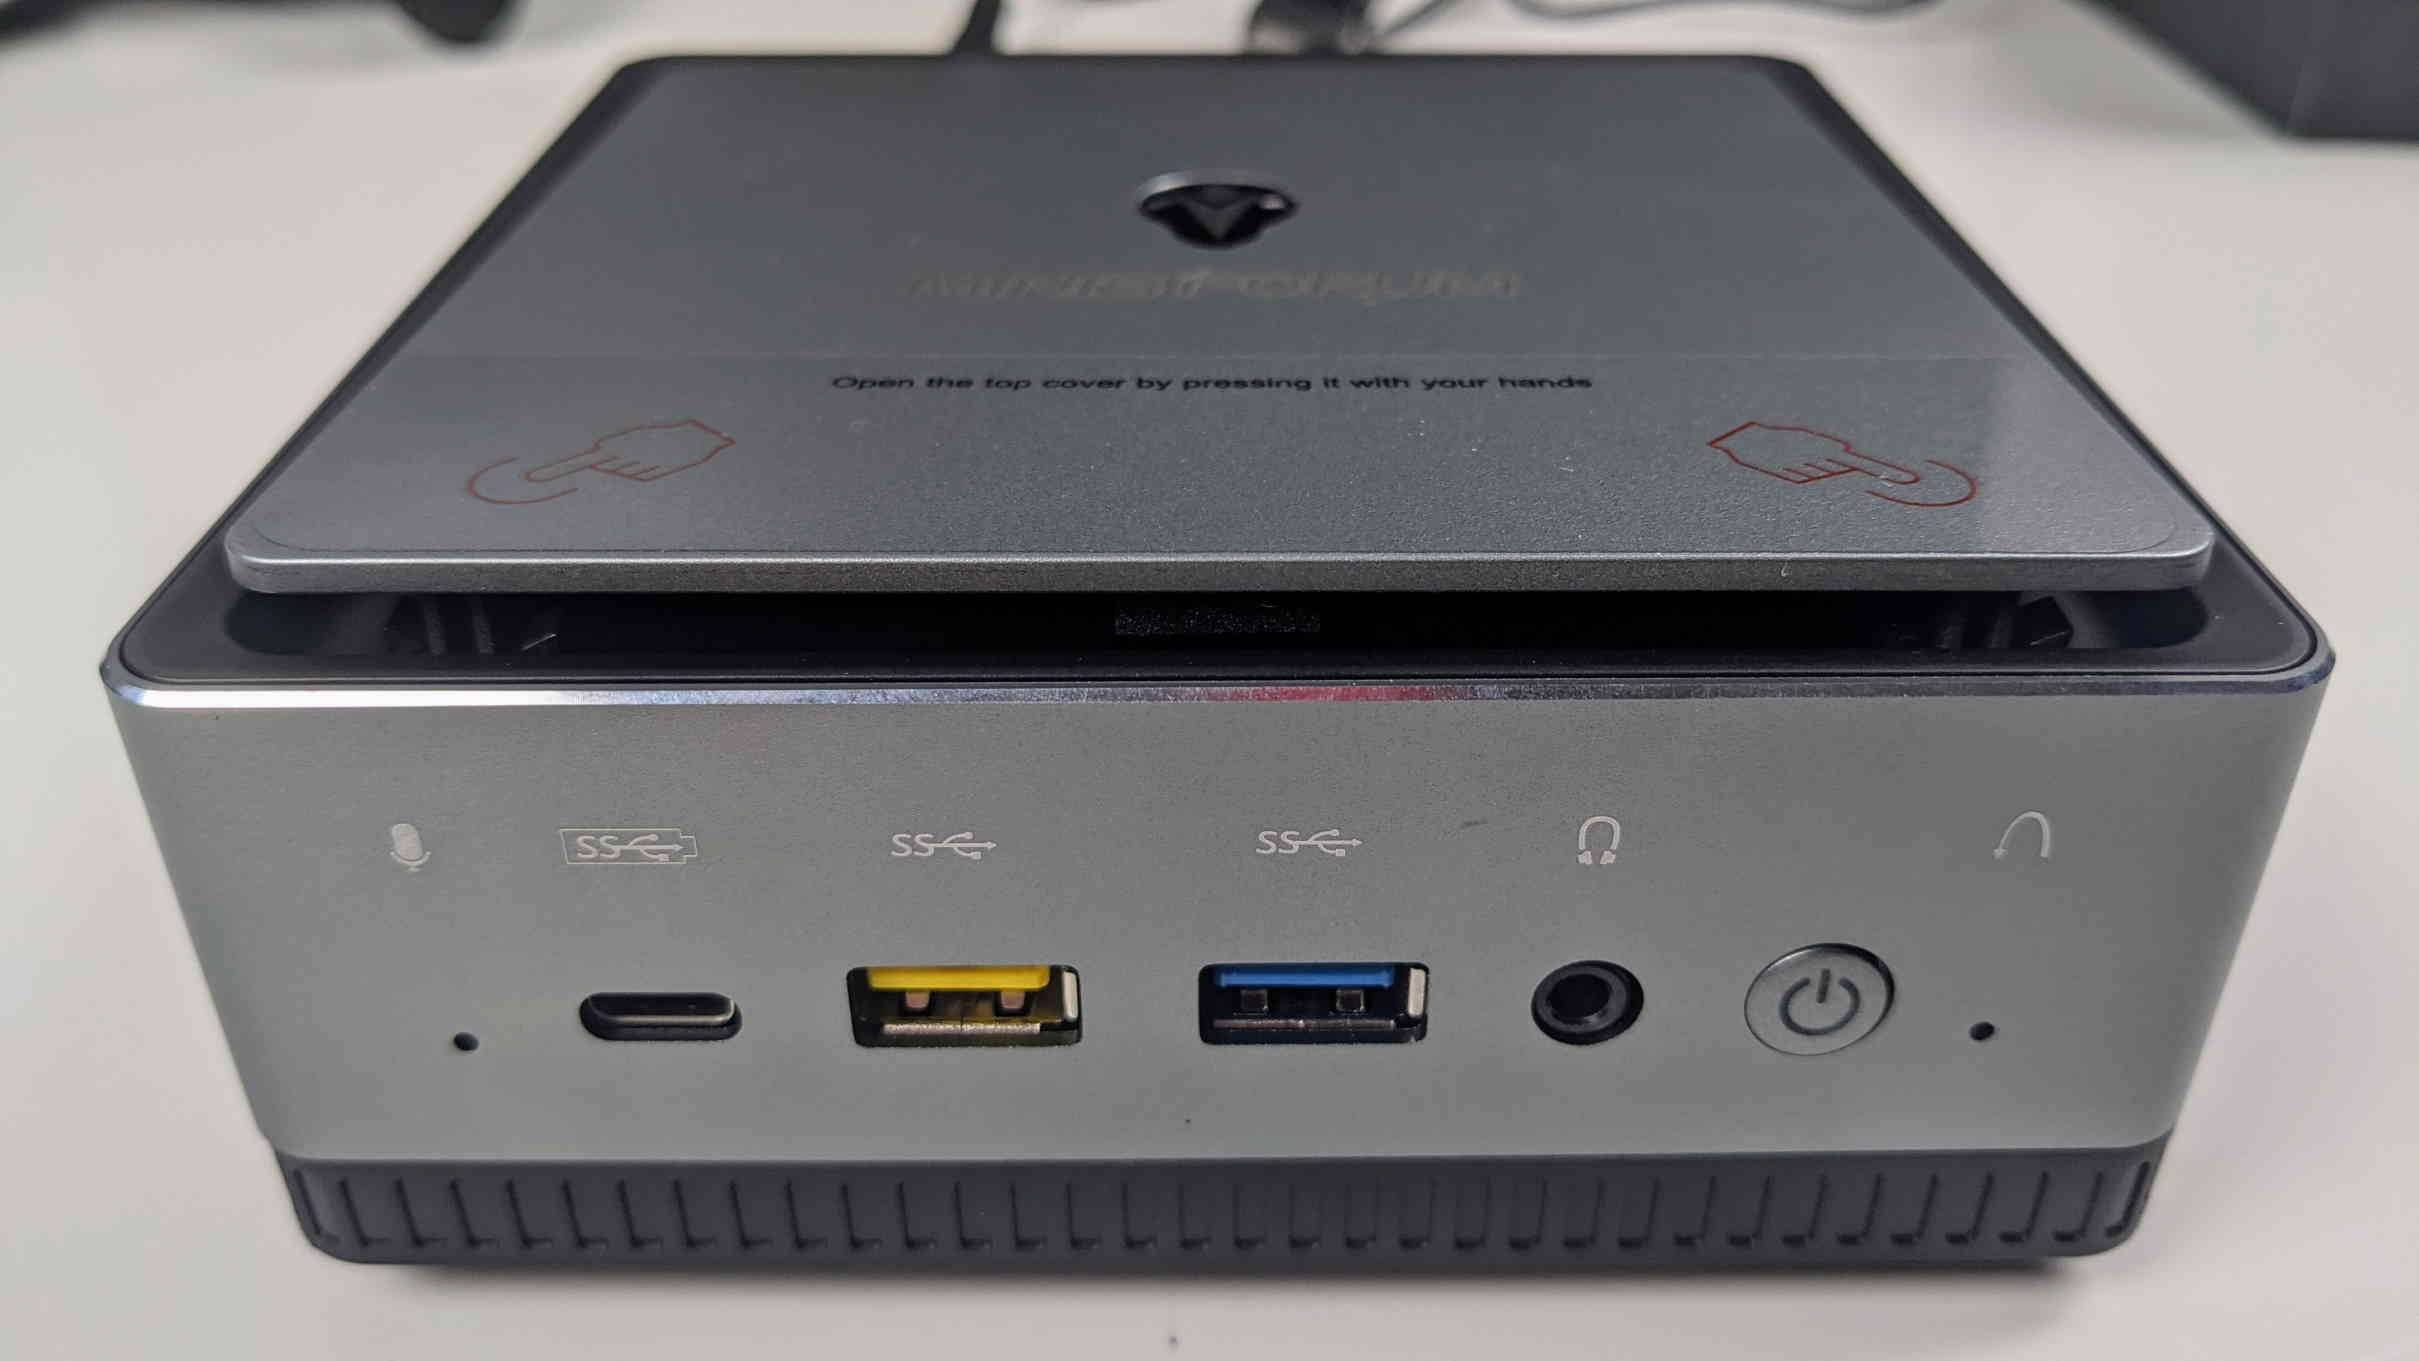
Like many mini PC’s, the DMAF5 comes with a built in 2.5-inch drive bay. This can be used to fit in either a SATA SSD, or a SATA HDD in the event that you desire more storage space without the need to resort to an external hard drive. The DMAF5 also comes with interchangeable RAM like most higher-end mini PC’s.
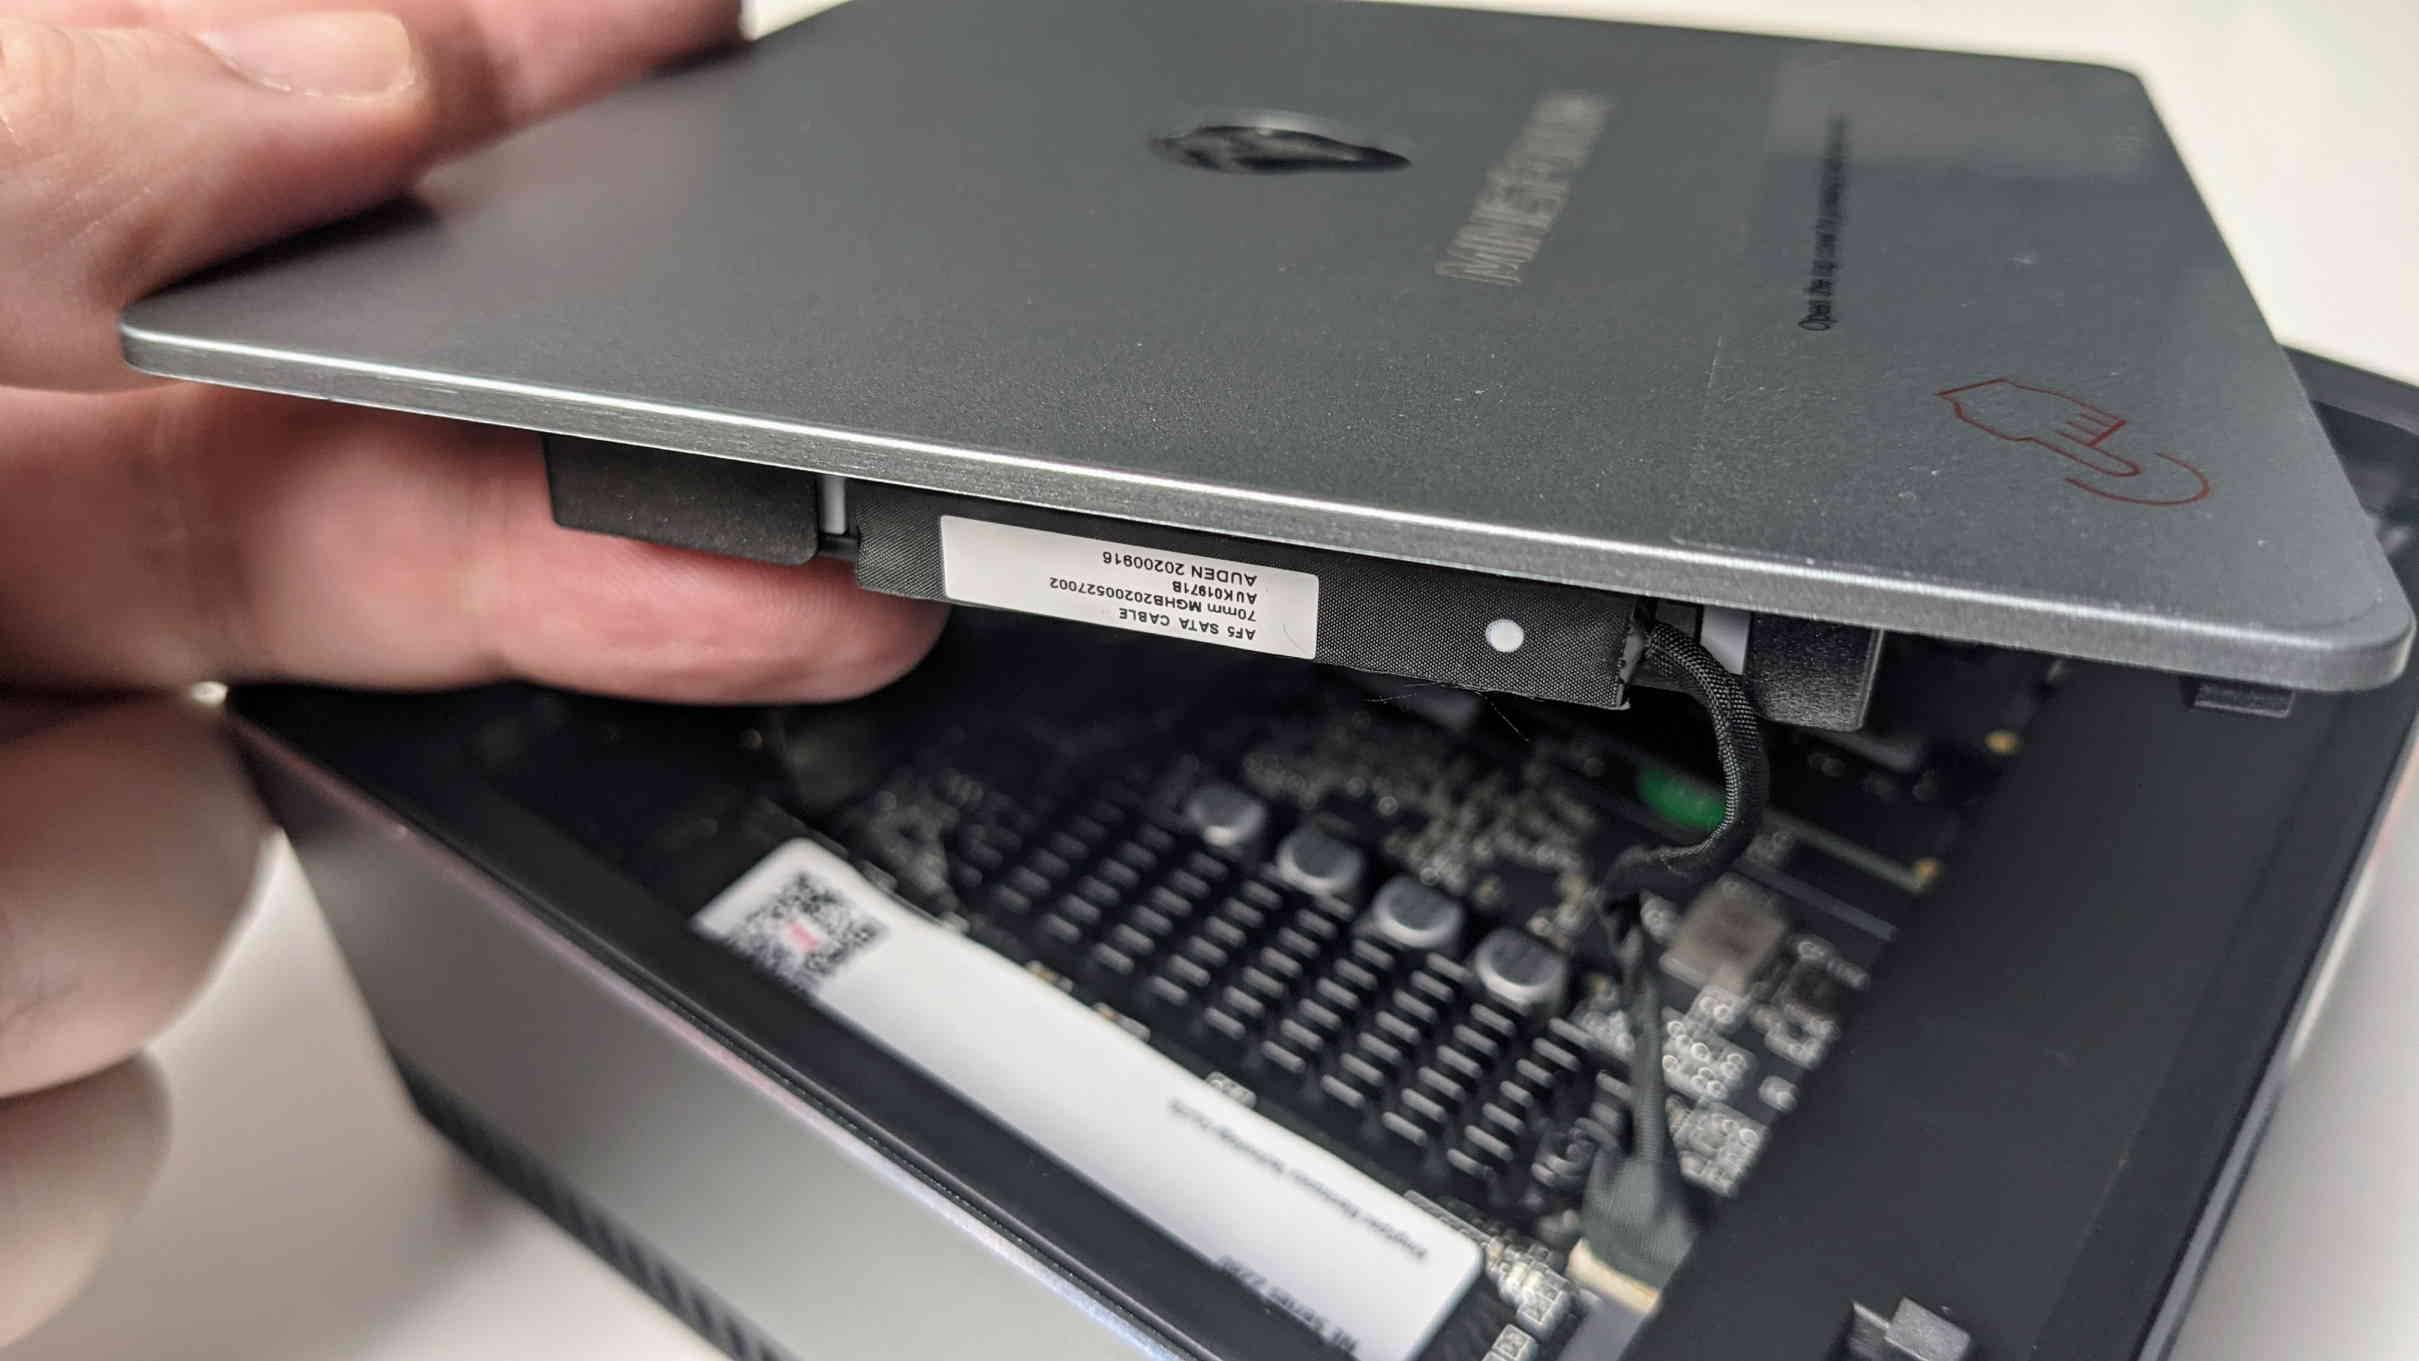
Opening the DMAF5 is very simple. Simply gently press down on the edge of the lid towards the front of the unit. It will pop open, and you can remove the lid with no resistance.
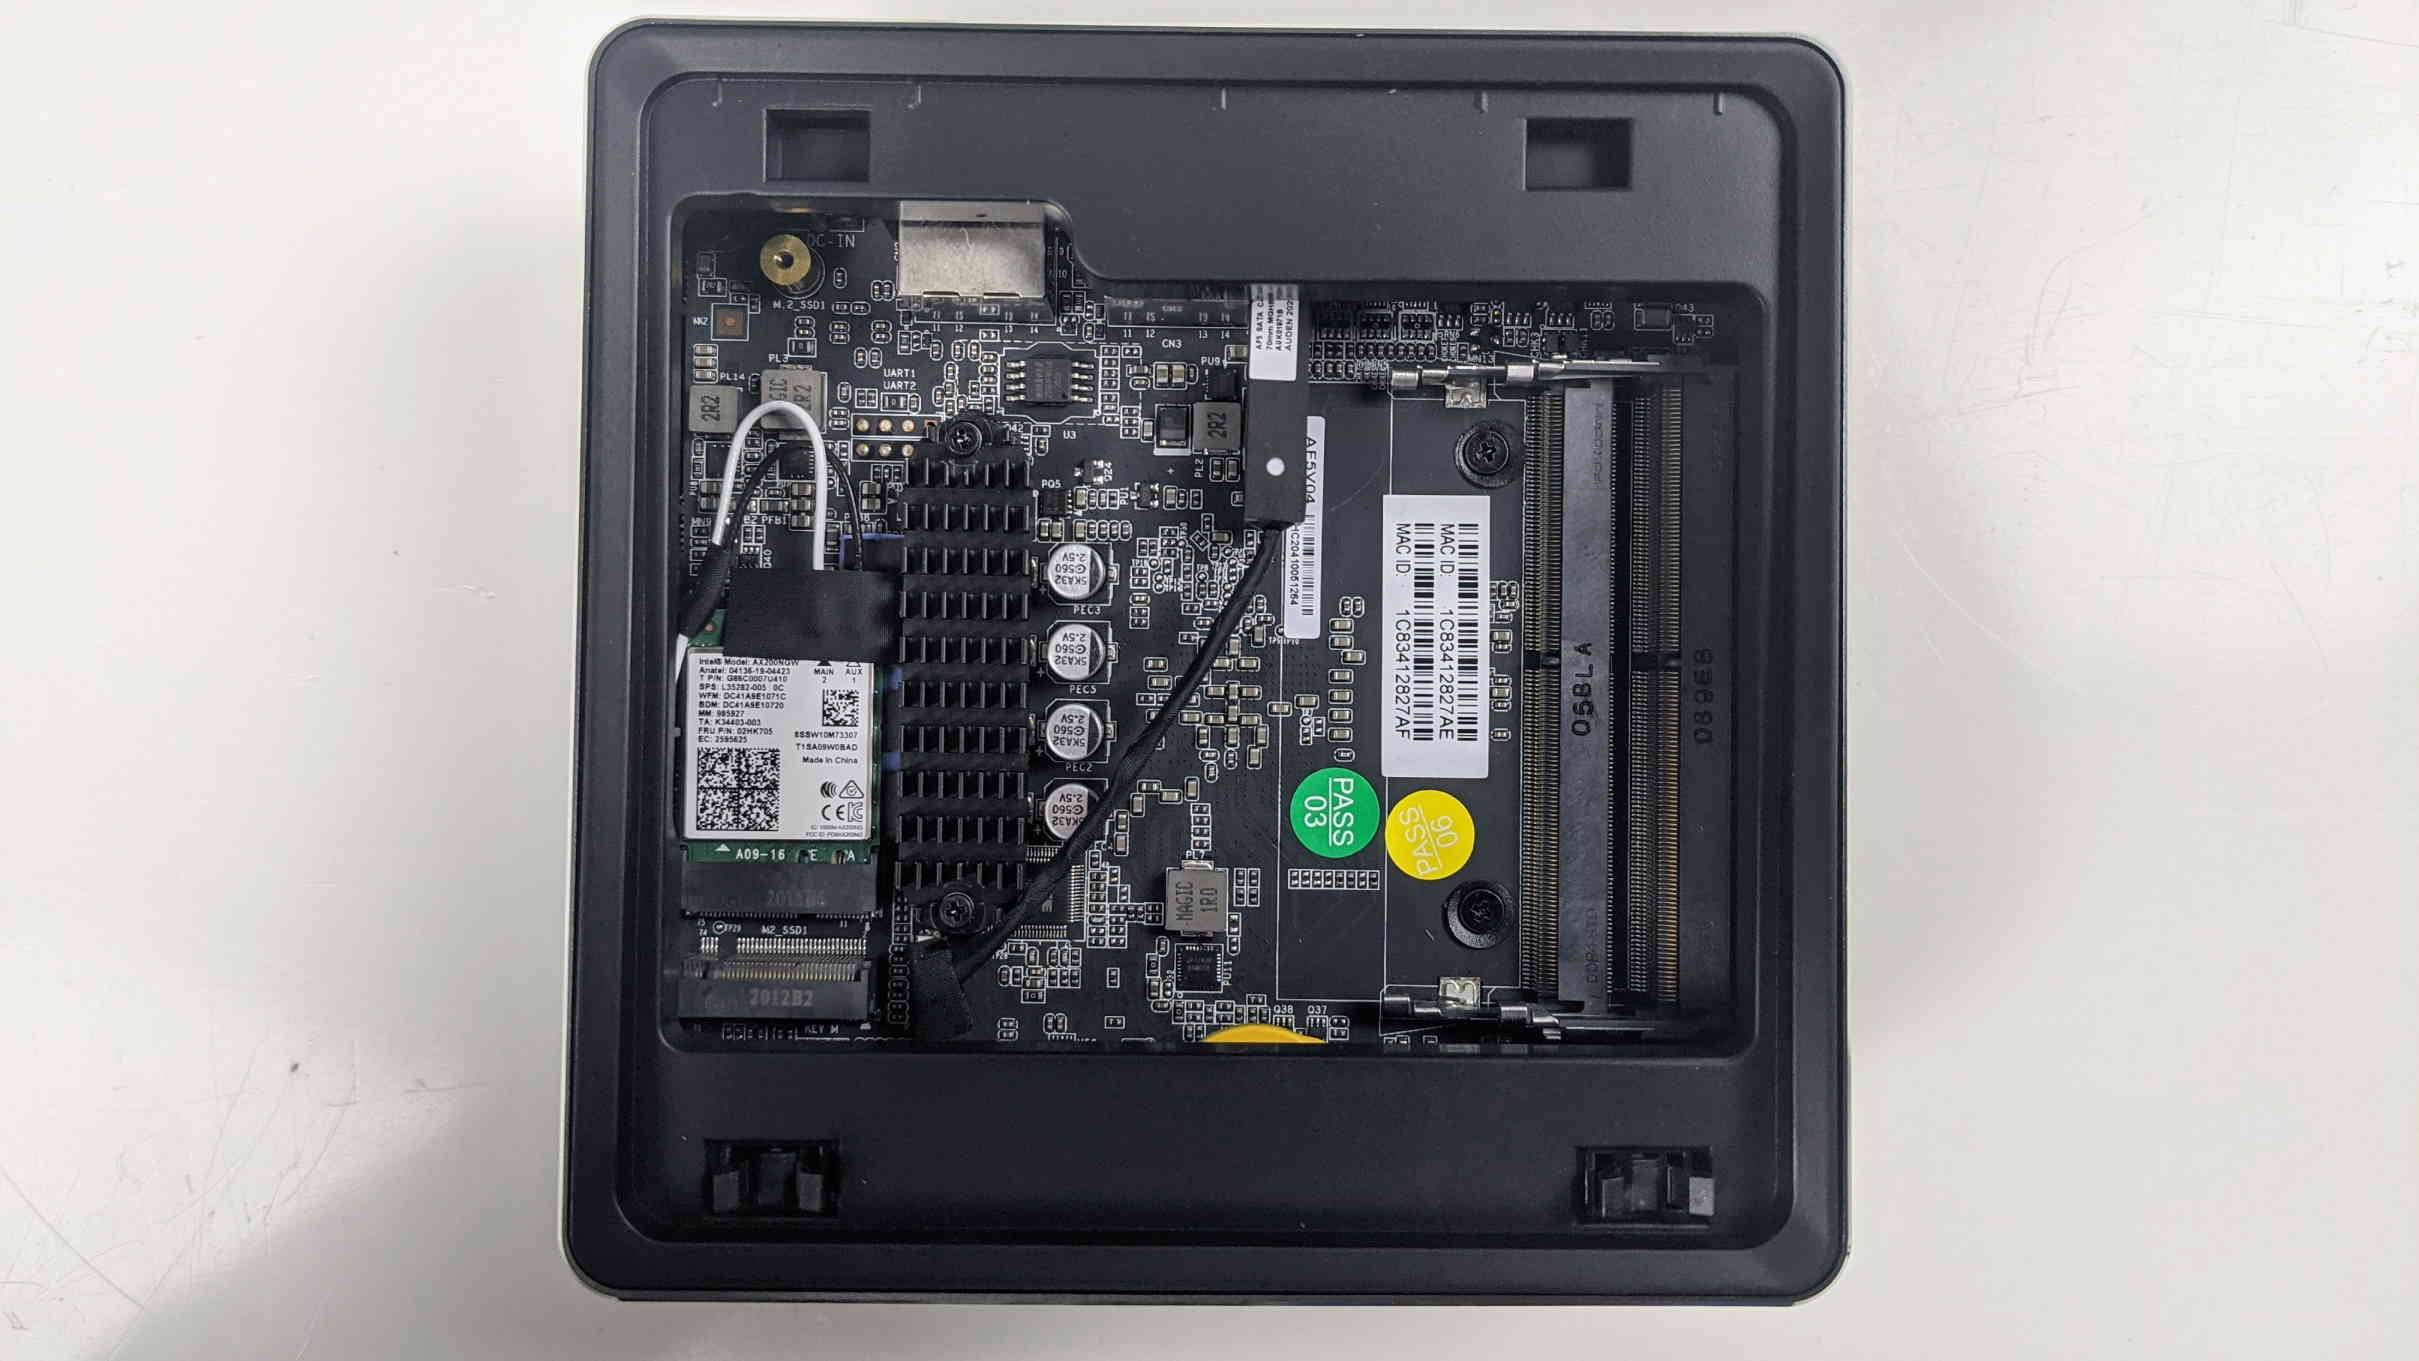
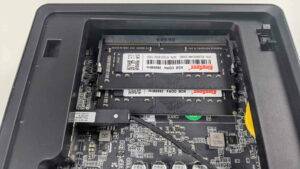
Once inside the unit, there are three main areas of interest. On the left is where the NVME SSD goes. In the center is the SATA cable that connects the 2.5-inch drive to the unit. On the right are the empty slots for the SO-DIMM DDR4 RAM.
How to install an M.2 SSD in the DMAF5
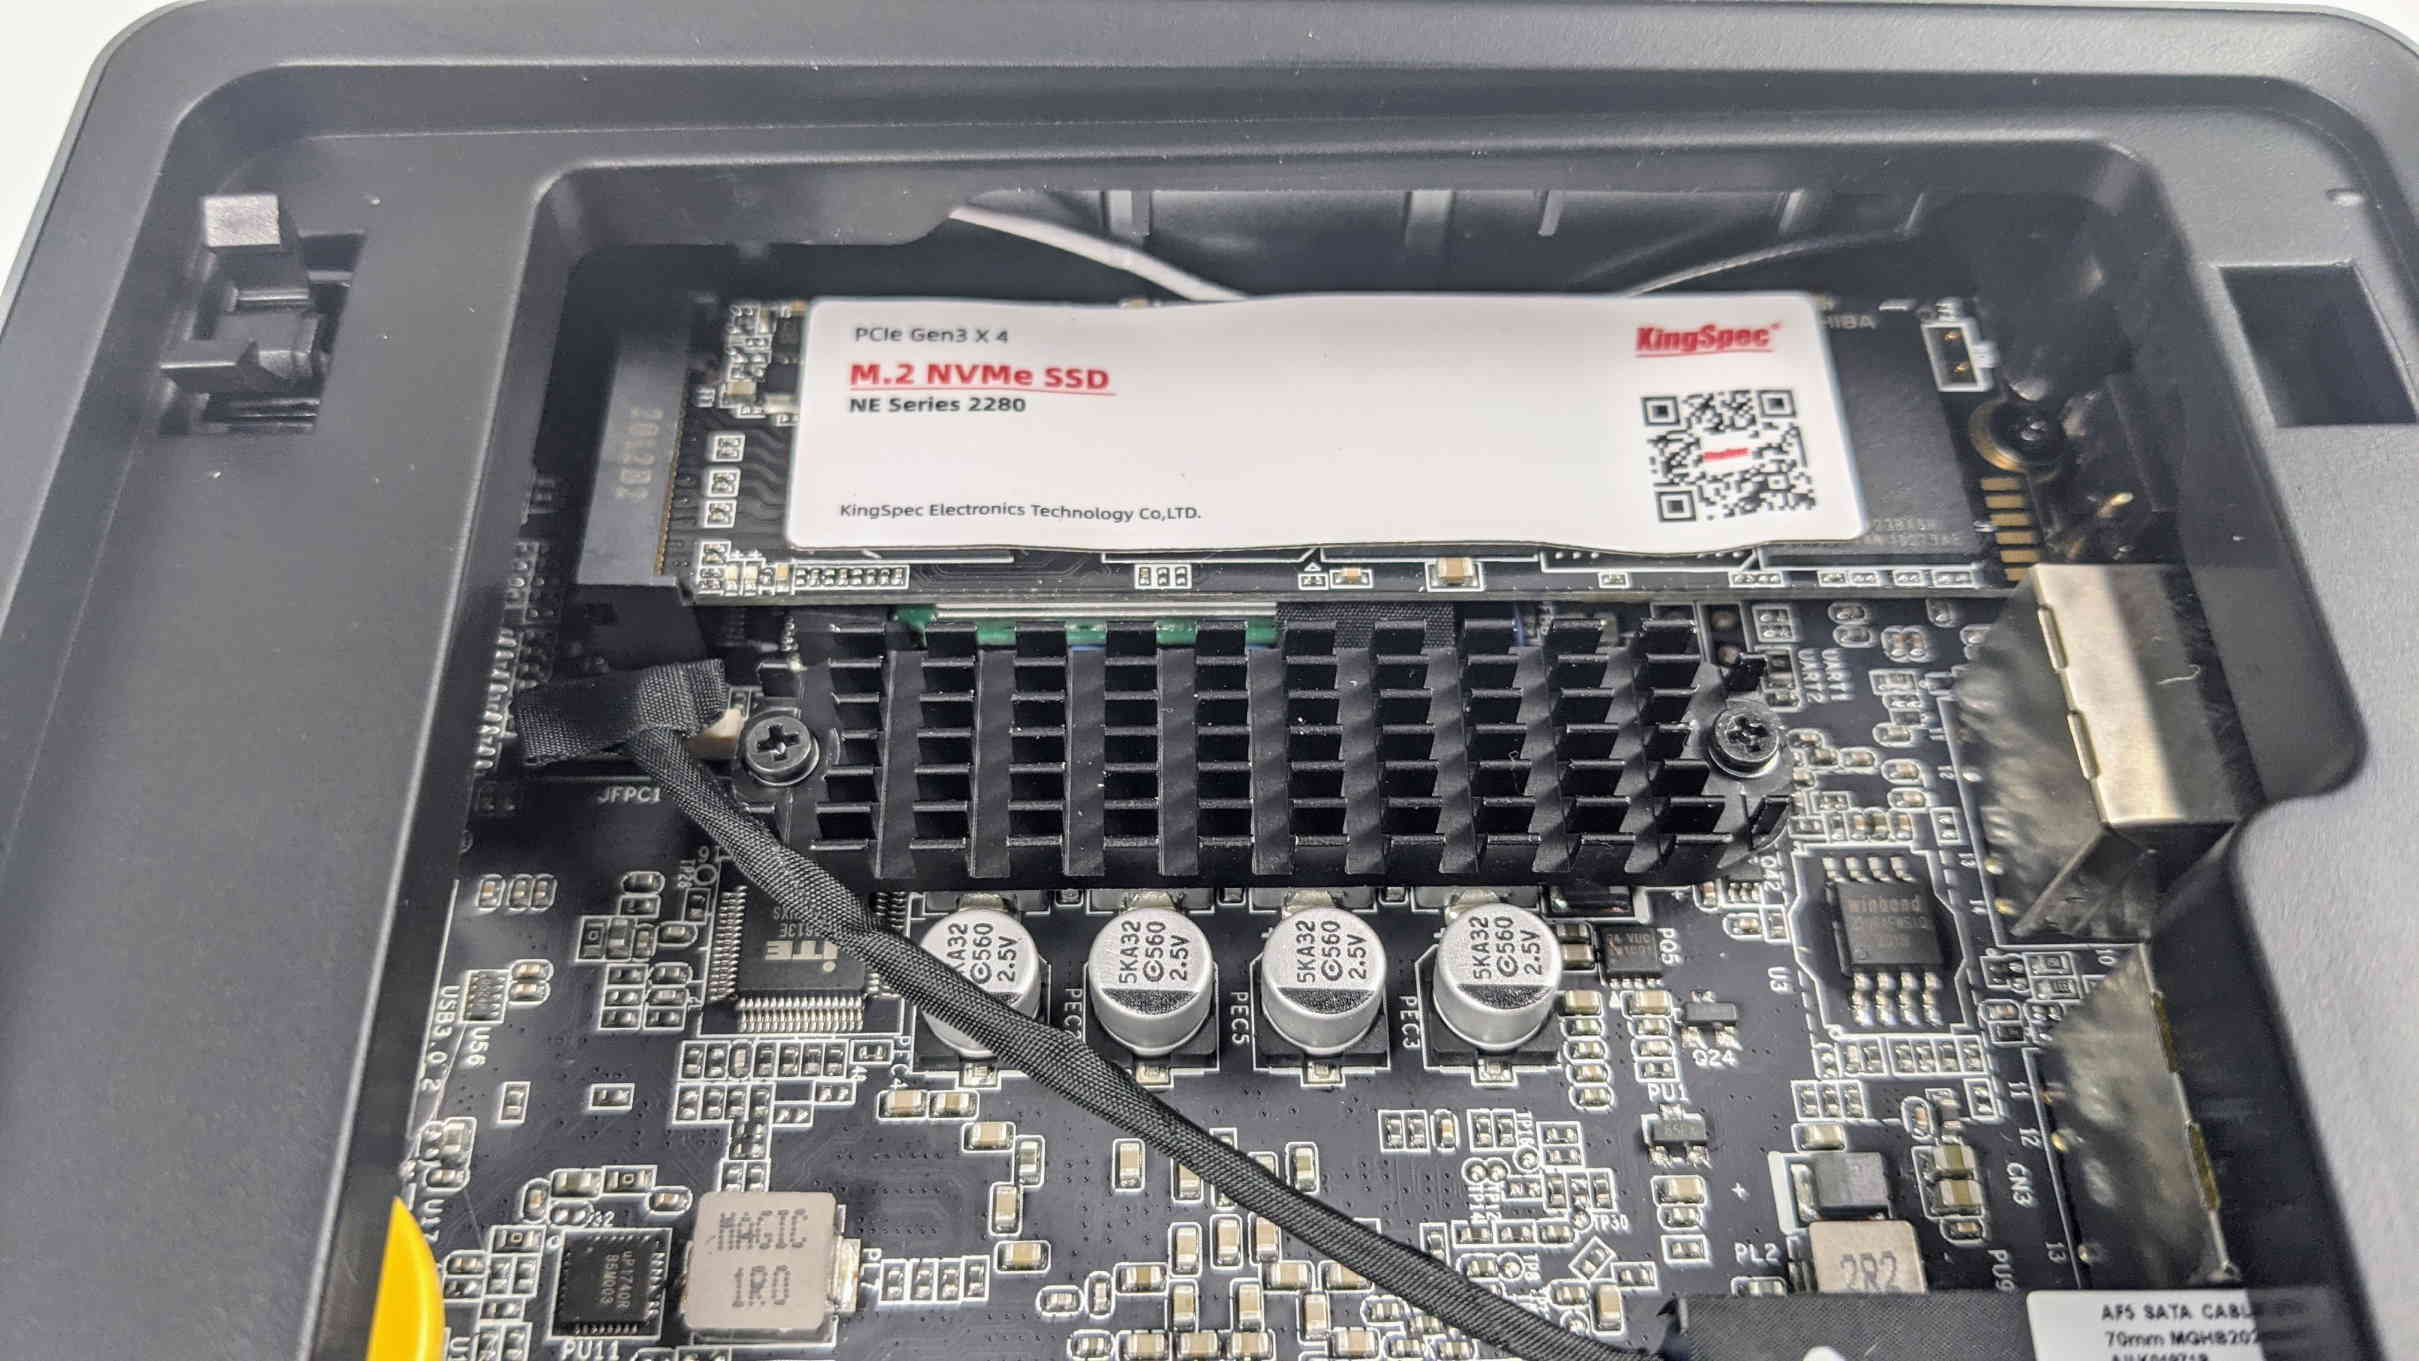
Insert your SSD into the M.2 slot located just above the networking card. When in, it will sit at a slight angle. This is normal.
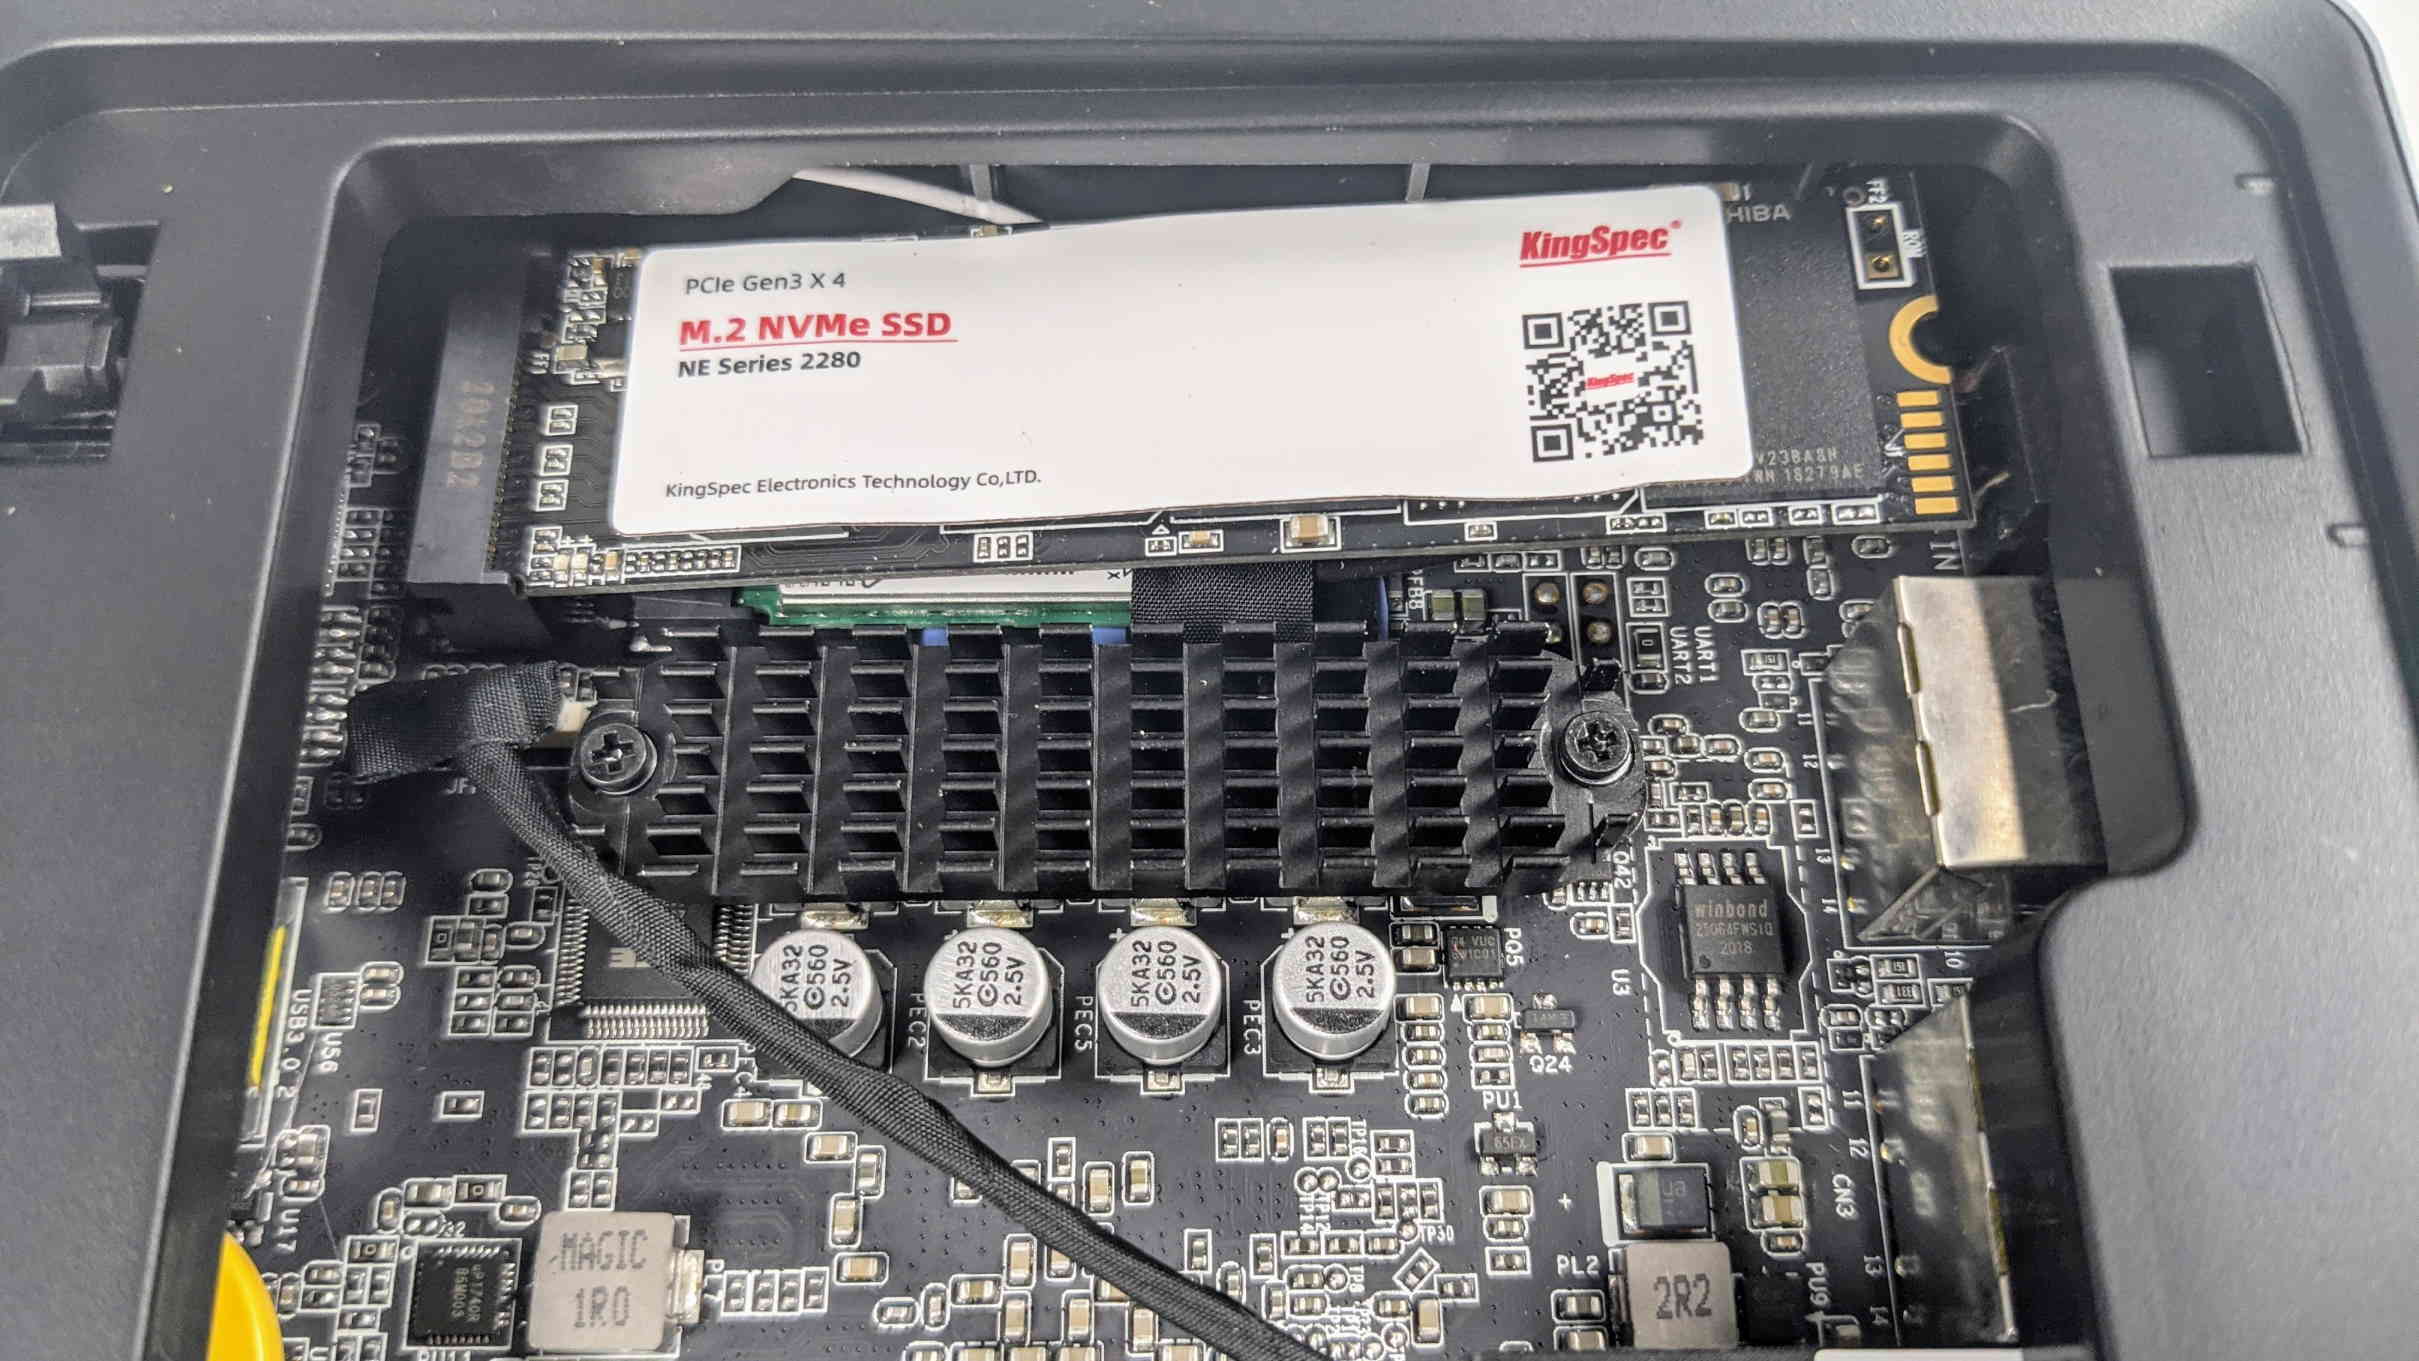
Gently press the SSD down and fasten the screw at the opposite end. This holds it in place and ensures the connection remains steady.
Your SSD is now good to go!
How to install RAM in the DMAF5
The DMAF5 supports up to two channels of ram, hence it has two available slots. Both are SO-DIMM, which is a reduced-form-factor type of RAM primarily used in laptops.
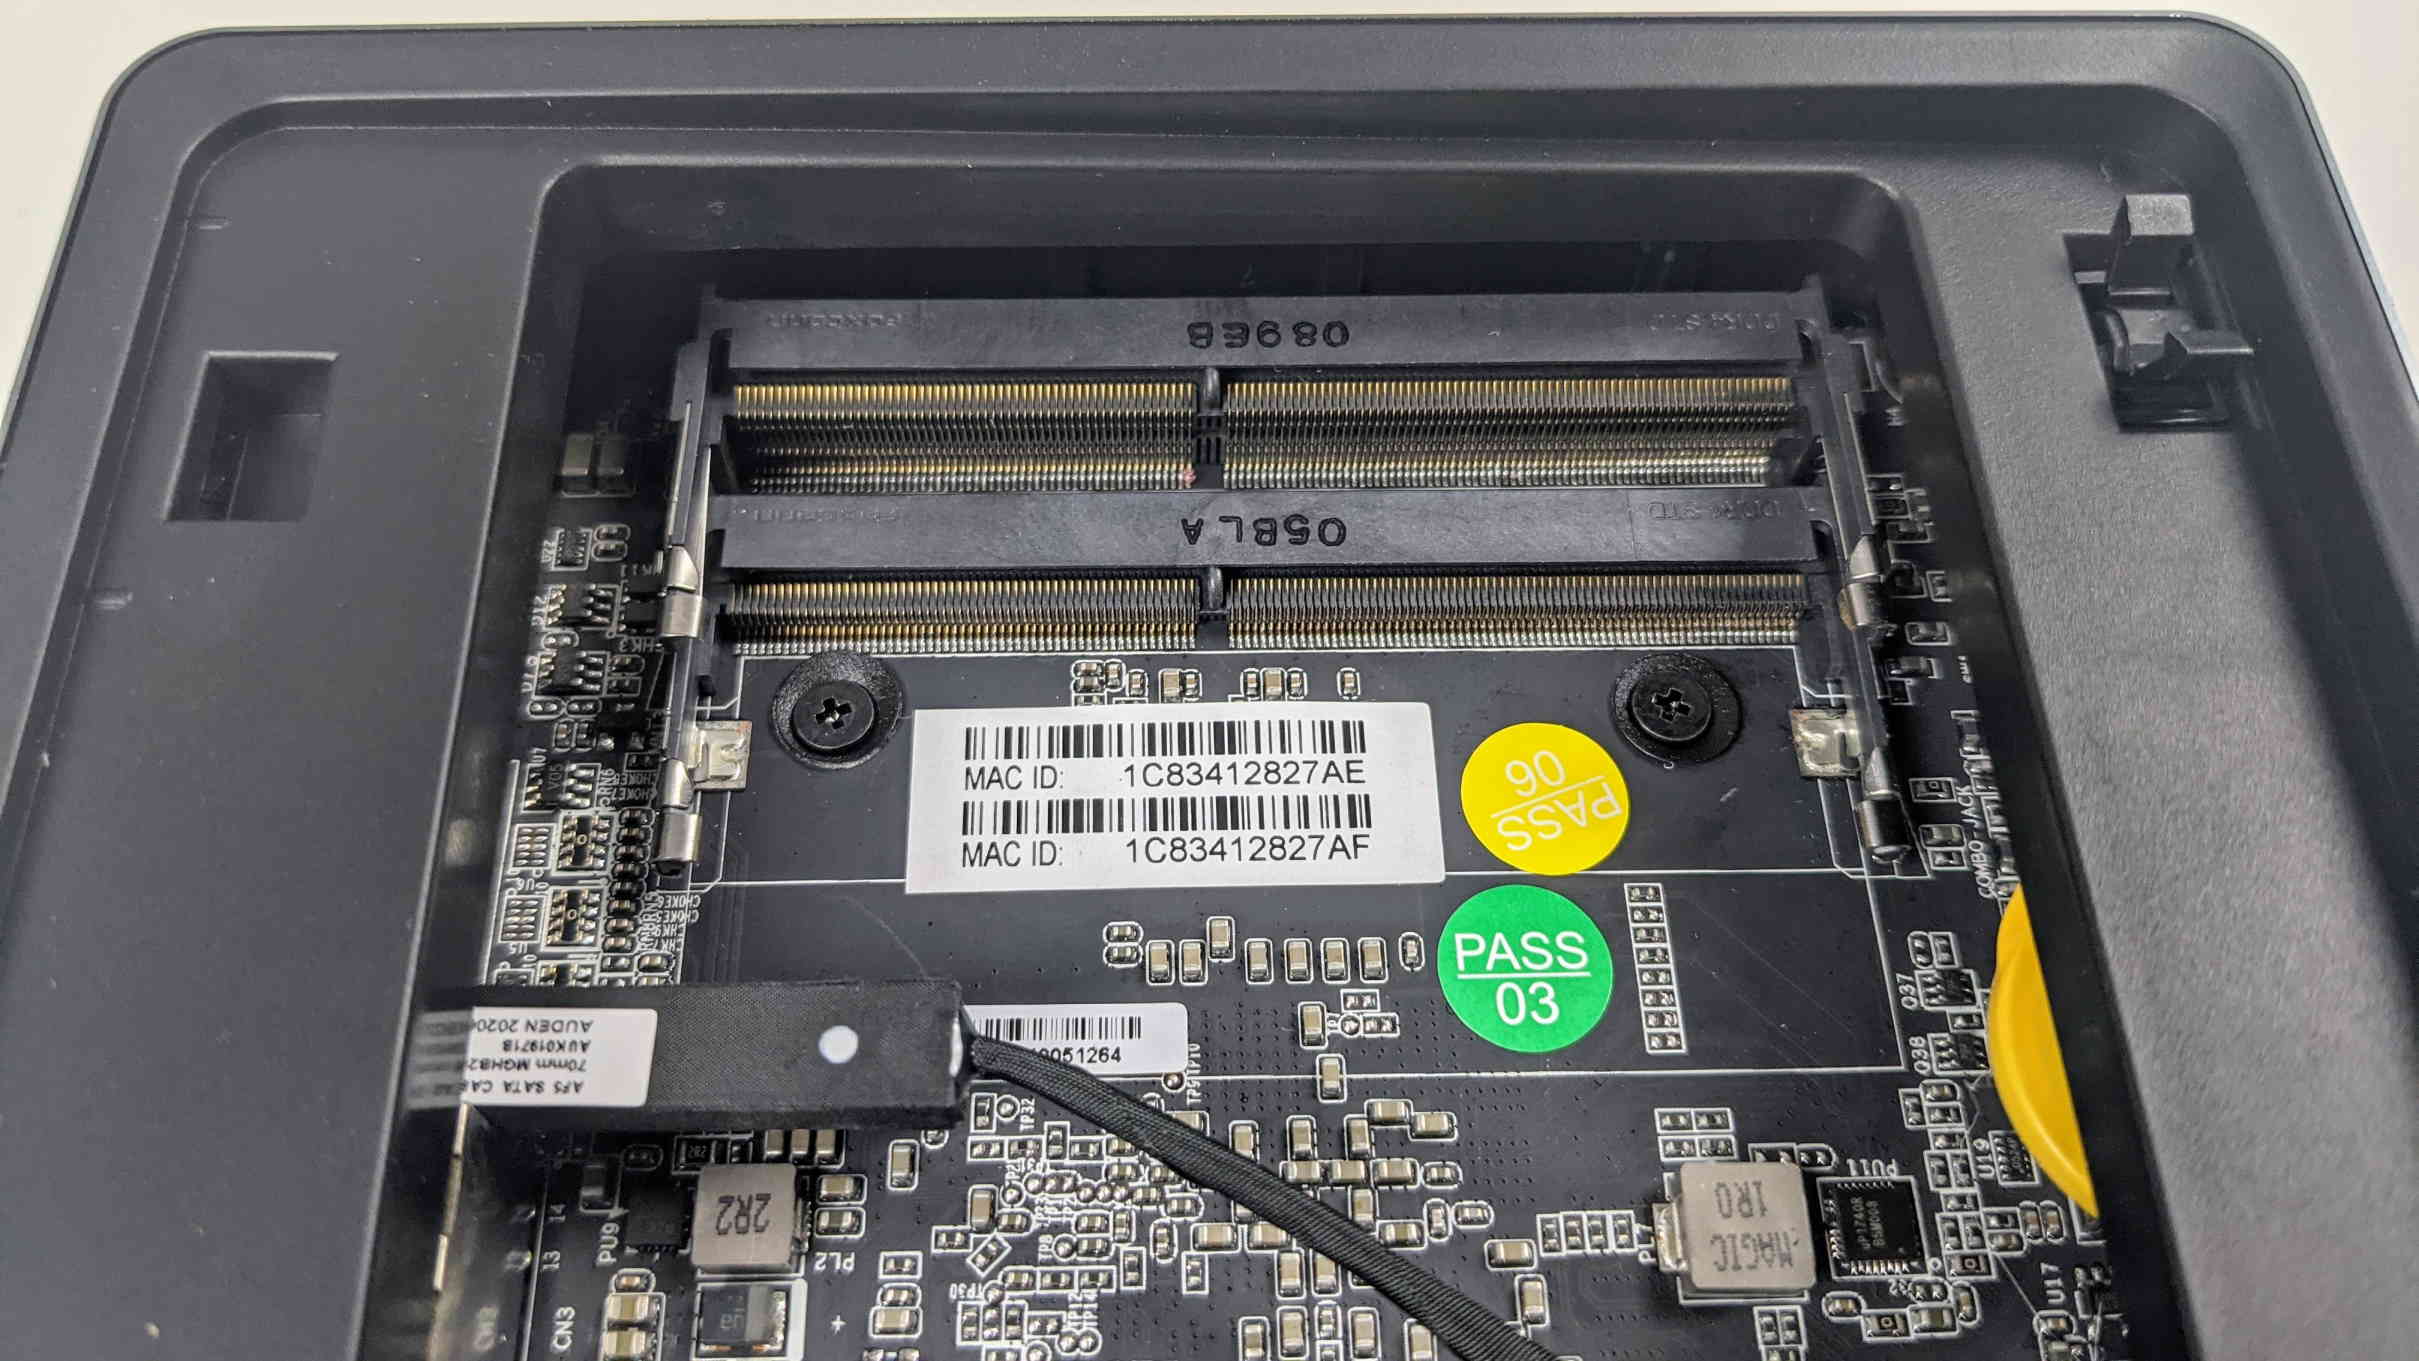
Insert your first stick of RAM into the bottom slot. Like the SSD, it will naturally rest at an angle.
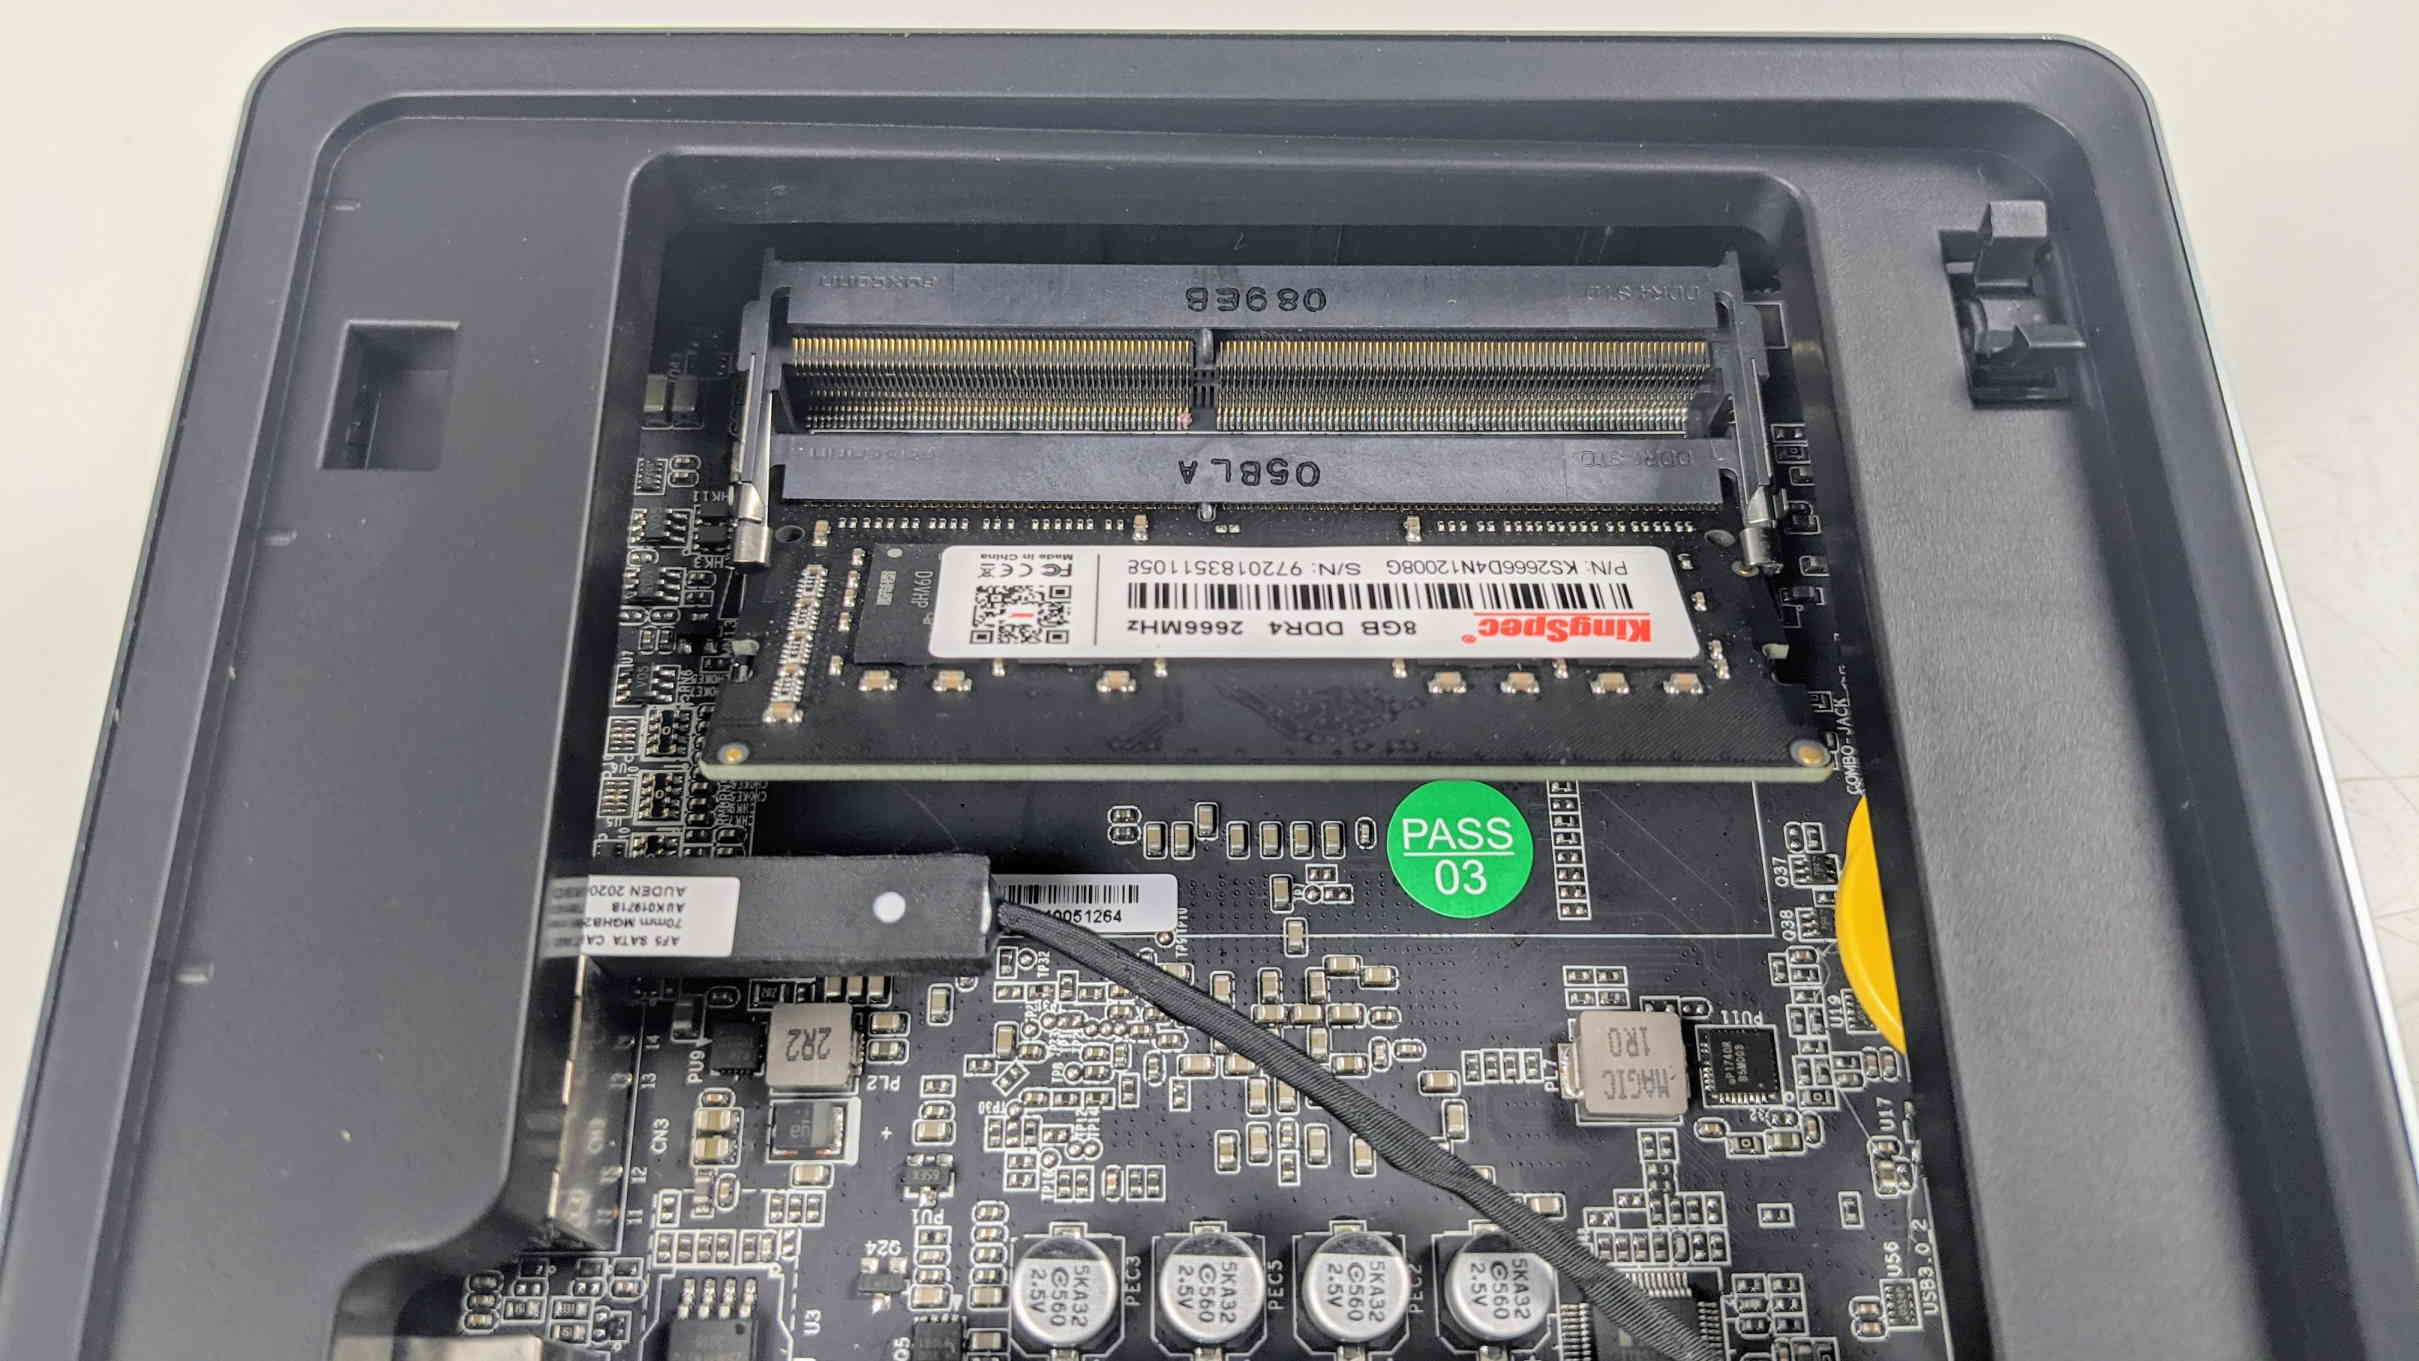
Press it down gently until the clips at the sides hook into place. Your RAM is now inserted.
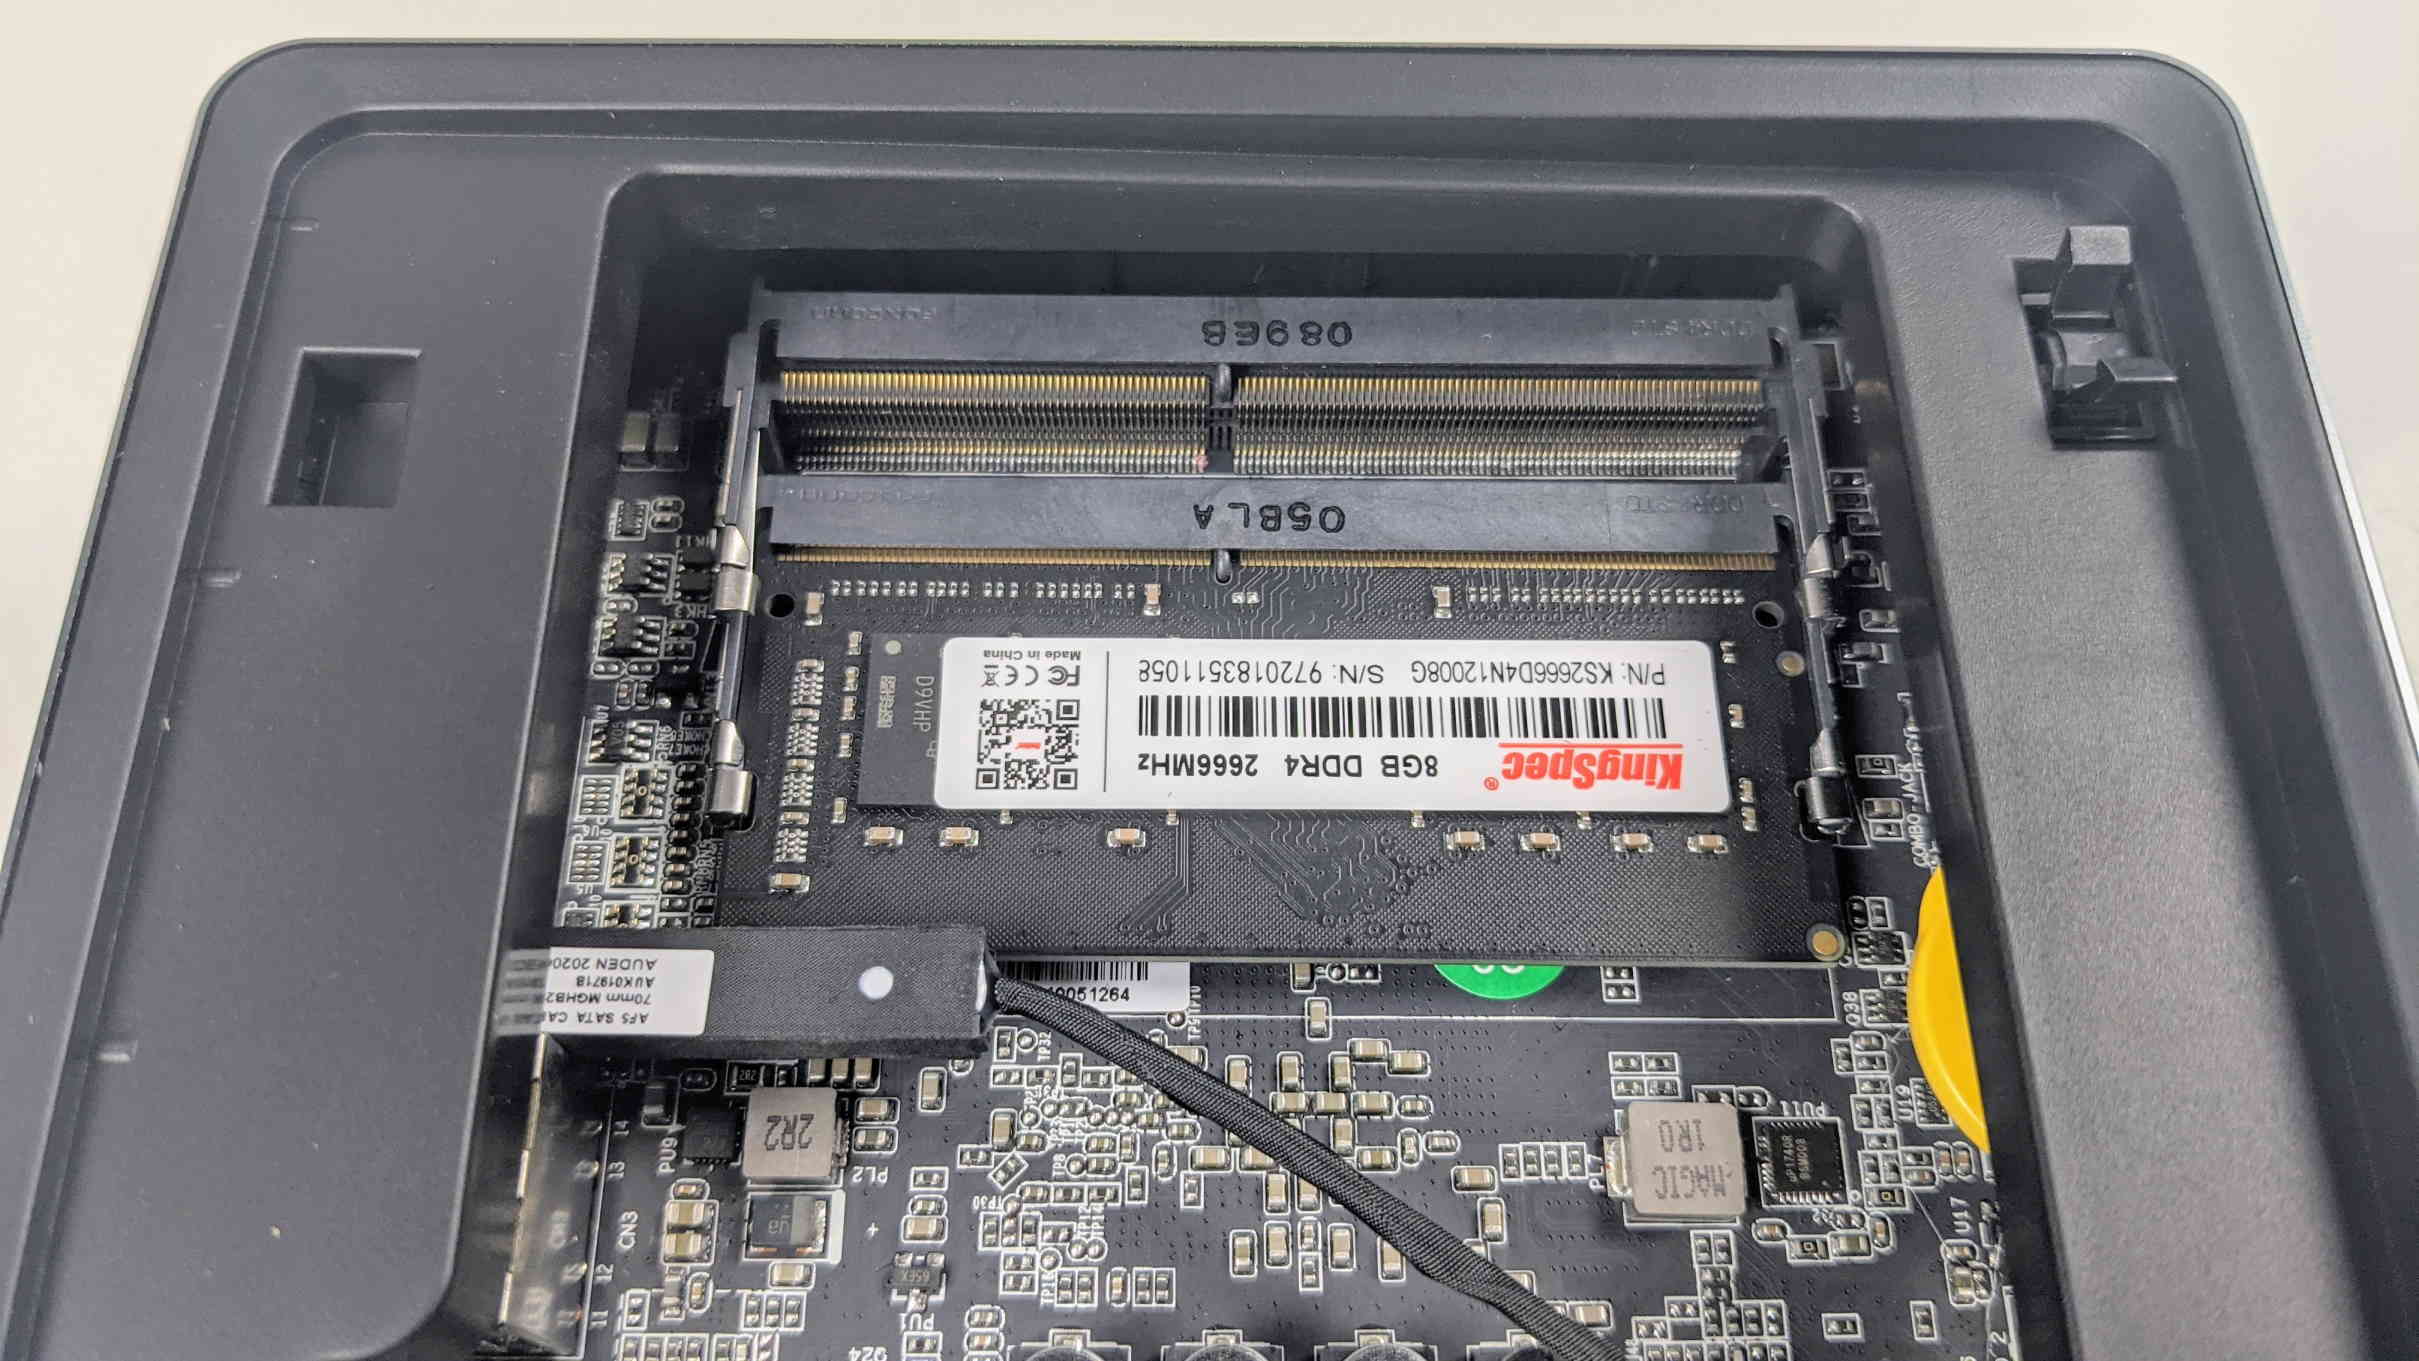
For configurations that use two sticks of RAM, repeat the process with the upper slot.
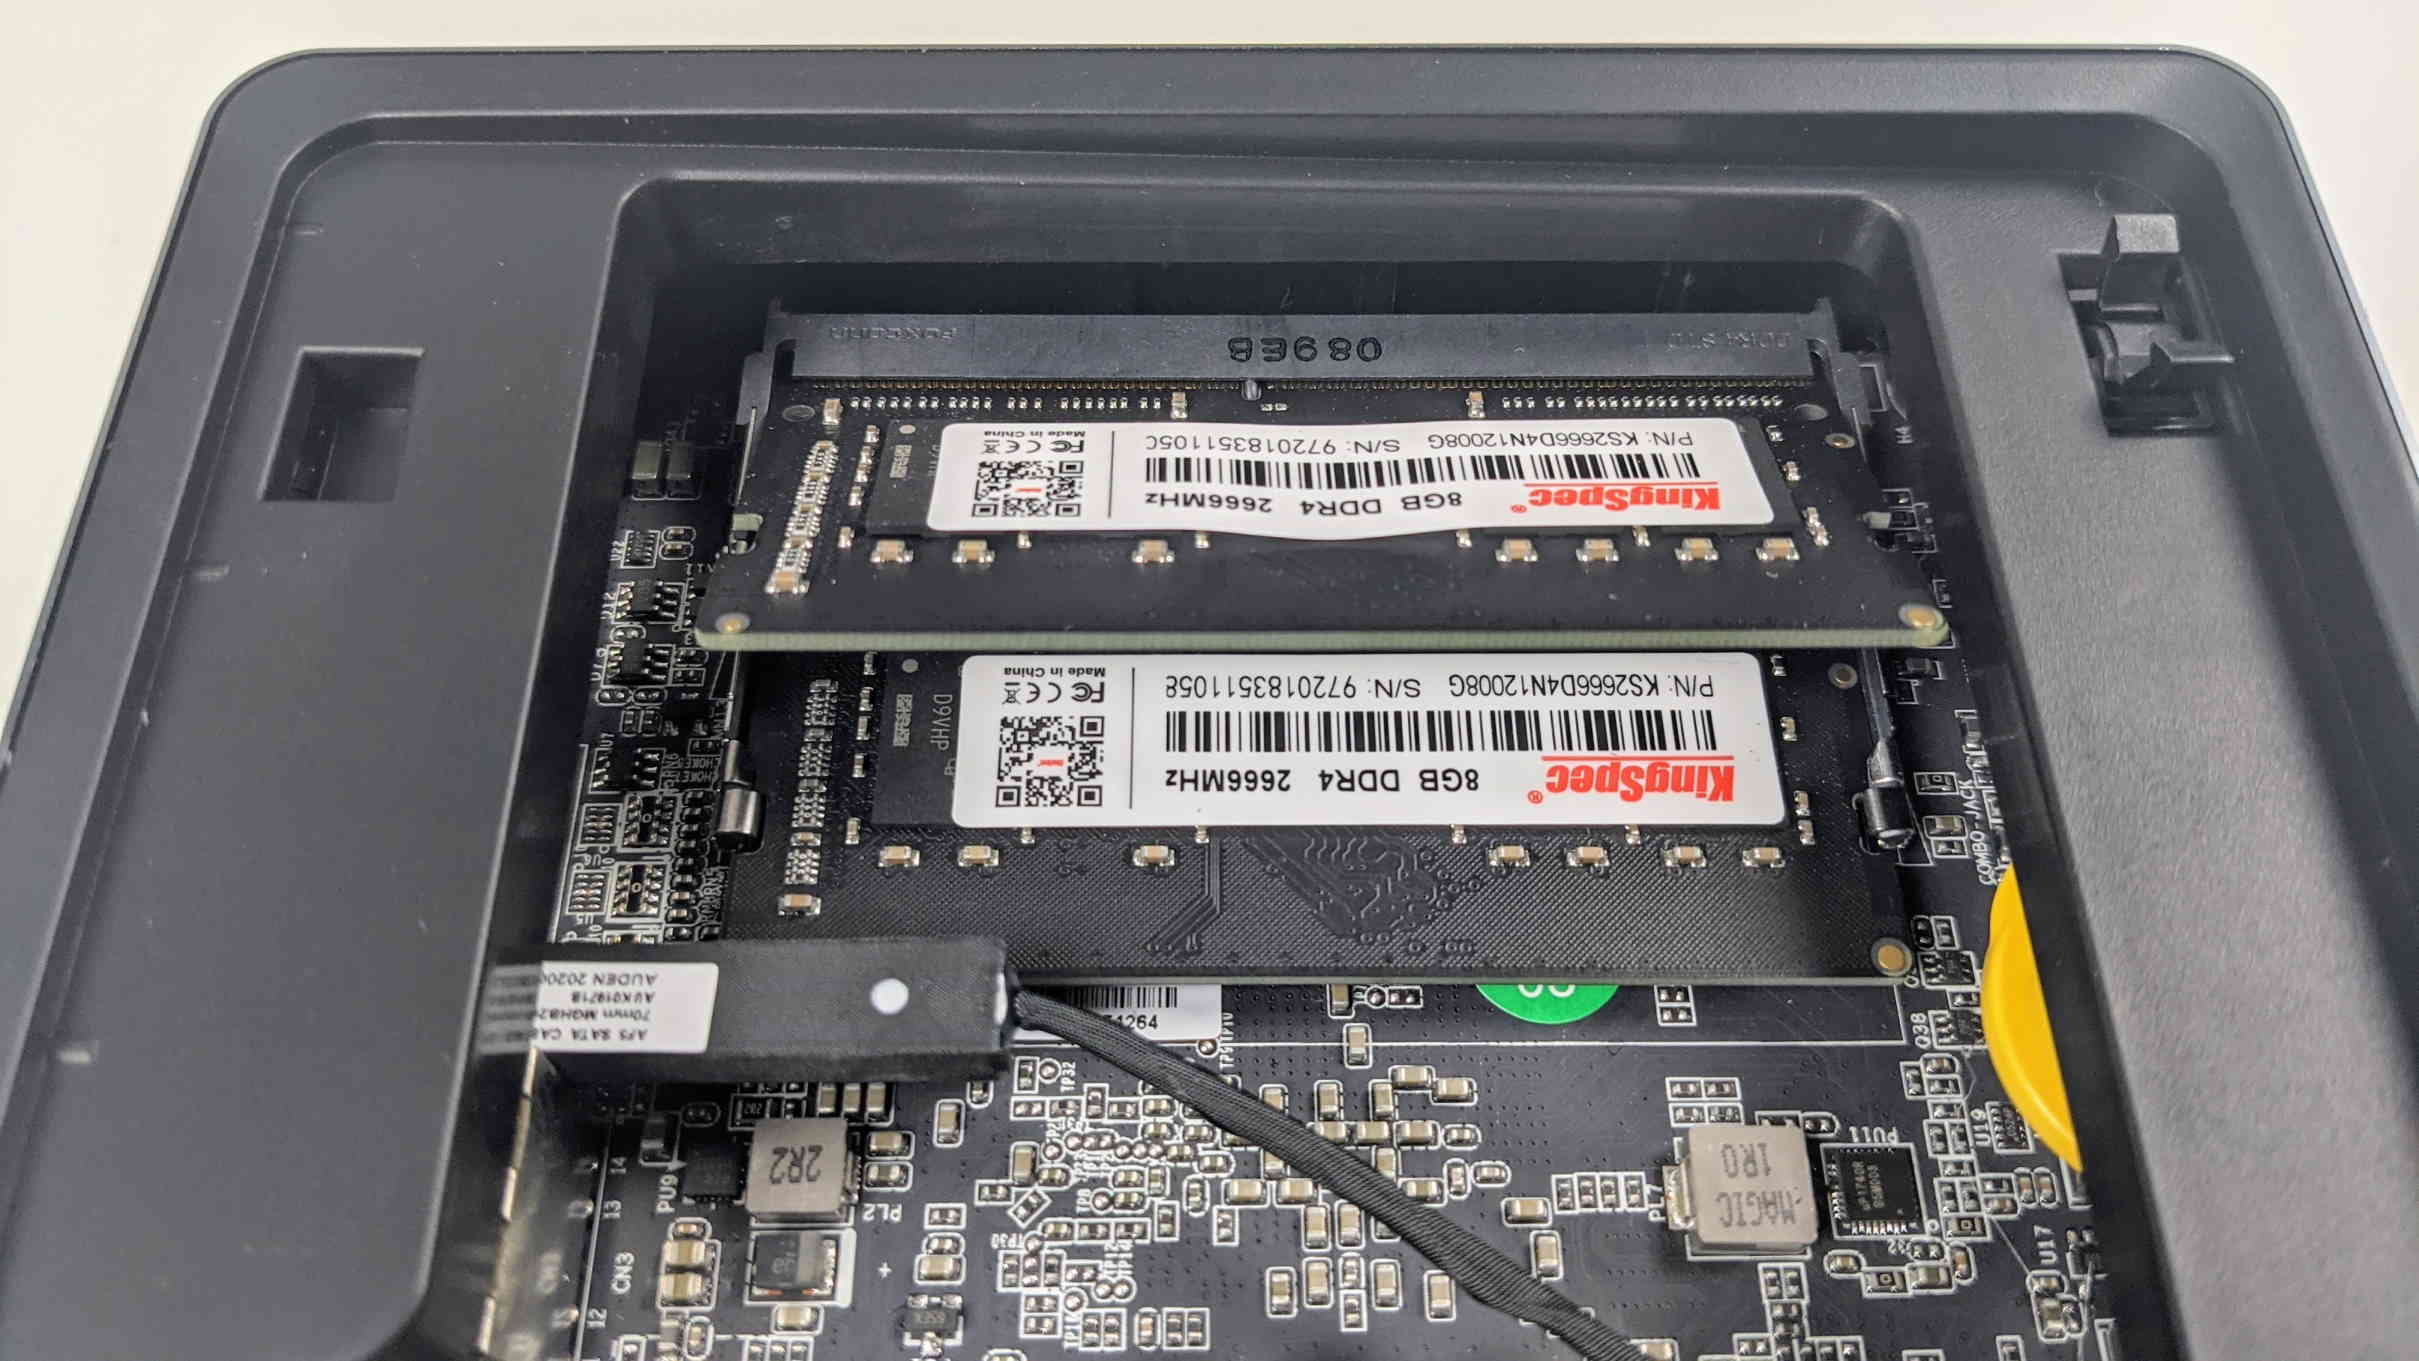
Your RAM is now installed! We highly advise running dual channel RAM whenever possible – the performance increase is quite substantial!
How to install a 2.5-inch drive in the DMAF5
The DMAF5, like most mid-range-and-beyond mini PC’s, has space present inside for a 2.5-inch drive. This can either be a SSD (faster, higher price-per-GB) or a HDD (slower, lower price-per-GB).
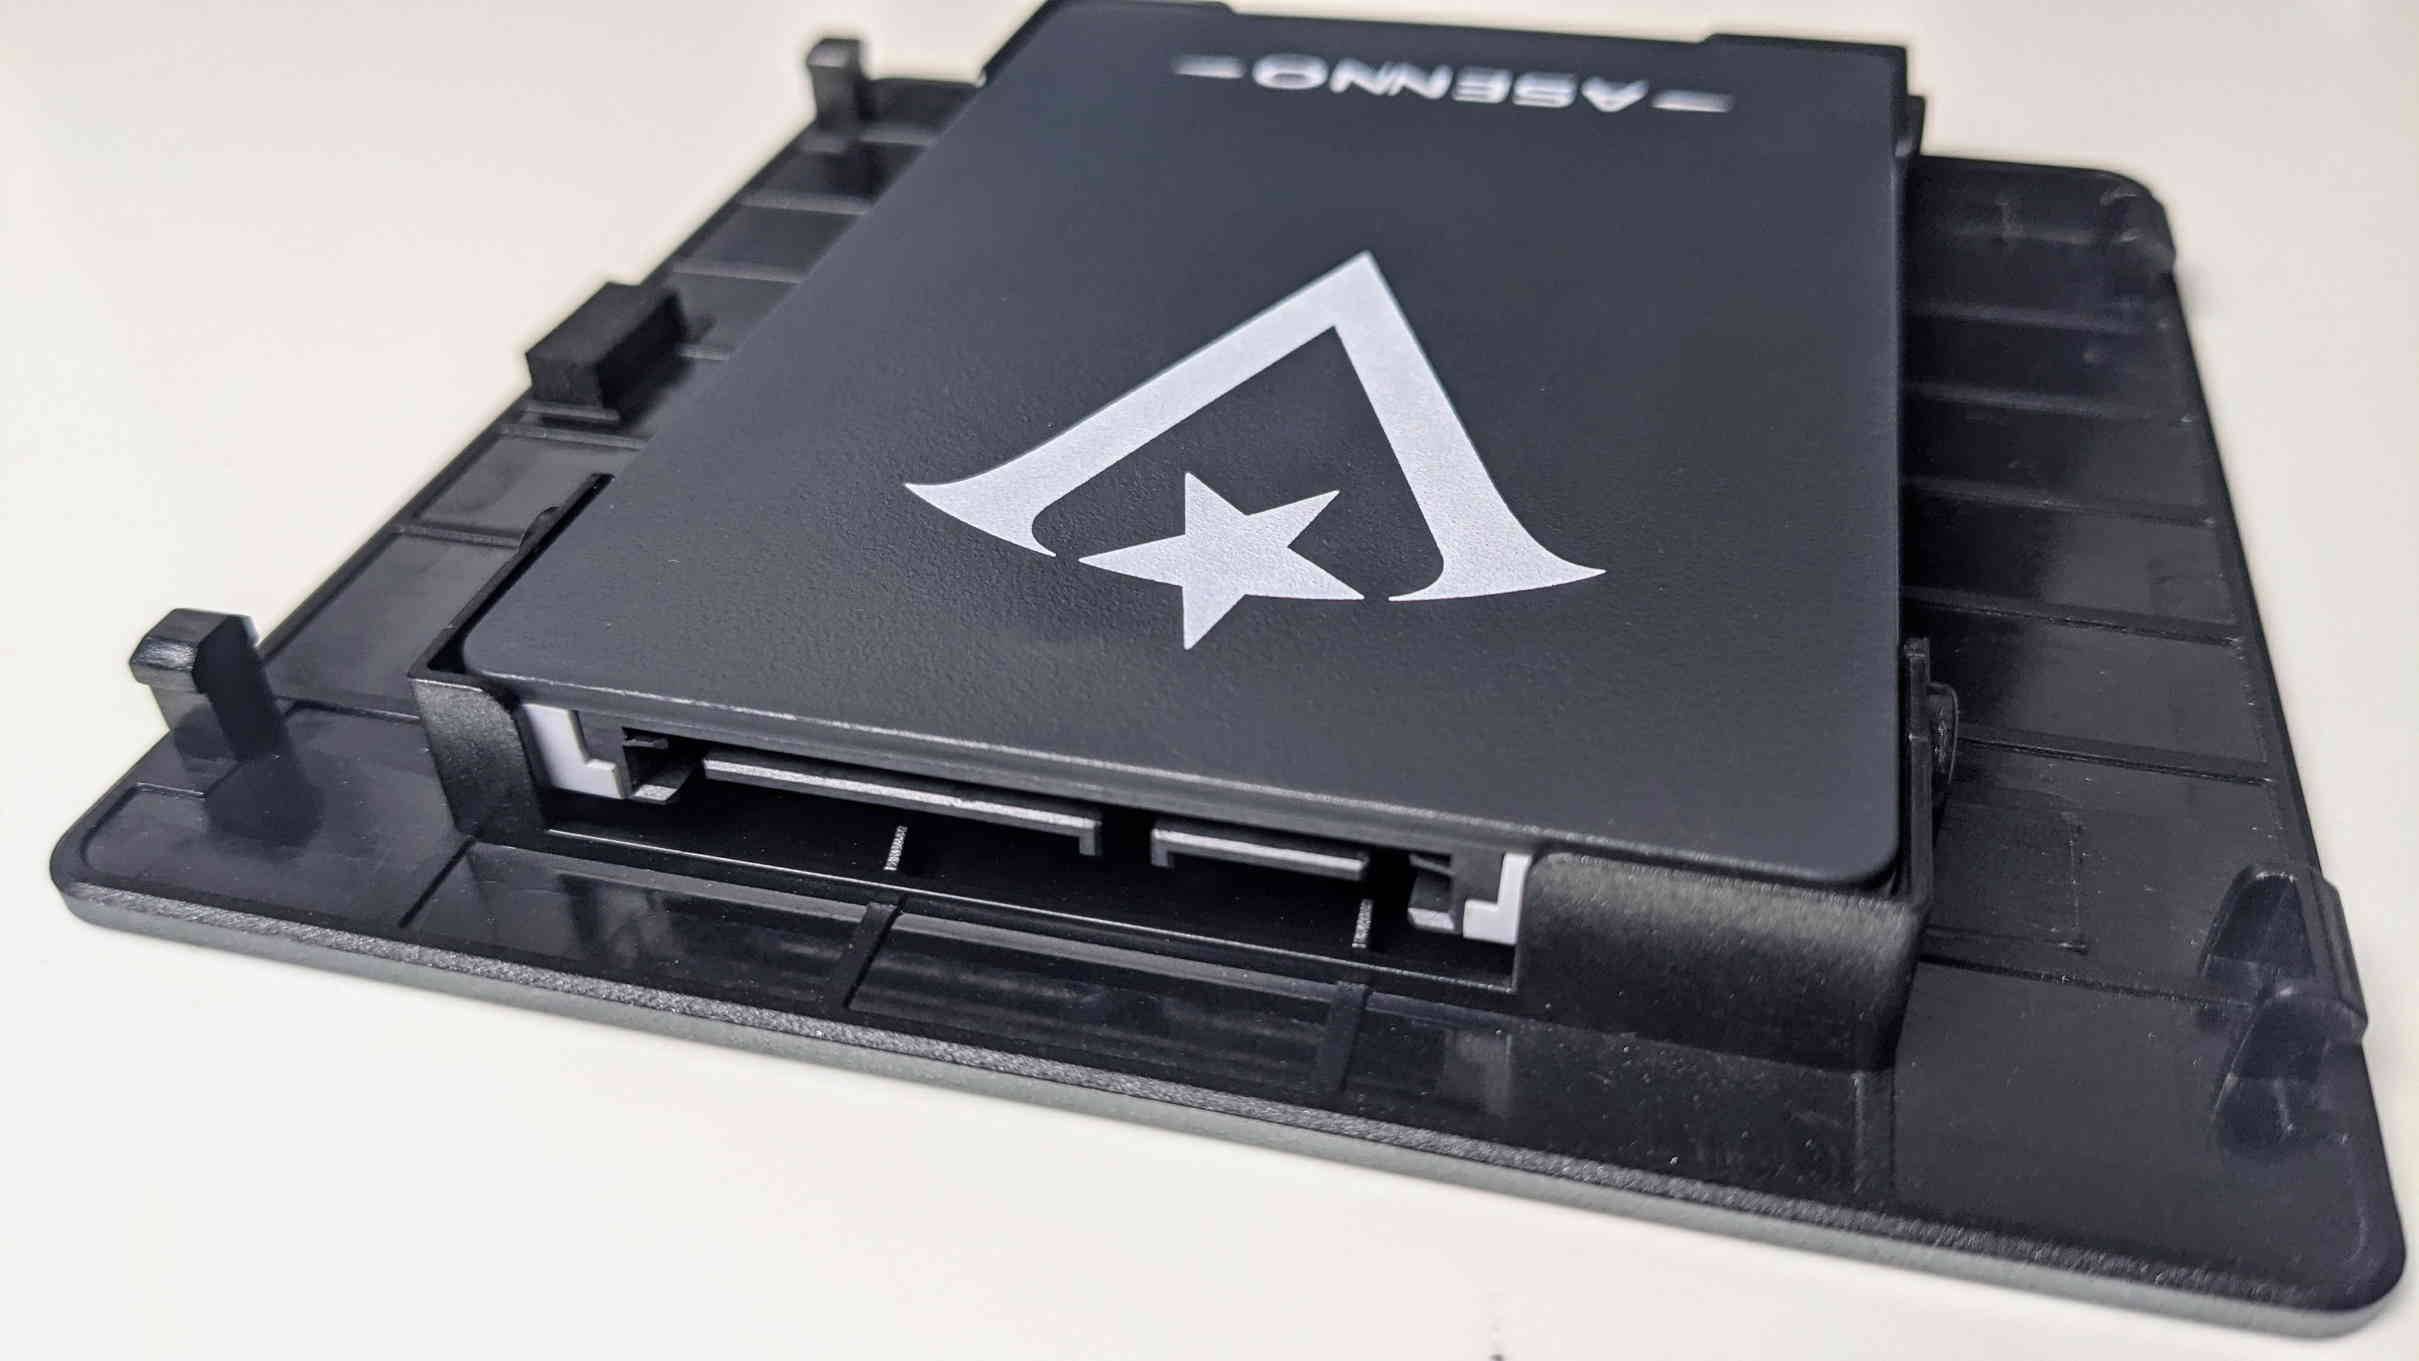
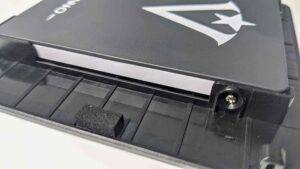
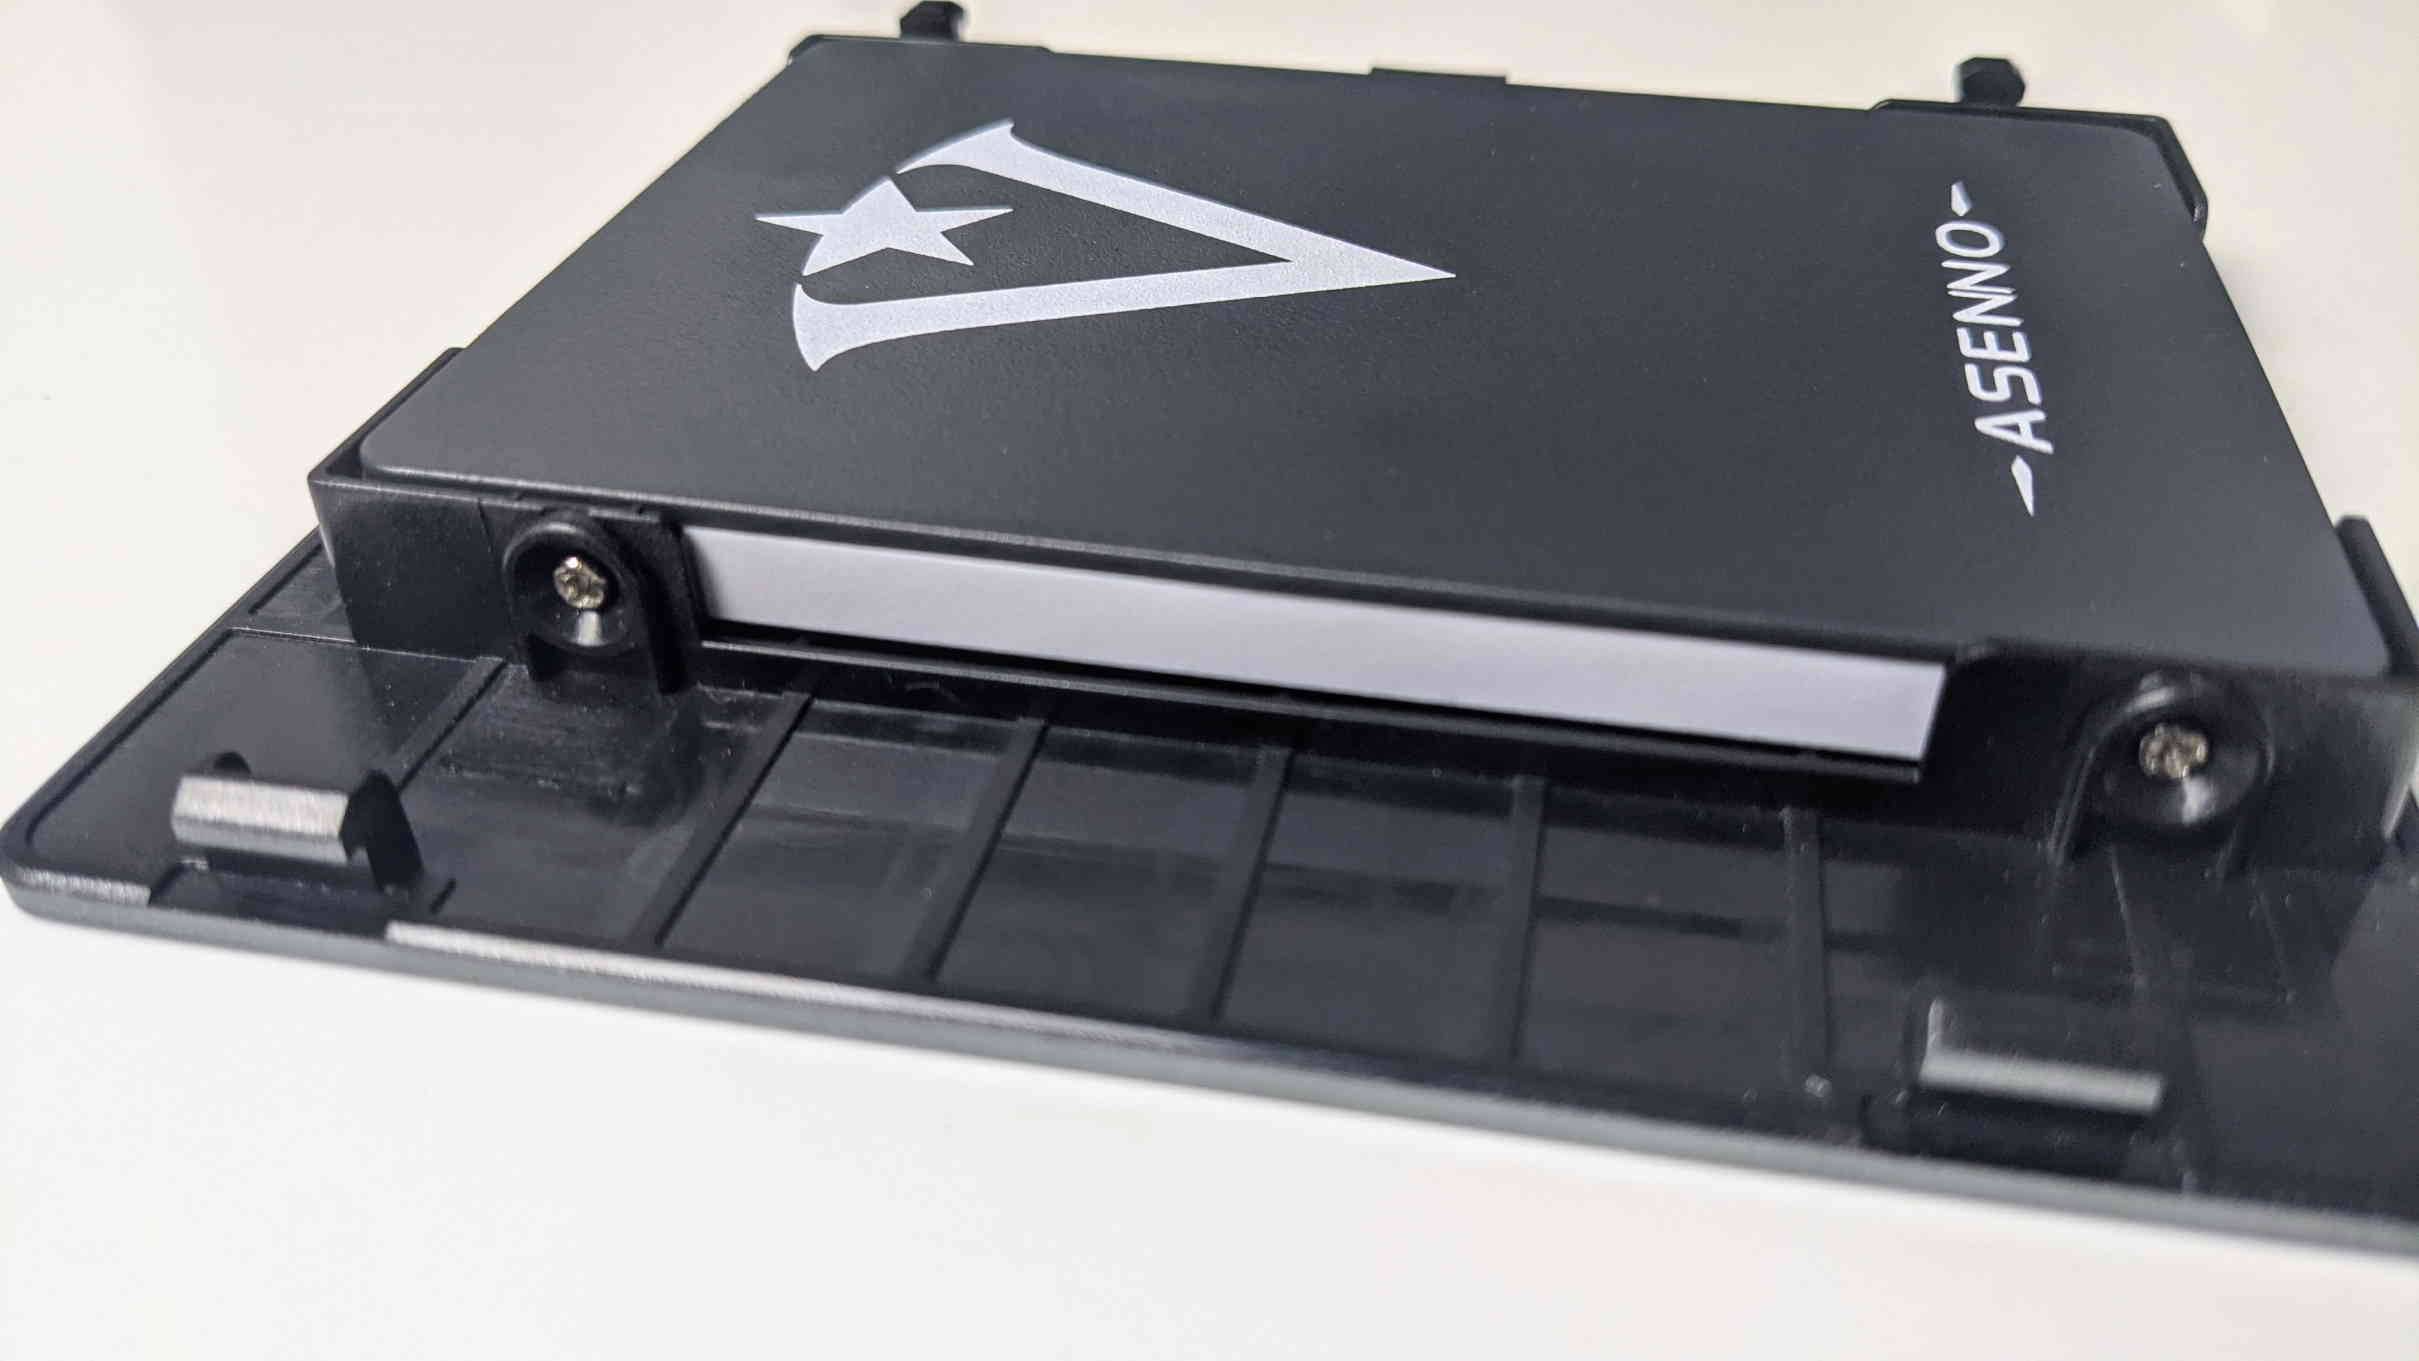
Insert your drive into the bay on the underside of the lid. Make sure the SATA port lines up with the bay properly, like the above, and not incorrectly like the below.
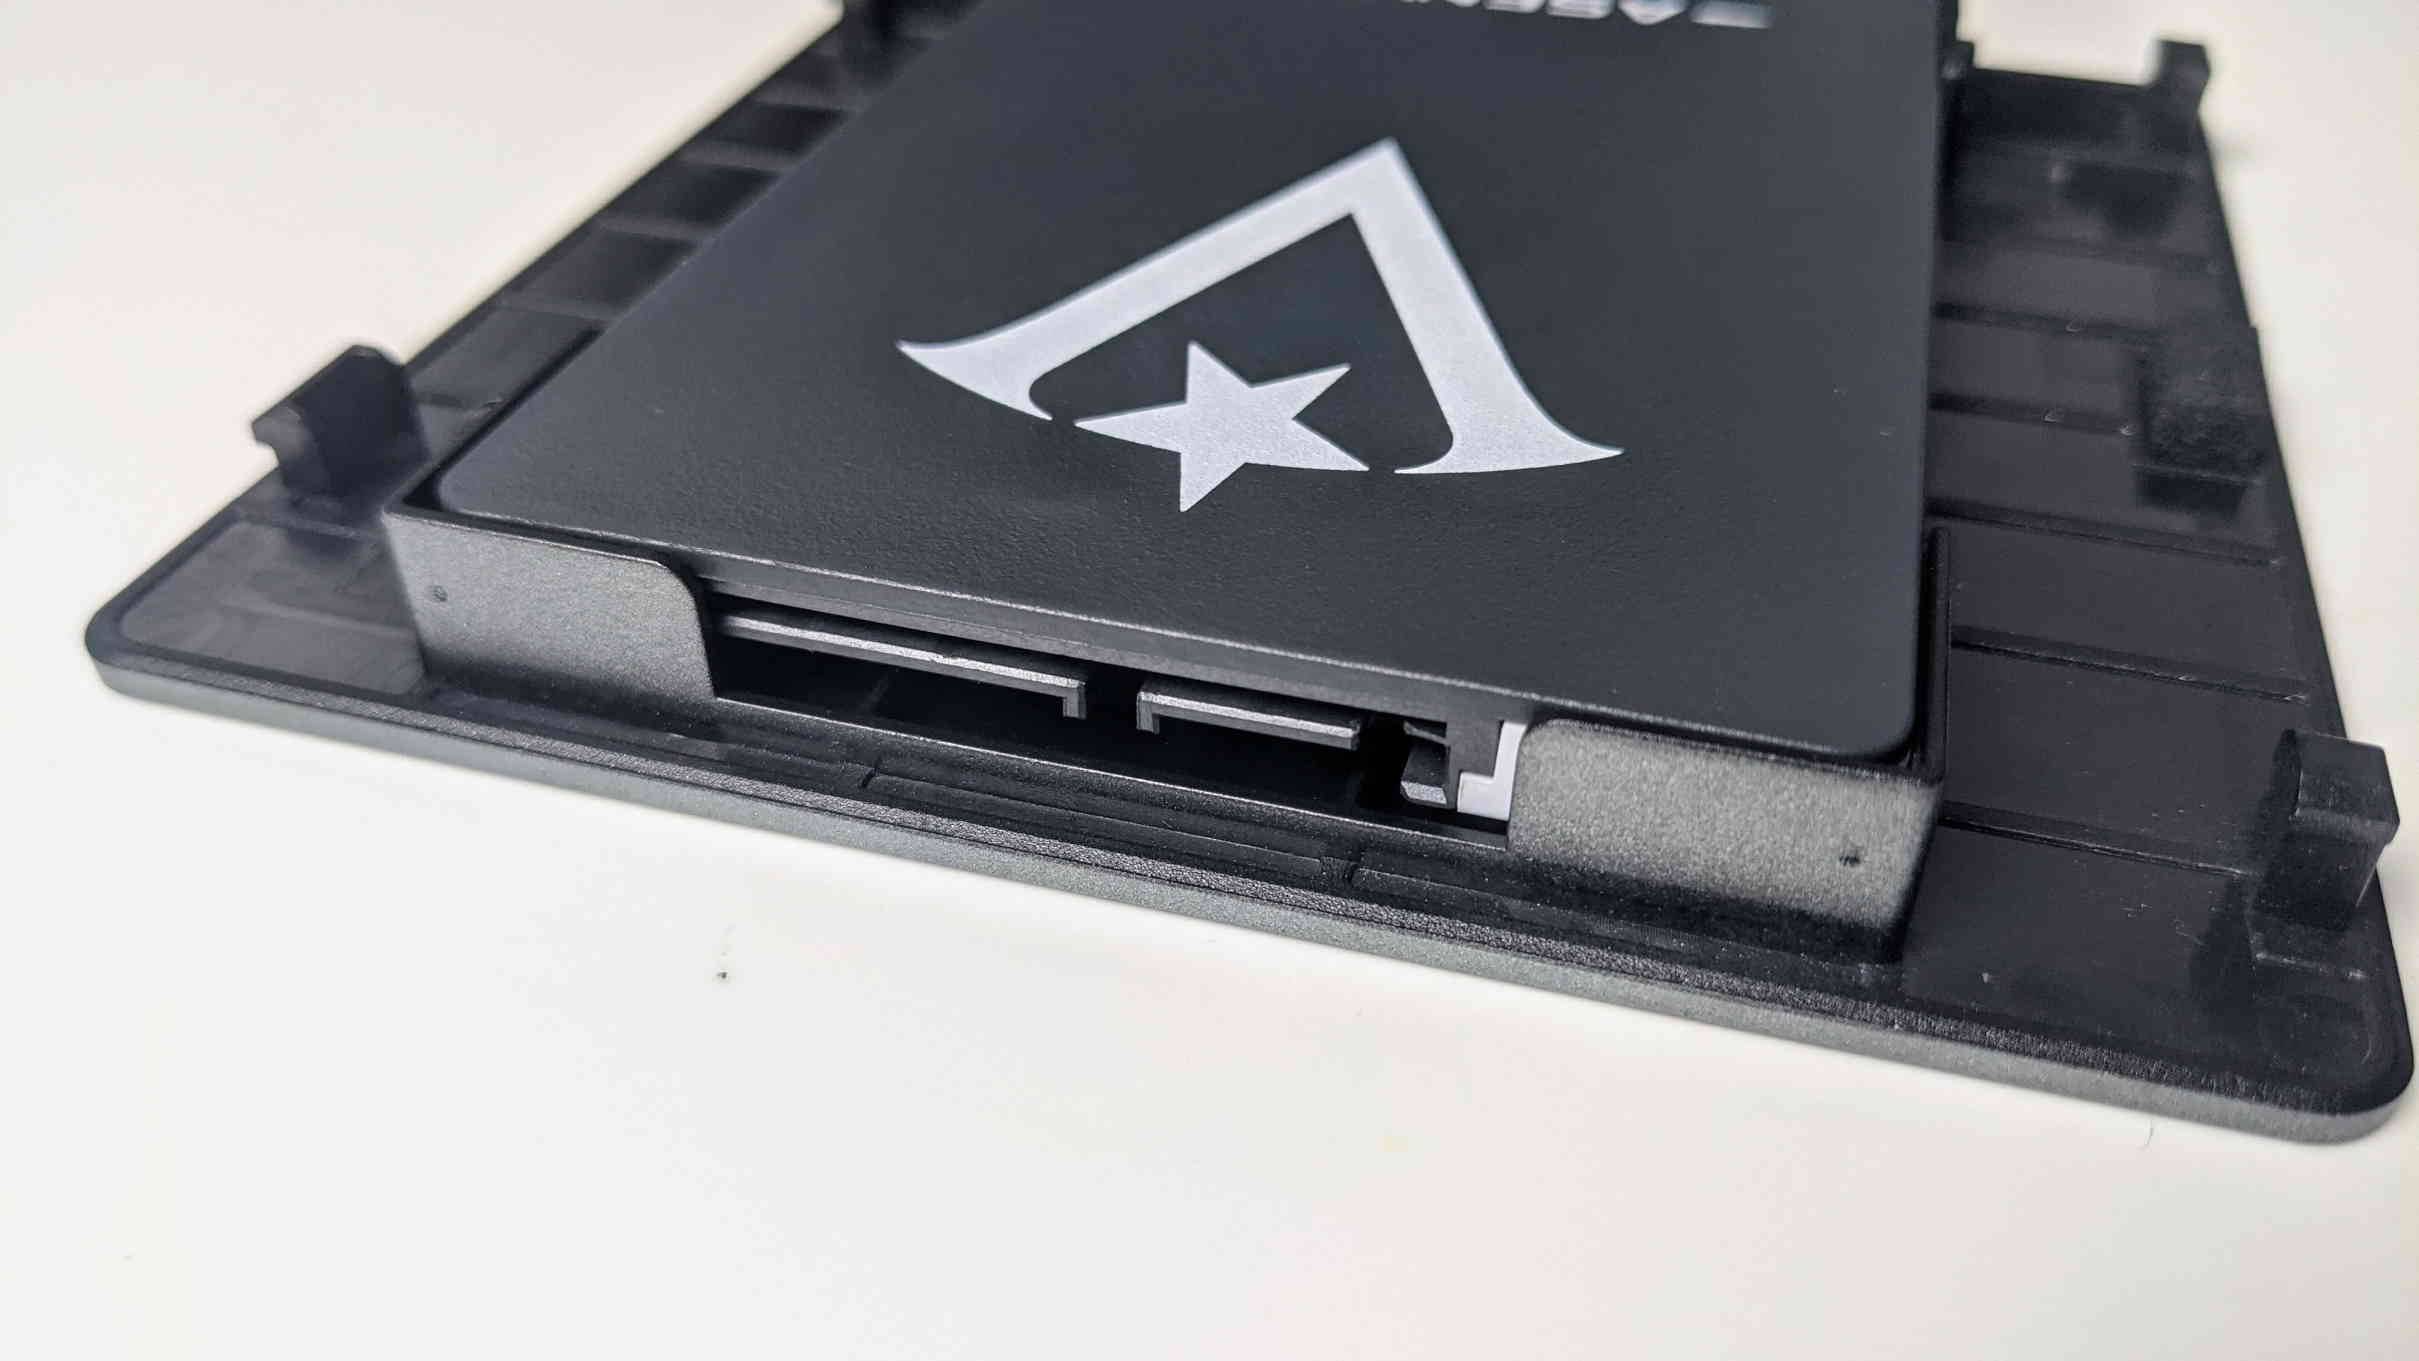
An incorrect bay would look like the above. Note how part of the port is obscured by the bay.
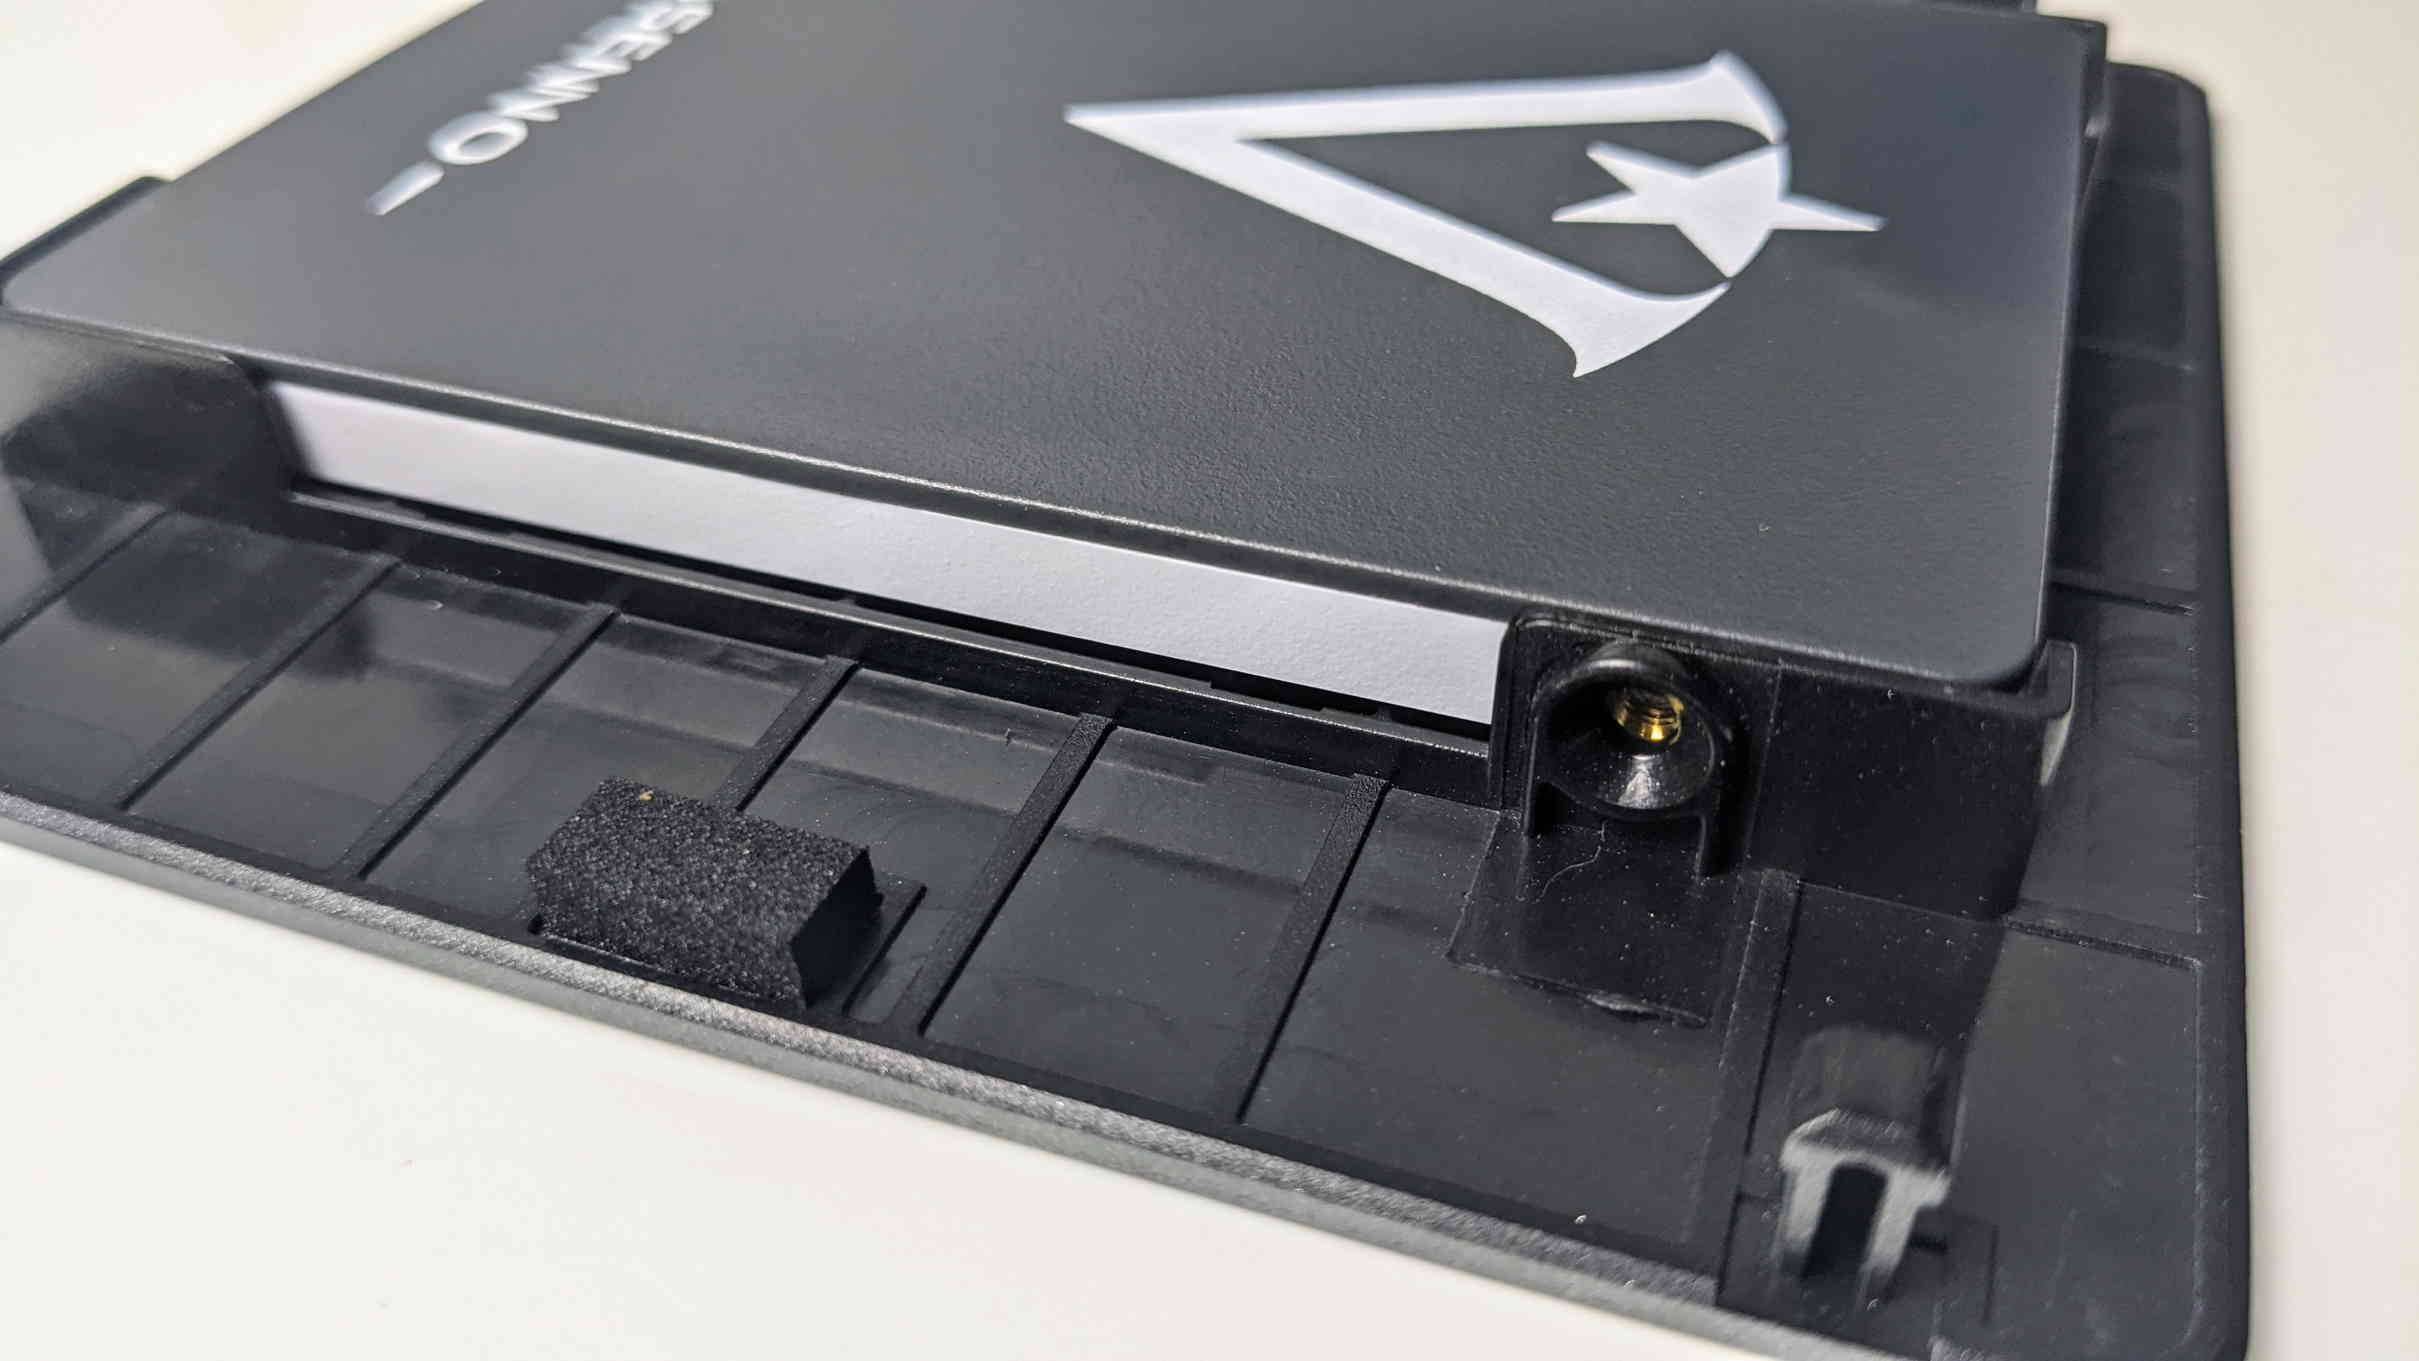

Now it’s just a matter of lining up the holes and inserting the screws. Make sure to fasten both sides at each end.
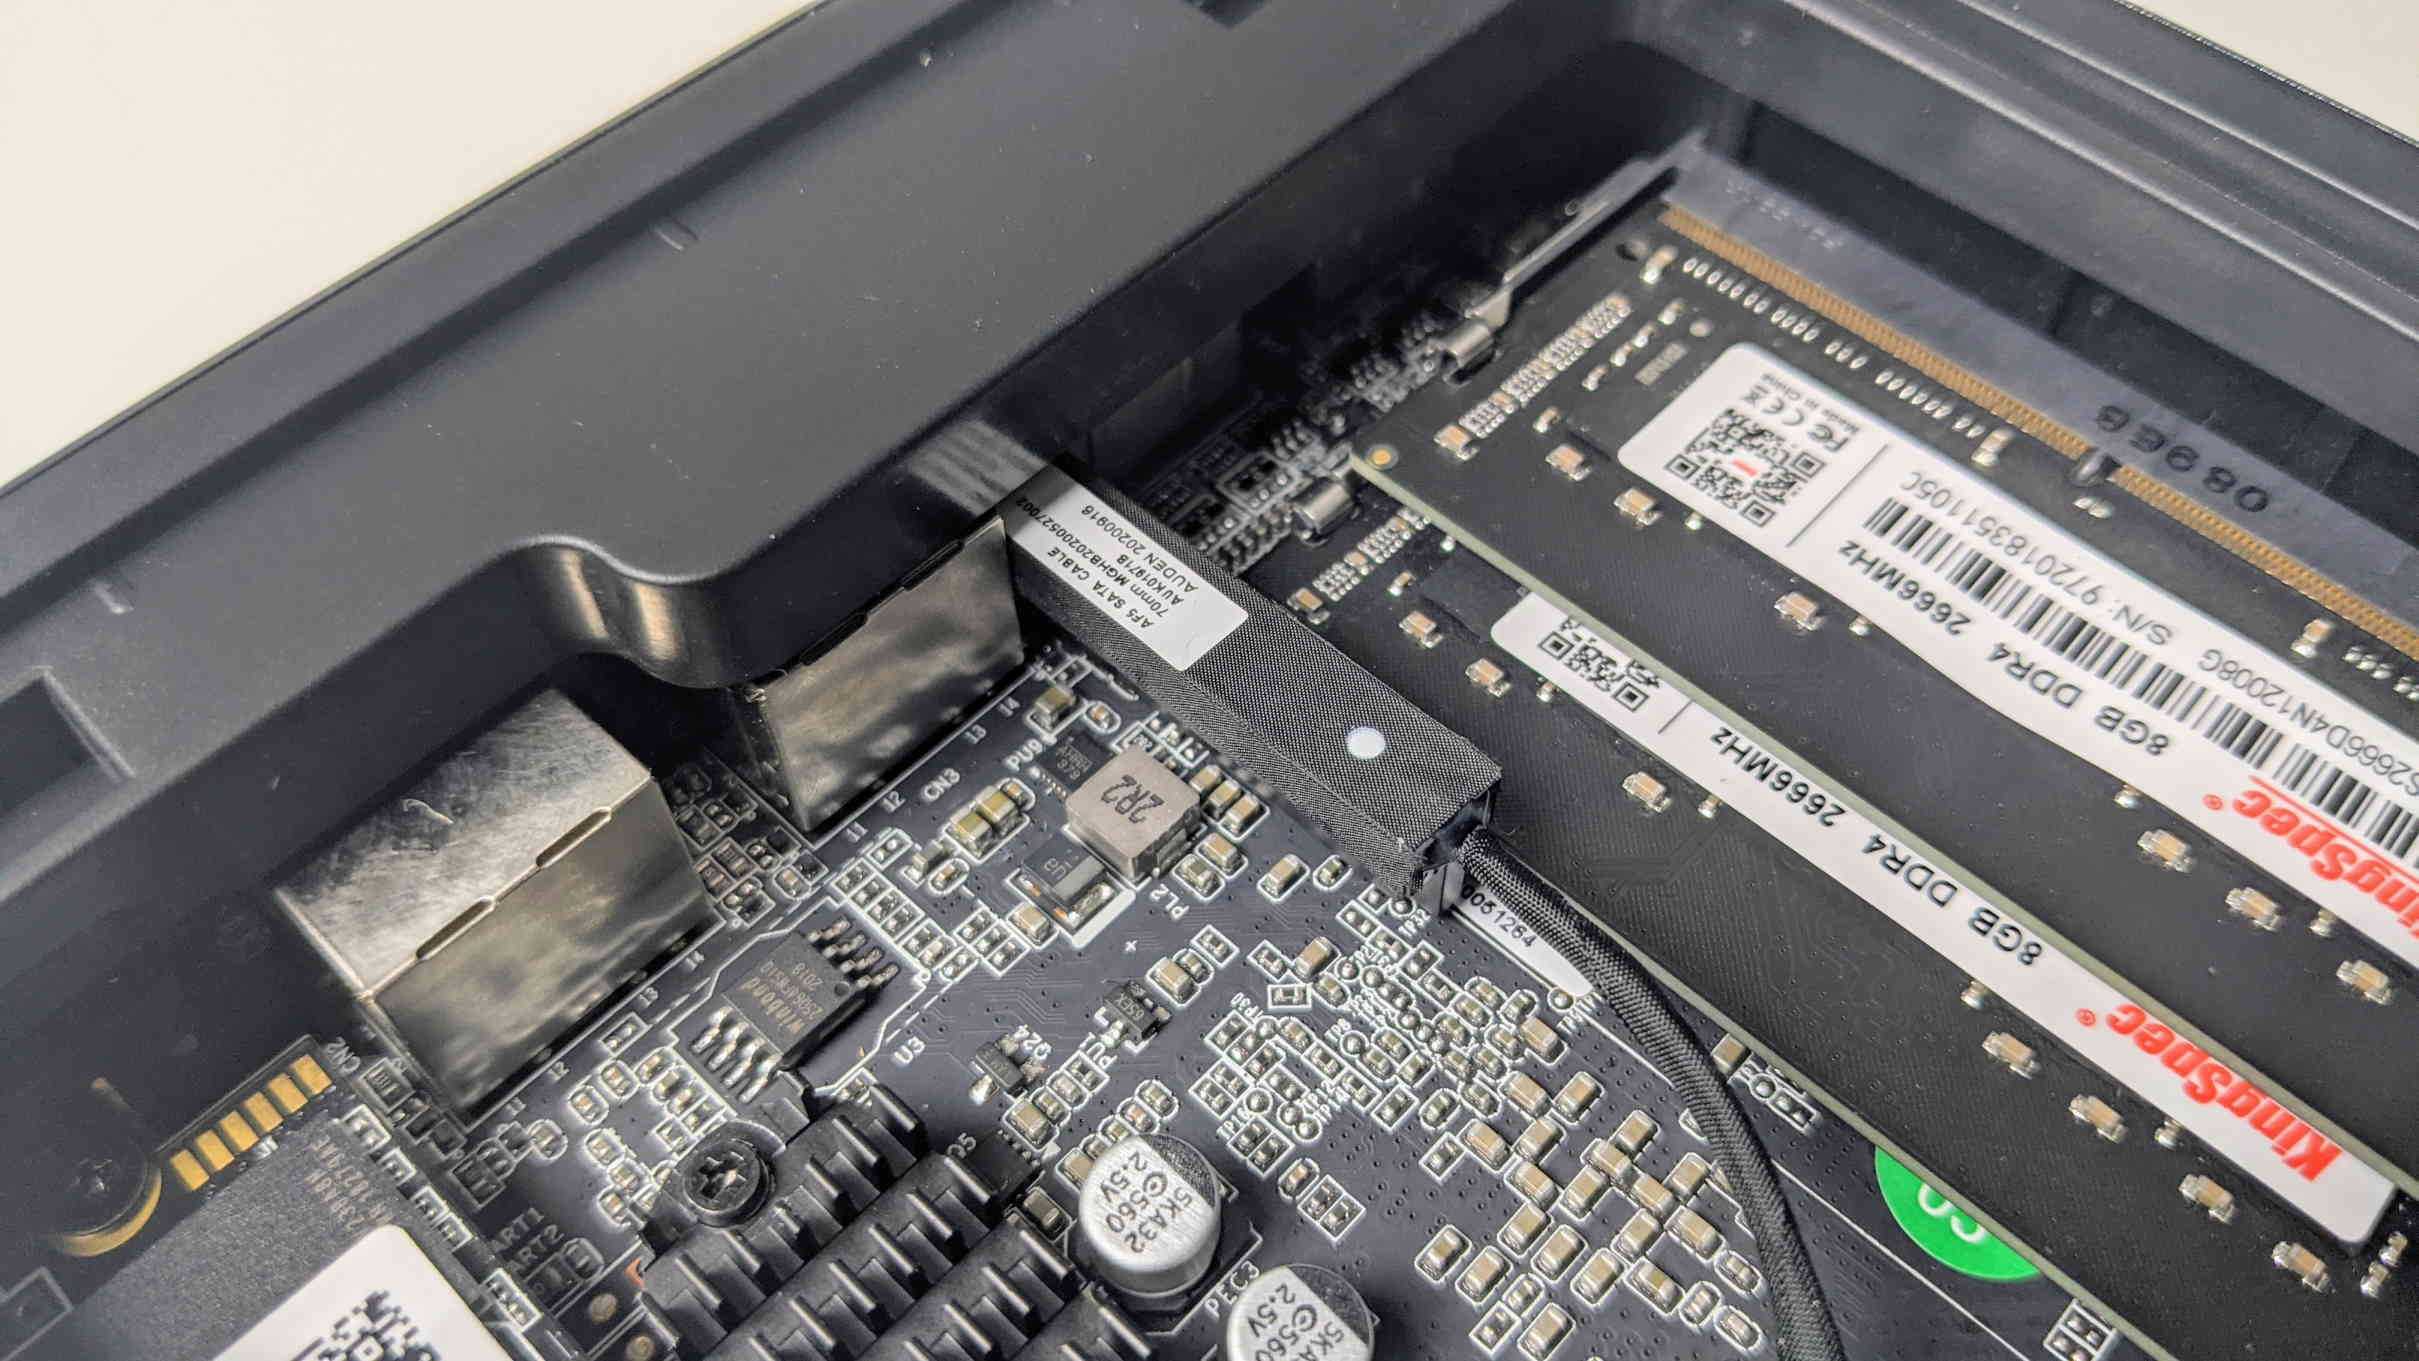
Grab the SATA cable which happens to conveniently fit snugly next to the RAM.
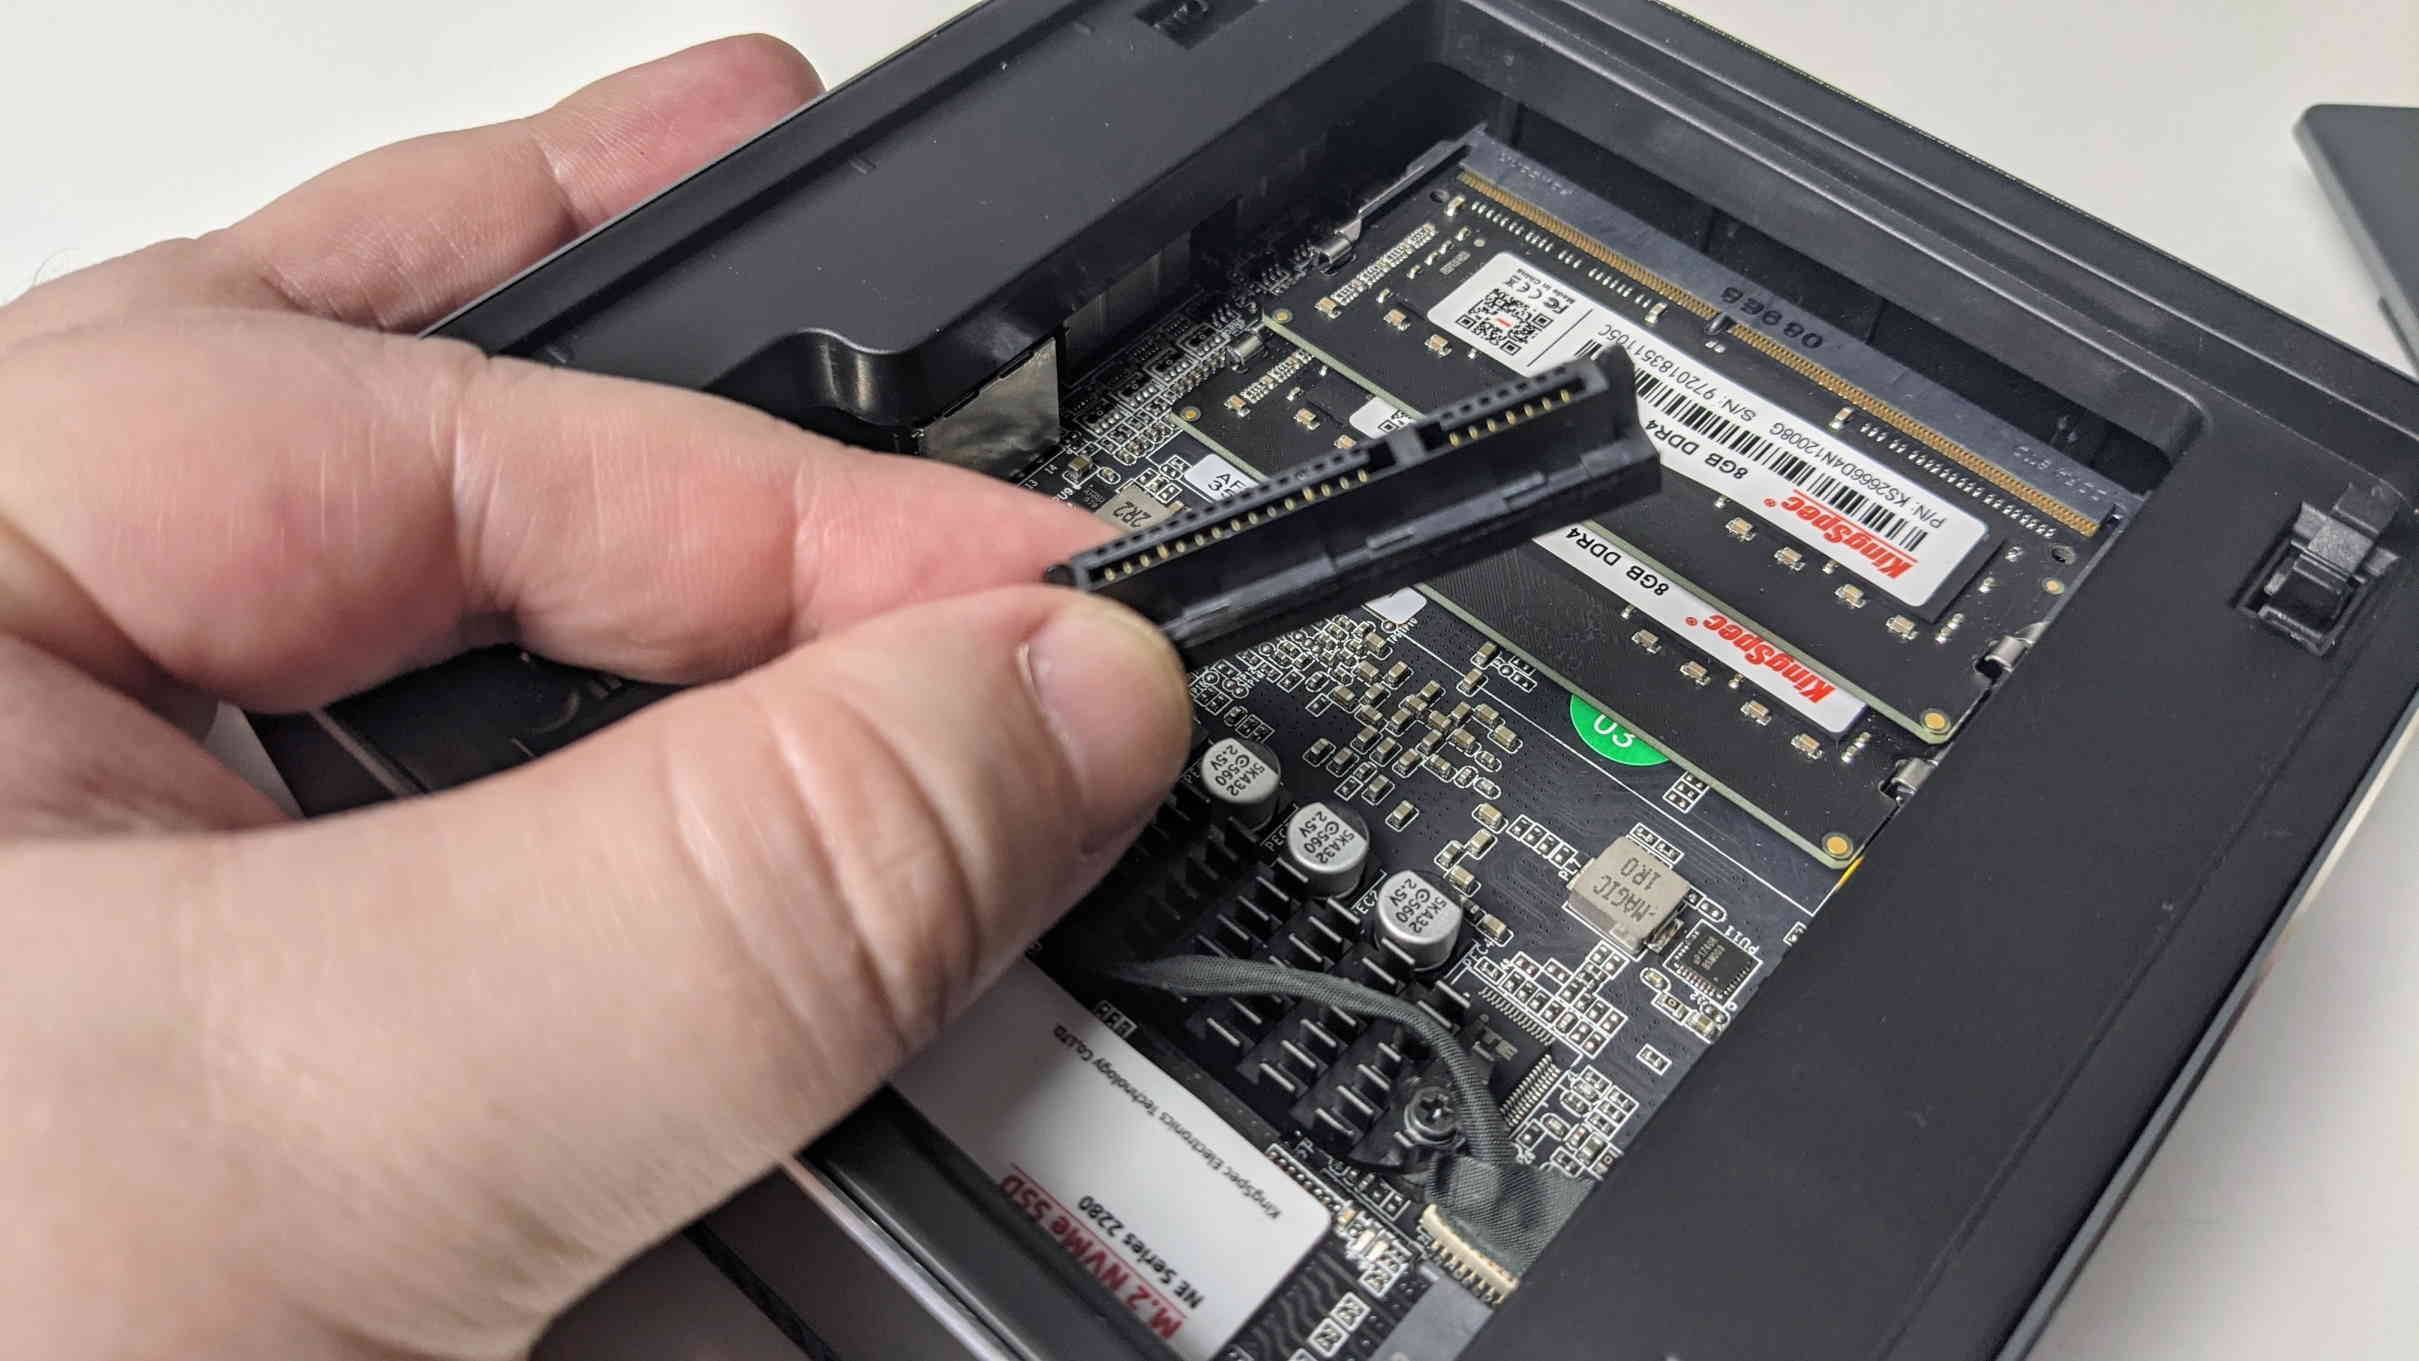
The connector will have an L shape, so there’s only one way around to connect it.
Once inserted, you can simply press the top back down.
You’ve now fully assembled your DMAF5! You can now install your operating system of choice. Minisforum upload the latest versions of their firmware here: https://www.minisforum.com/support/20
You can also use a generic Windows 10 installation drive too: https://www.microsoft.com/en-gb/software-download/windows10
The DMAF5 can be purchased on our website here: https://droix.co.uk/product/minisforum-dmaf5-amd-mini-pc/
