
Performing an OTA update on the DroiX X3 is very easy. Read on for a step by step guide on how to.
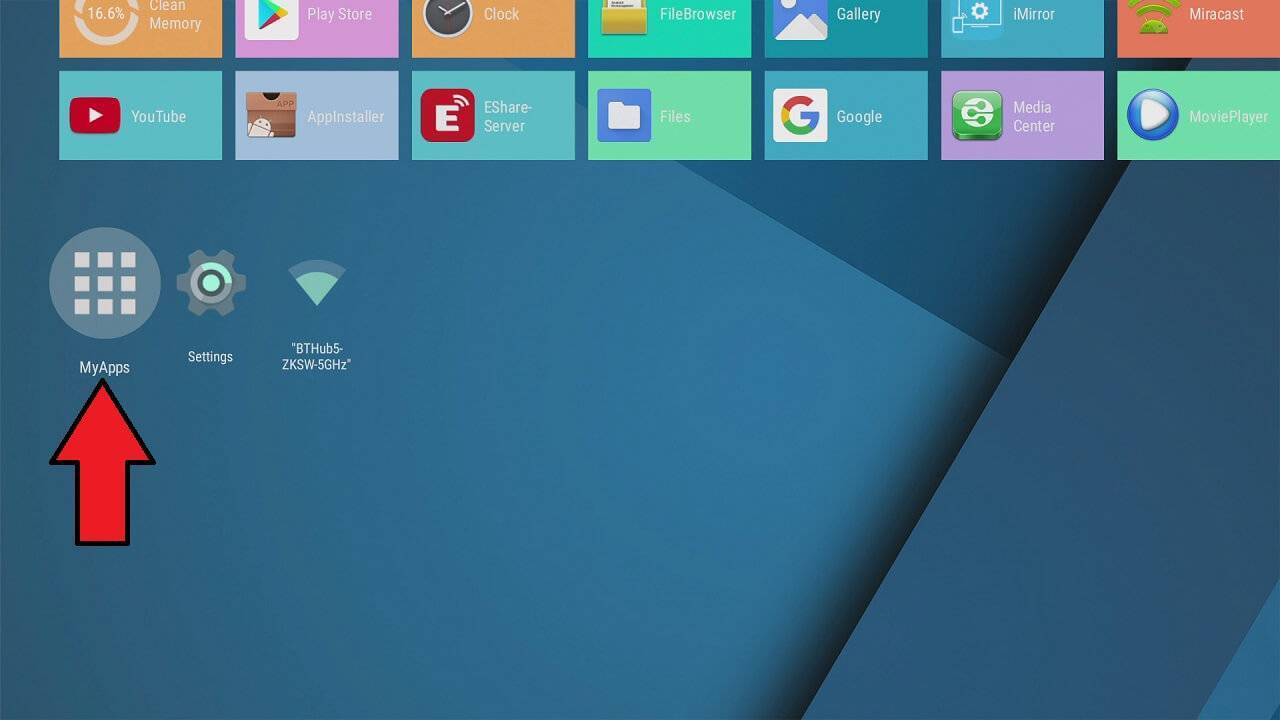
Please first ensure that you are connected to the internet via Wi-Fi or Ethernet. From the home screen, scroll to the bottom and choose My Apps.
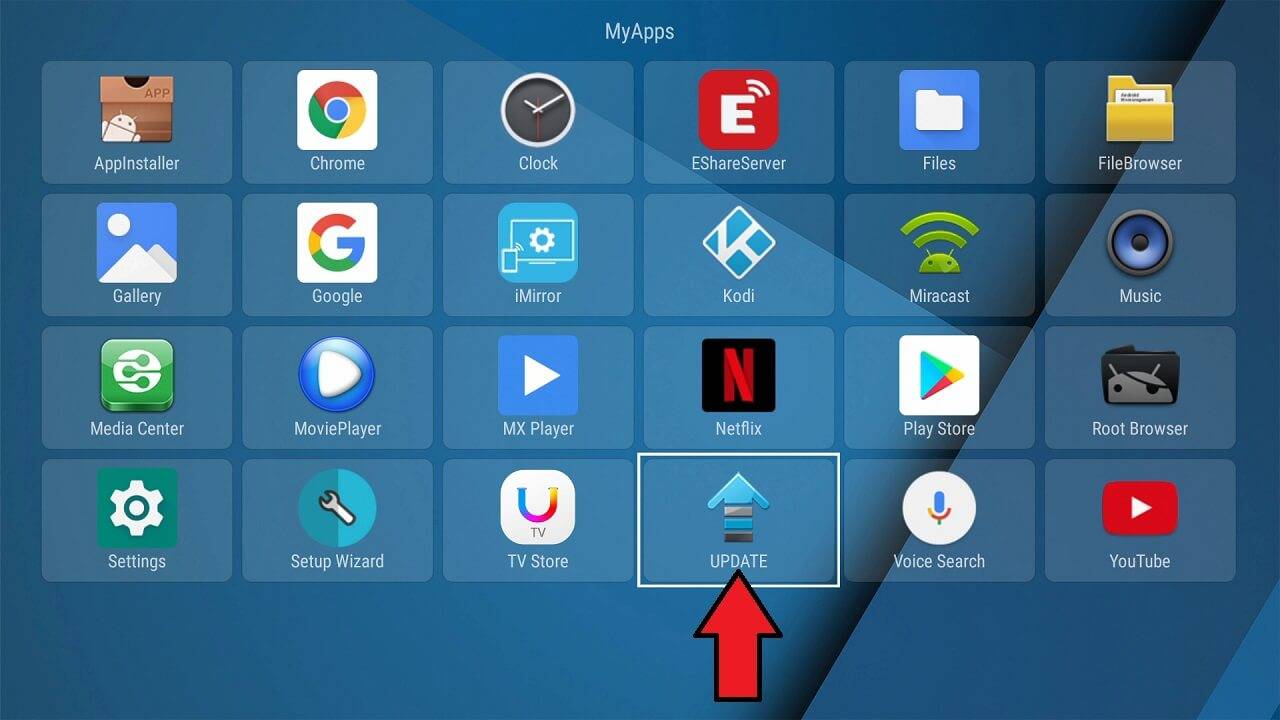
Choose Update from the list of apps. Depending on if you have many apps installed you may need to scroll down towards the bottom.
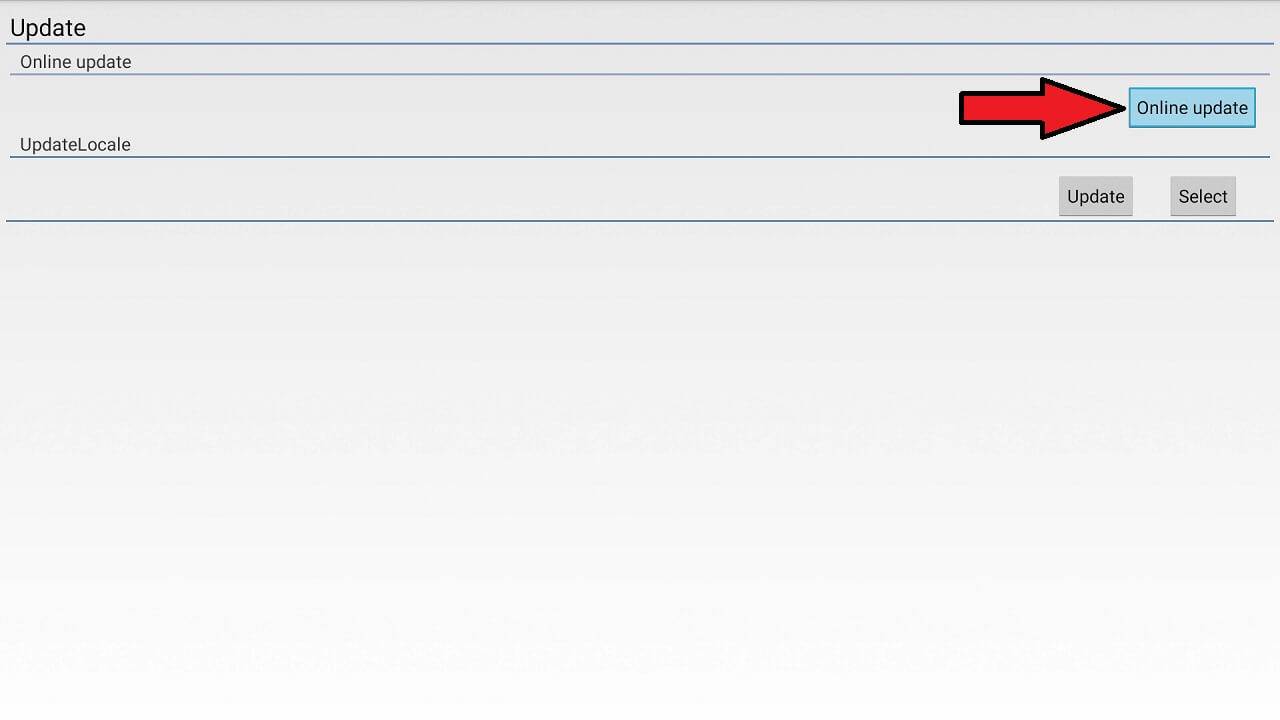
Choose Online Update.
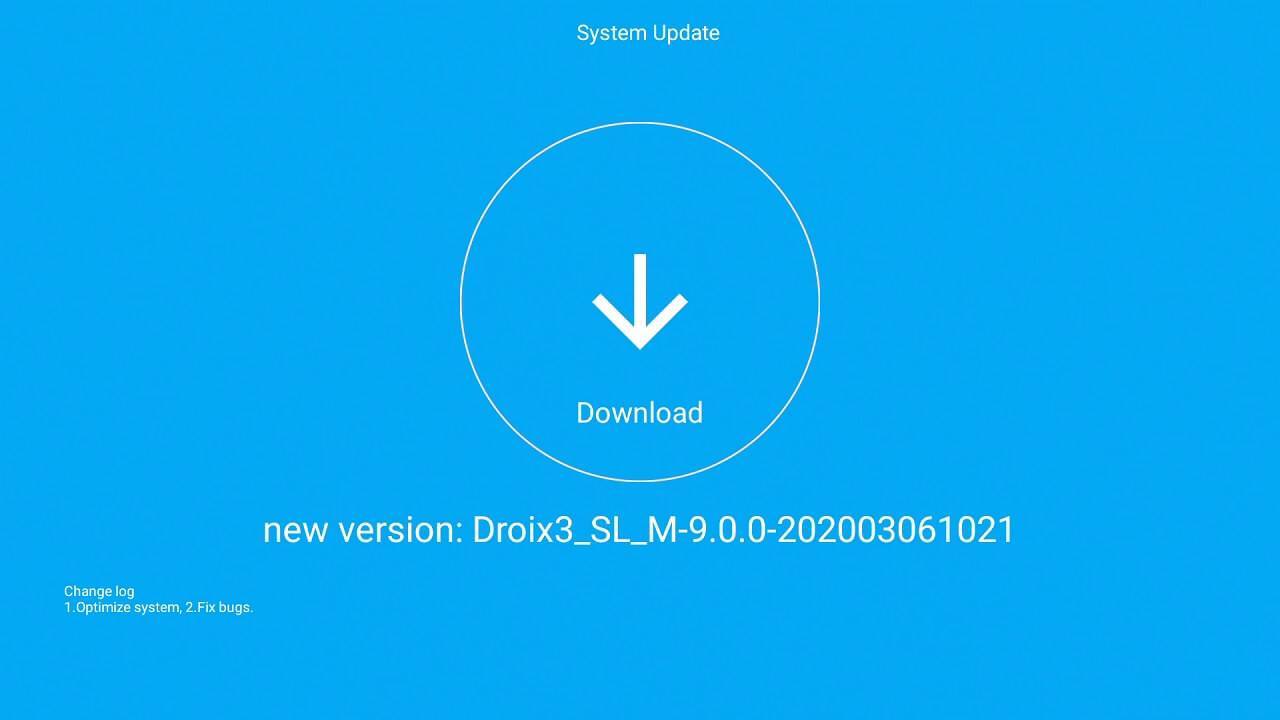
The app will now check if there is an update available. If one is available you will see the below screen. The version number may be different to what is shown below. Click on the Download icon to start the downloading of the firmware.

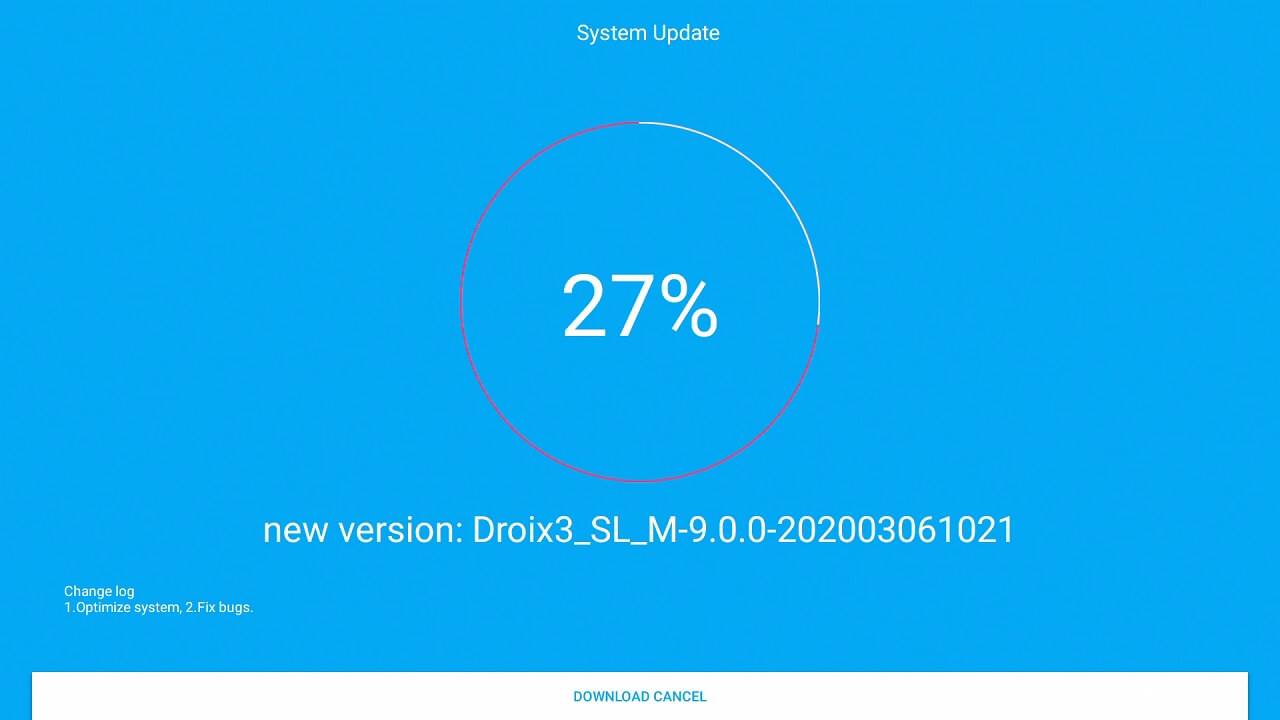
The firmware will now start to download. Depending on your internet speed this may take some time. Do NOT switch off the device.
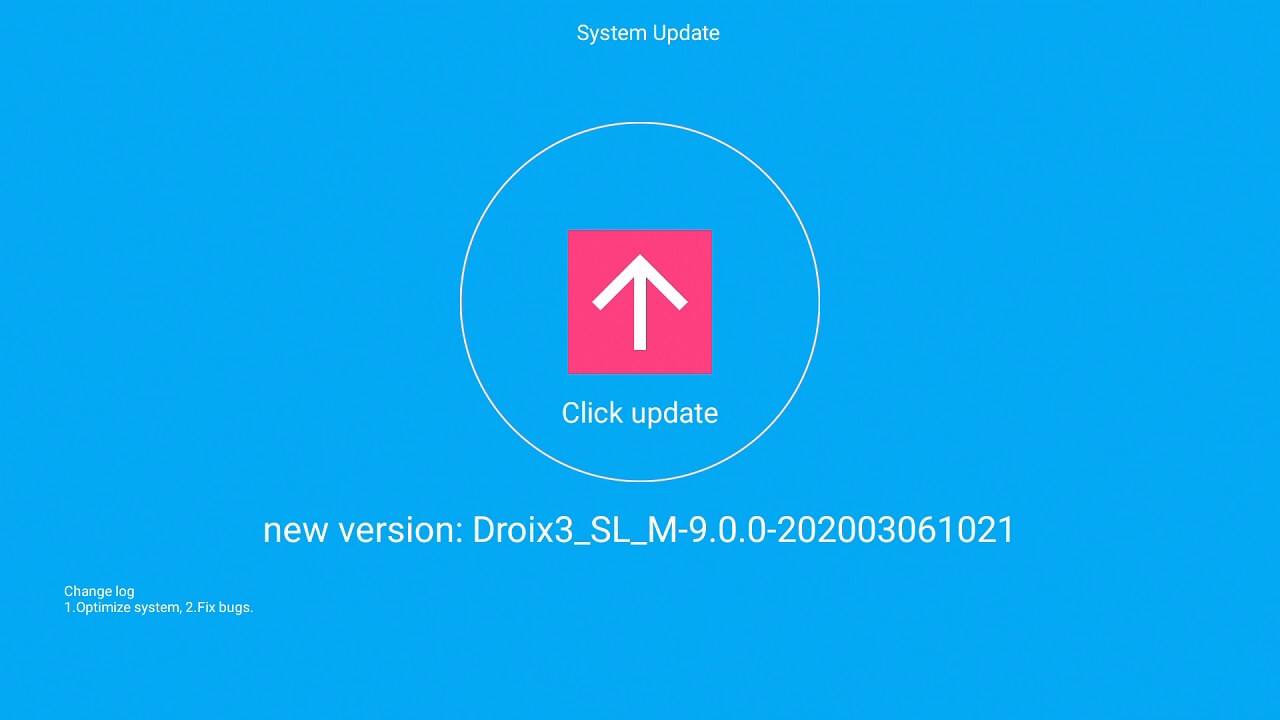
When the download has completed, you will be prompted to update the firmware. Choose the Click to update icon.
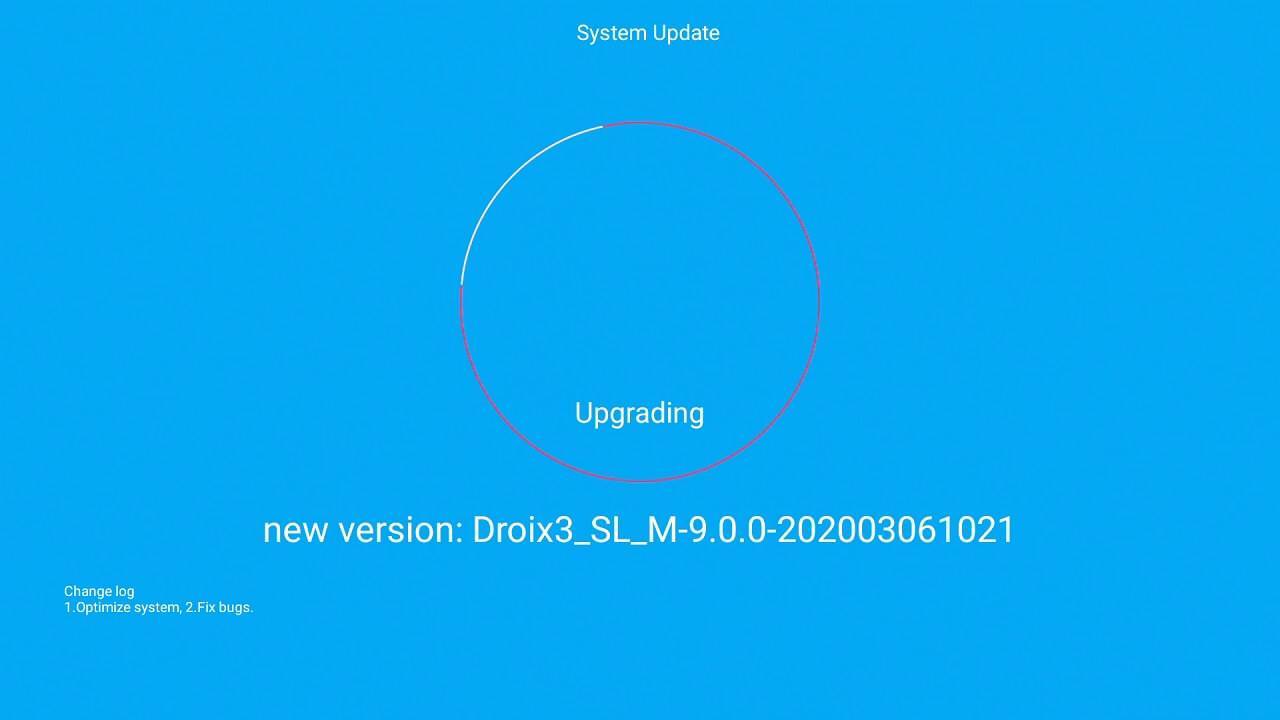
The firmware update process will now begin. Do NOT at any point further on, switch off the device.
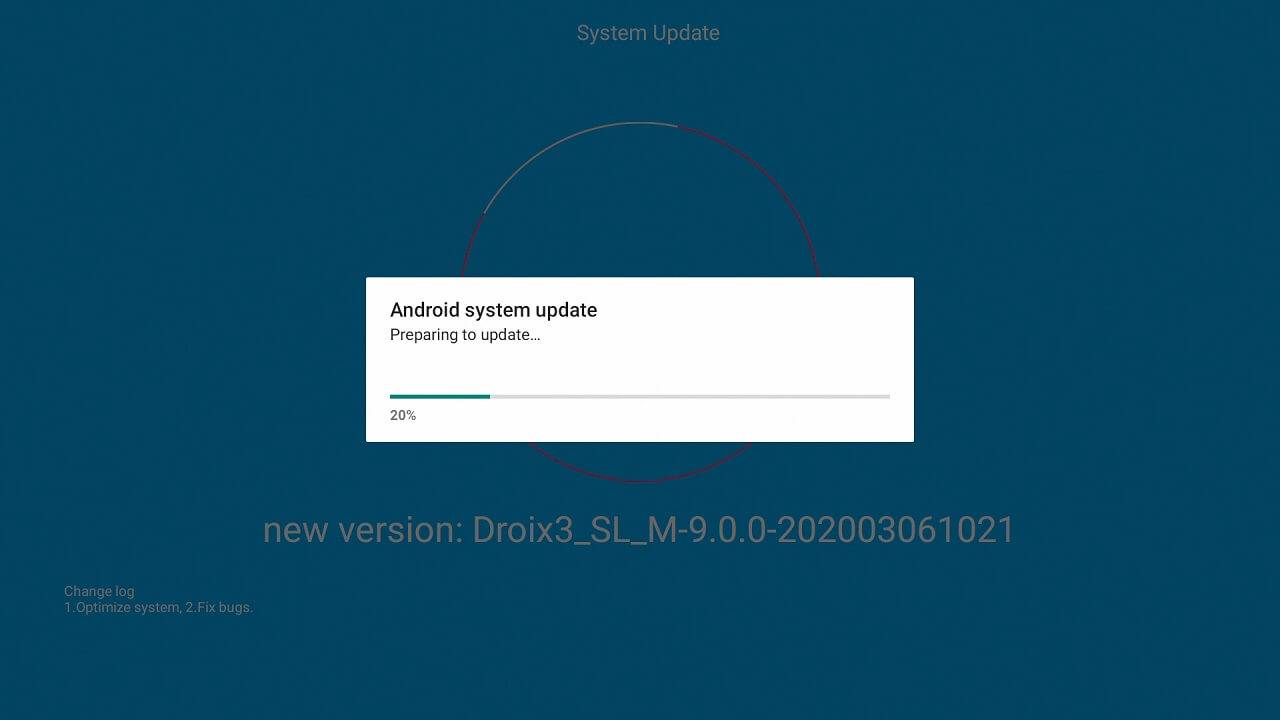
Around halfway through you will see the below notification. Again, DO NOT switch off the device during the process.
After a short period of time the device will automatically reboot and you will be on the final step of the upgrade. Again DO NOT switch off the device.
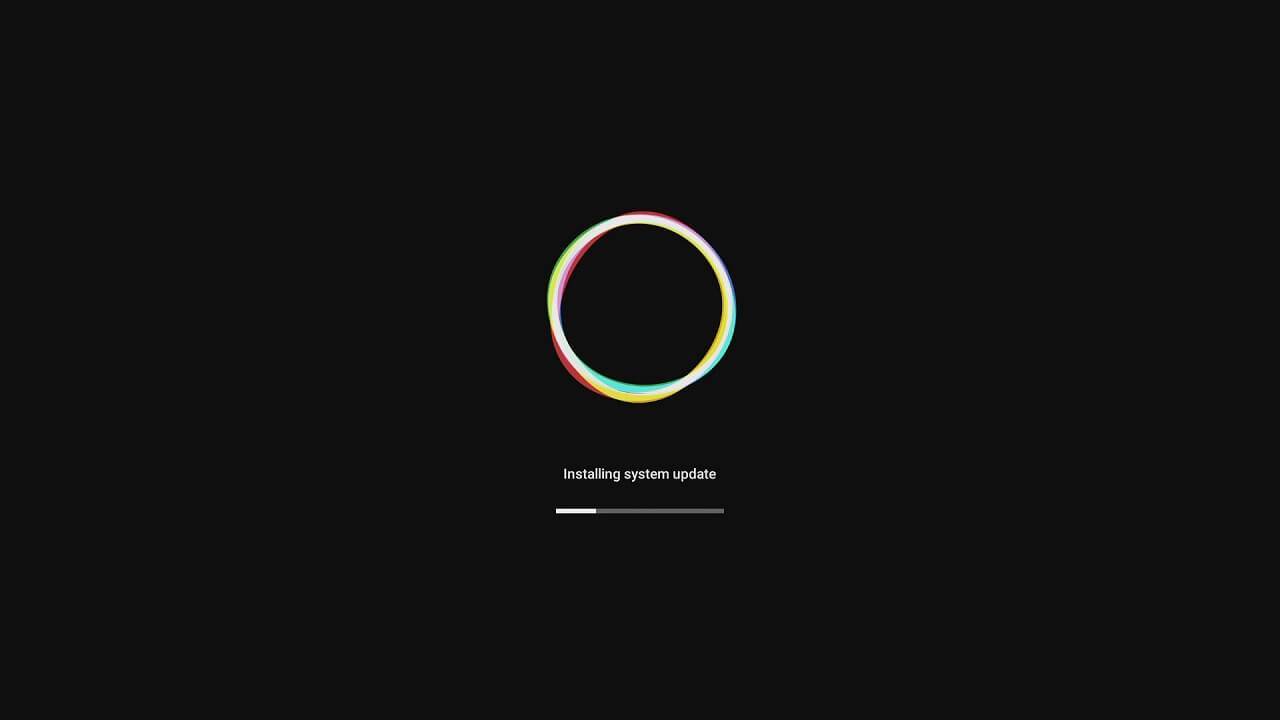
After a period of time, the update will complete and the device will reboot a final time. The first boot after a firmware update may take longer than usual. When you are back on the home screen, wait a few minutes more for updates to apply and your device is now ready to use.

