

Being able to connect to and control a device via the internet or your home’s network can really help with some stubborn technical issues.

If you have been directed to this post and simply want DroiX to be able to connect to your Windows-based device, please follow the steps below.
If you want to be able to connect FROM your Windows powered device to other devices as well as receive remote control sessions, please click here.
Instructions for one-way help installation
So, to confirm, follow these steps if you just need to enable remote access to your DroiX device…
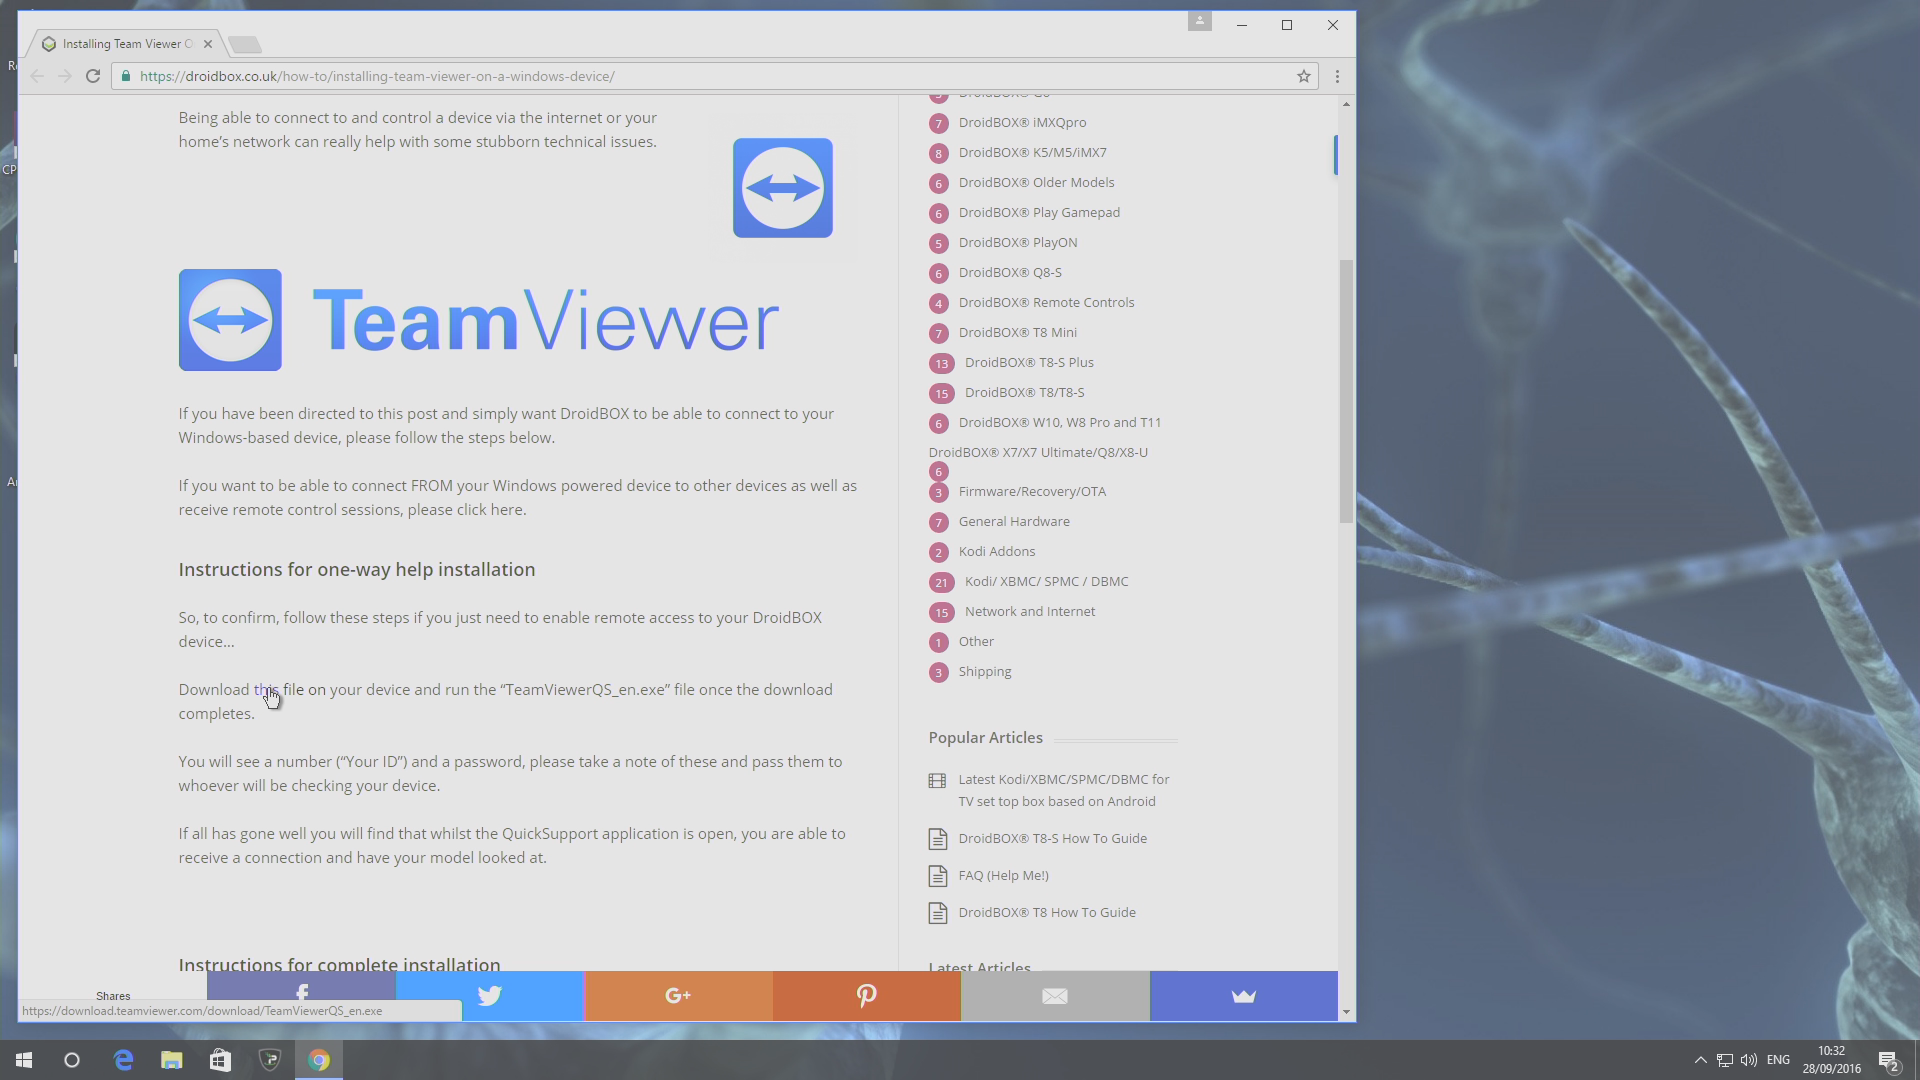
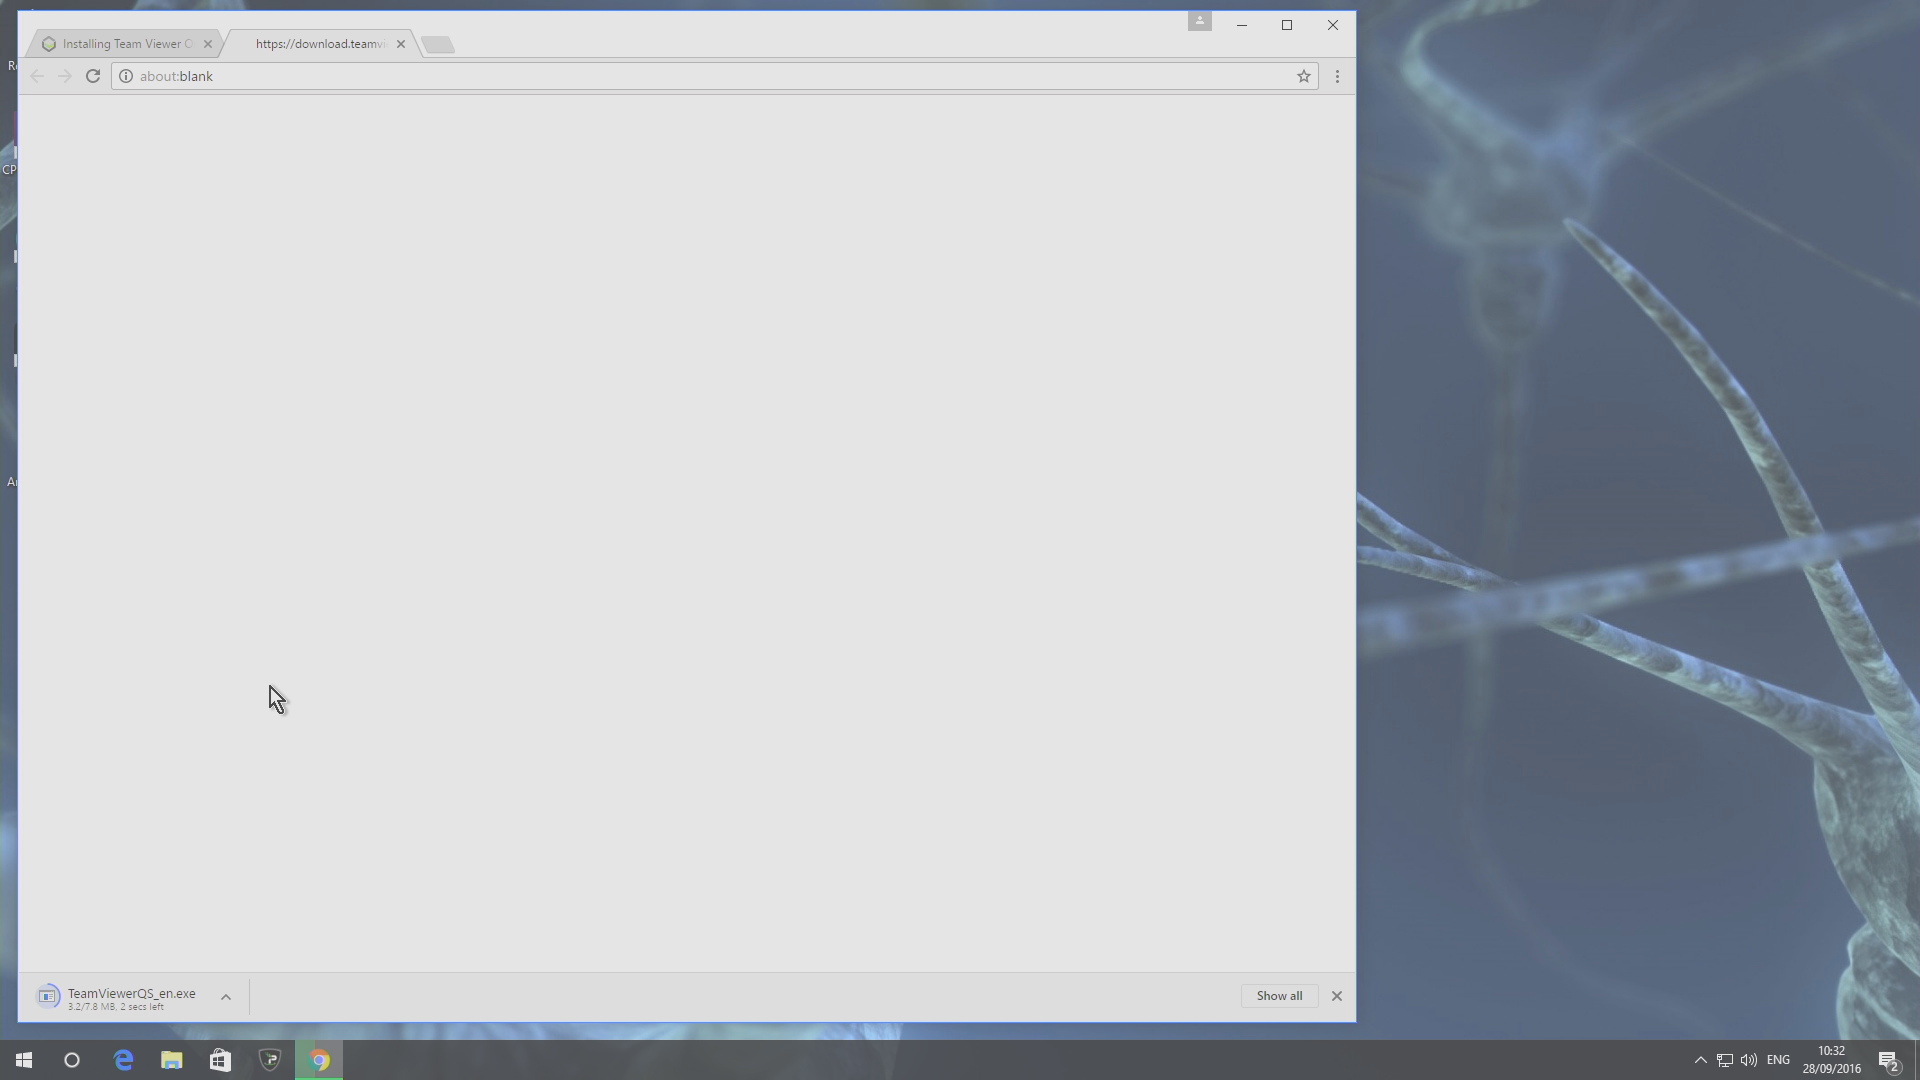
Download this file on your device and run the “TeamViewerQS_en.exe” file once the download completes.
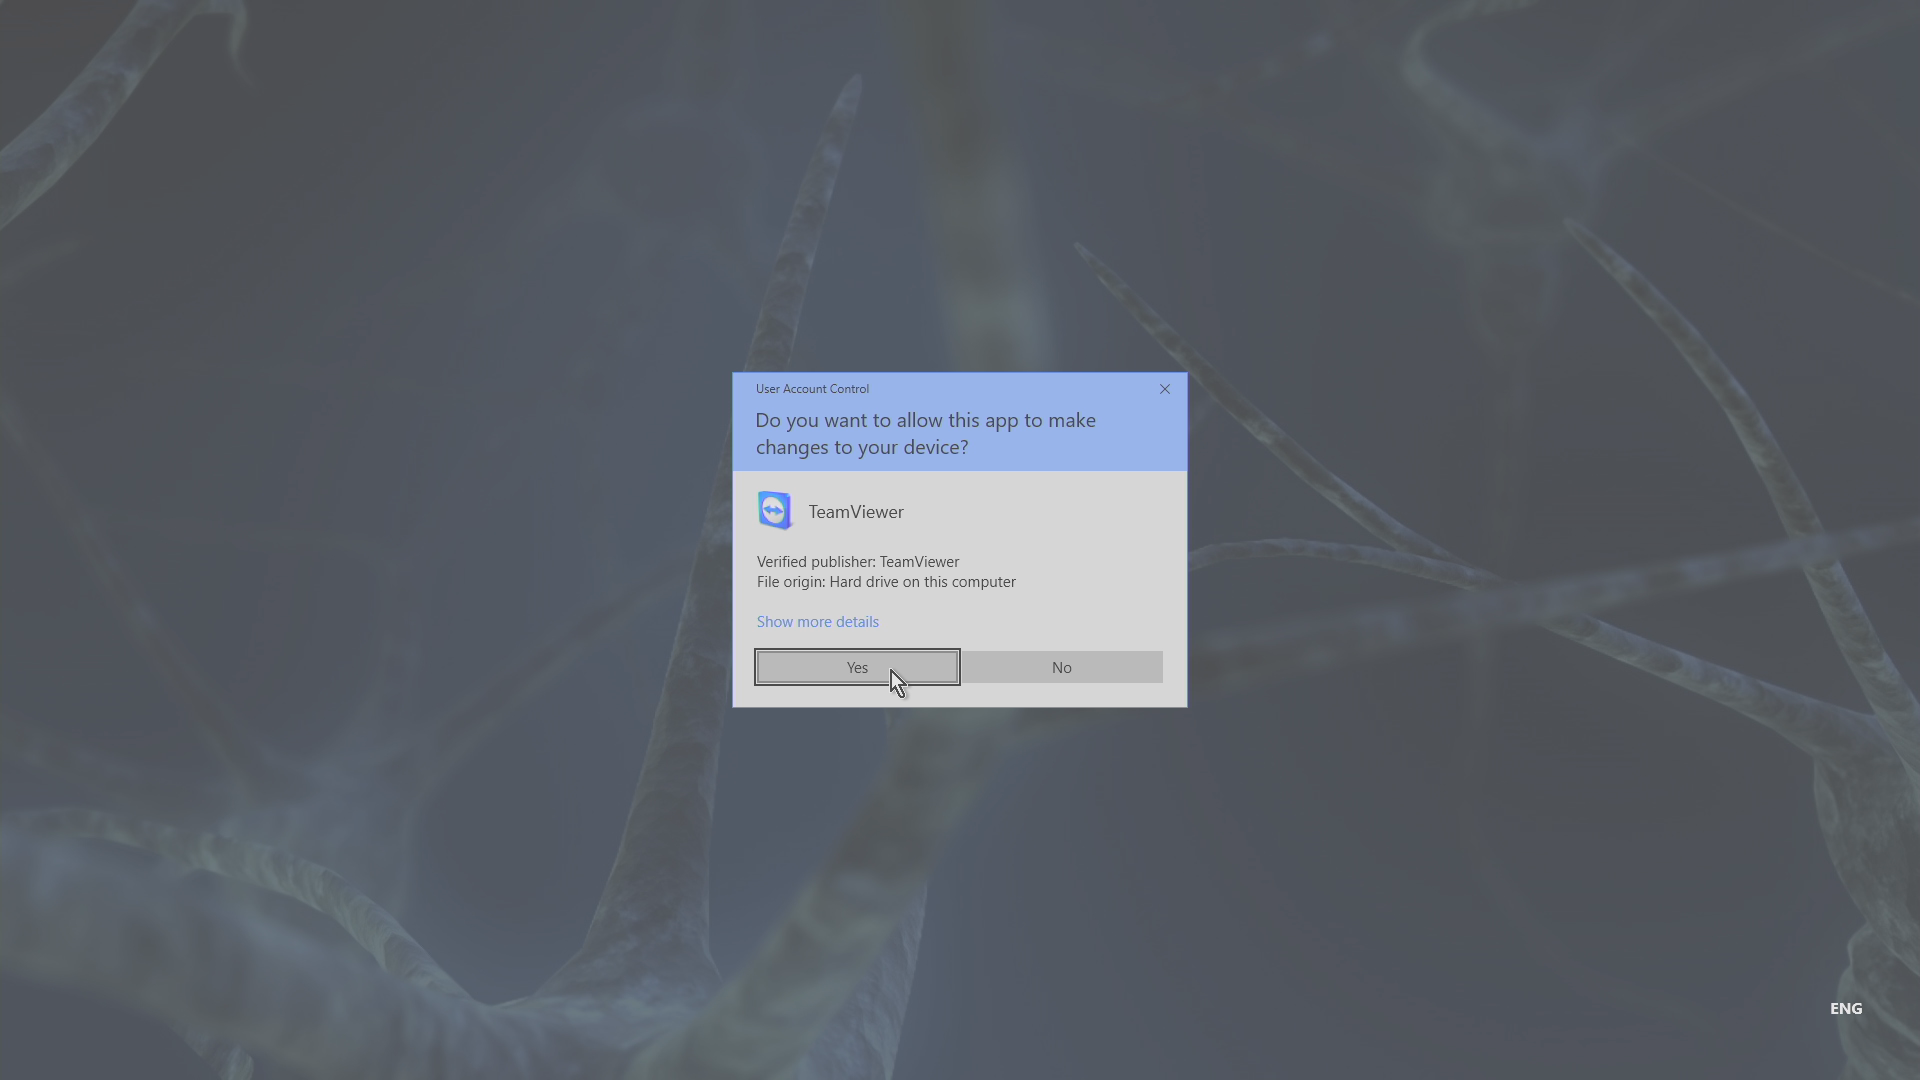
When asked if you want to allow QuickSupport to make changes, please select the Yes button.
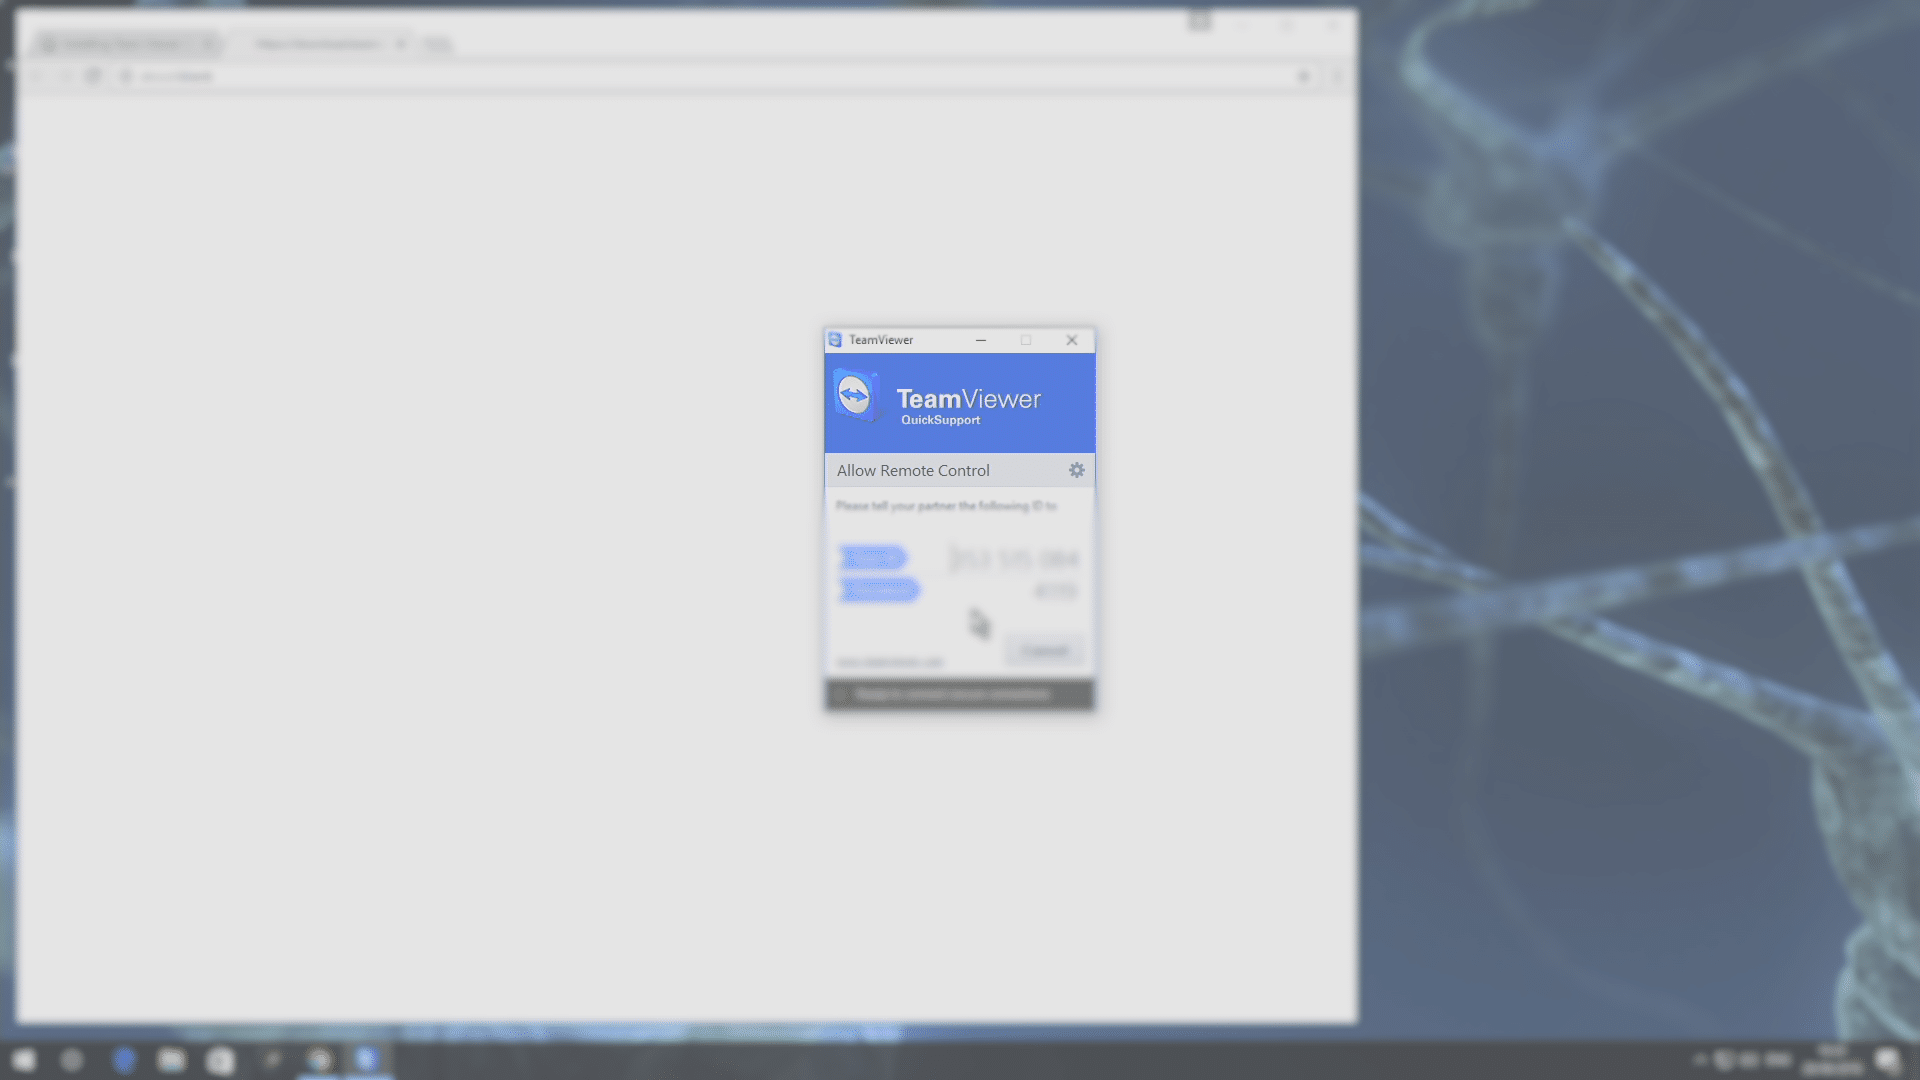
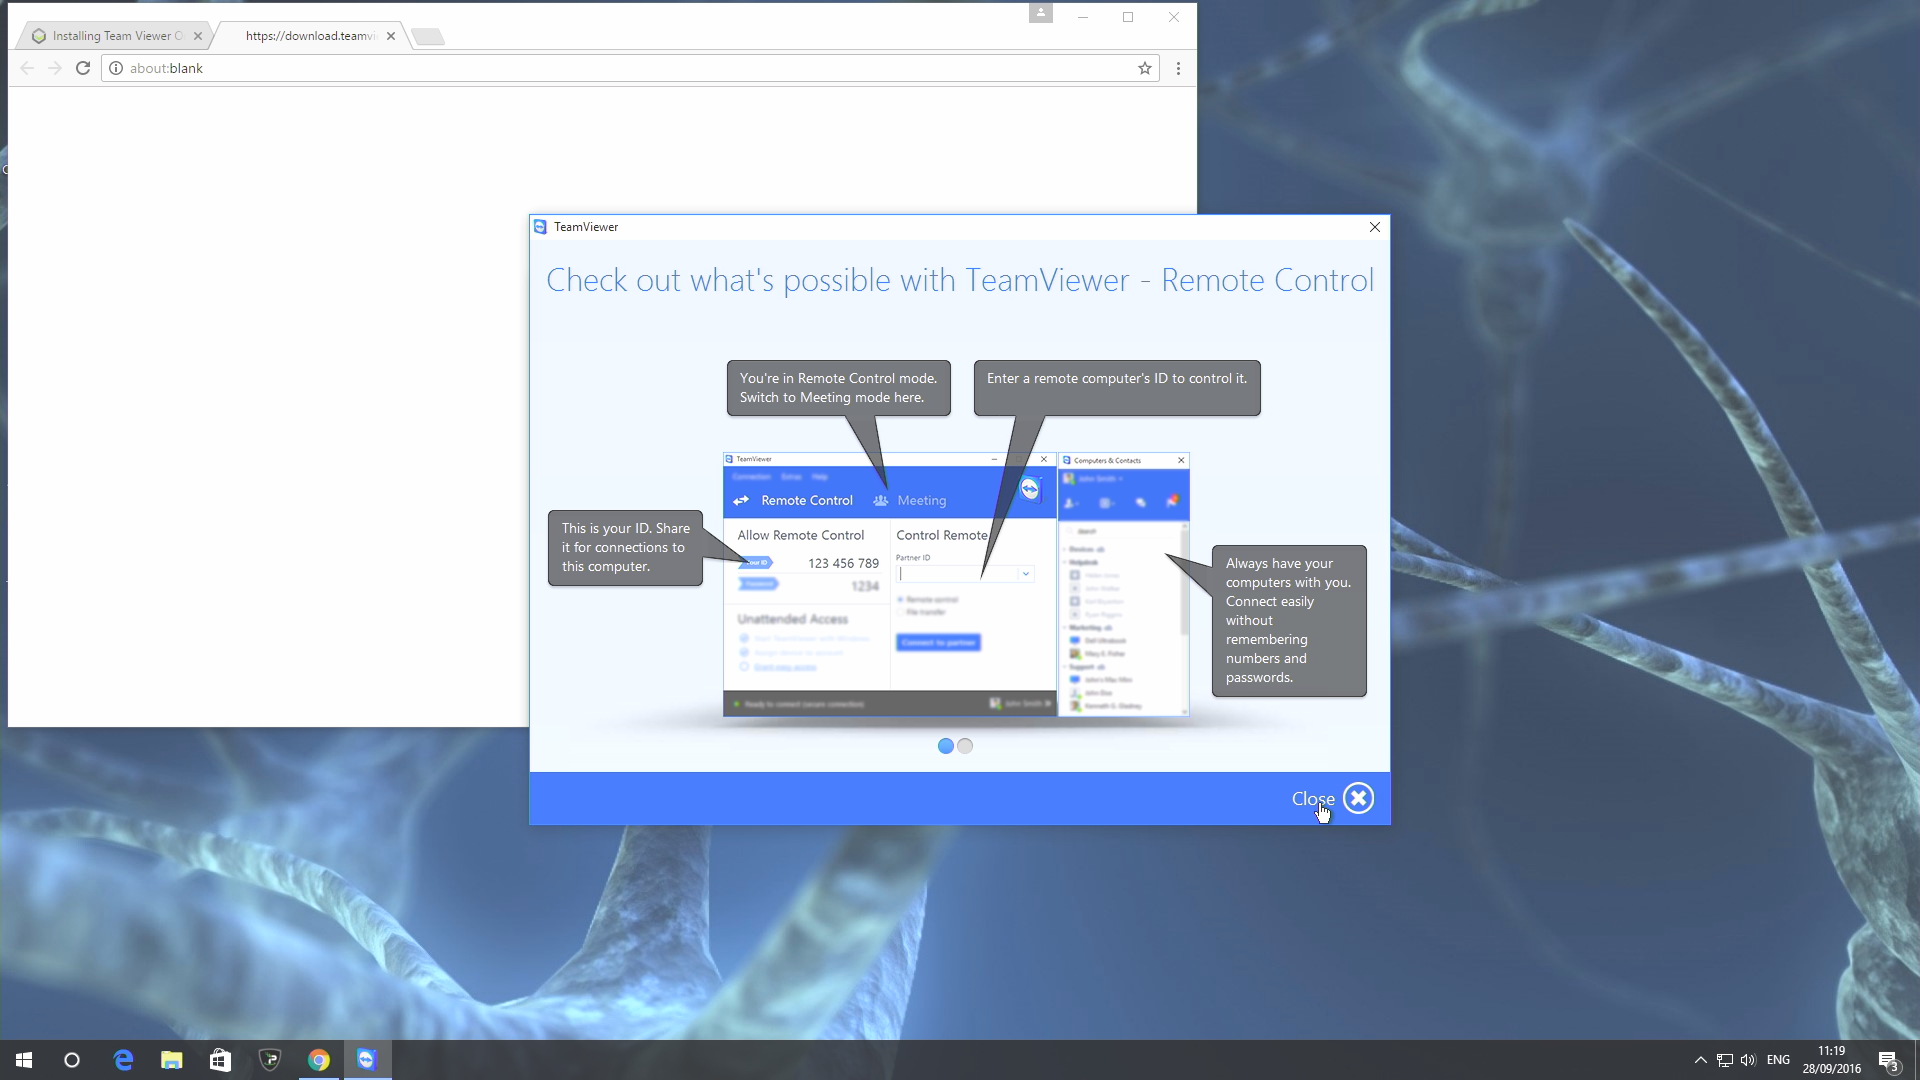
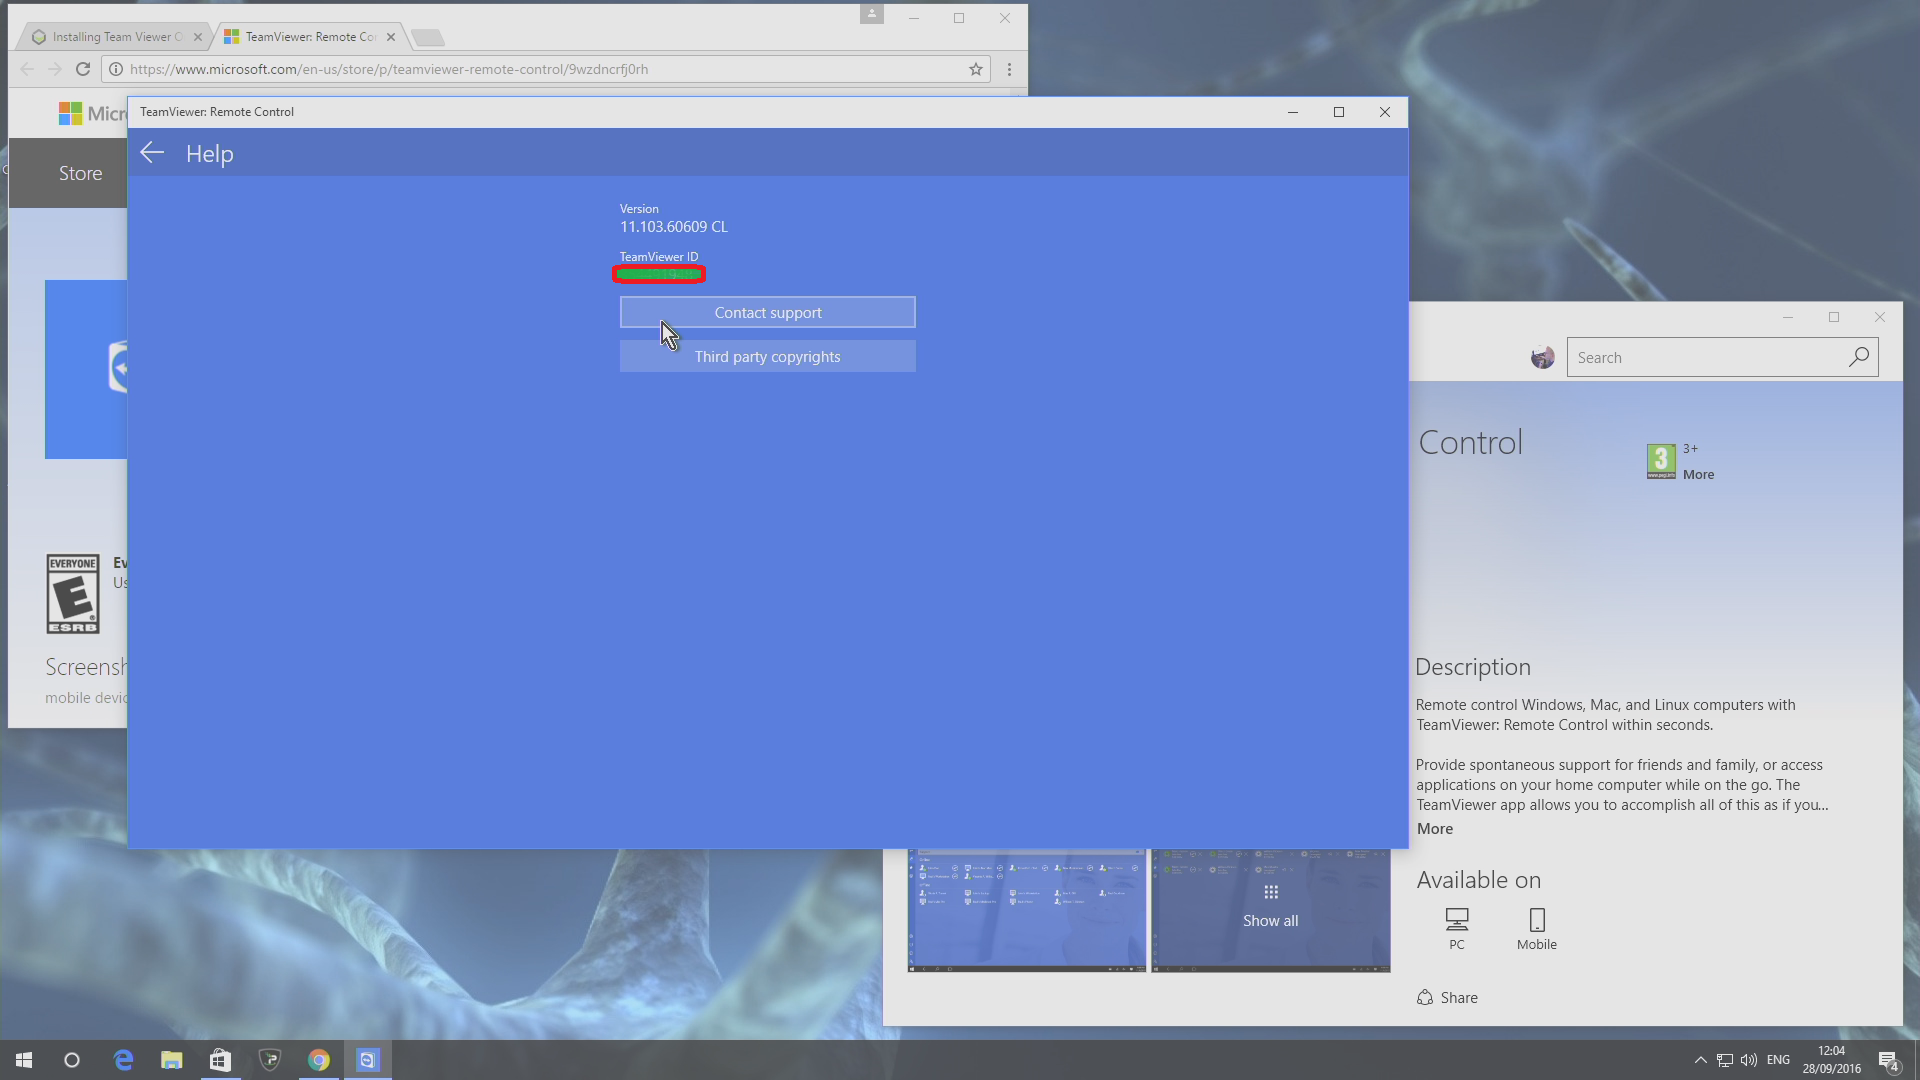
You will see a number (“Your ID”) and a password, please take a note of these and pass them to whoever will be checking your device.
If all has gone well you will find that whilst the QuickSupport application is open, you are able to receive a connection and have your model looked at.
Instructions for complete installation
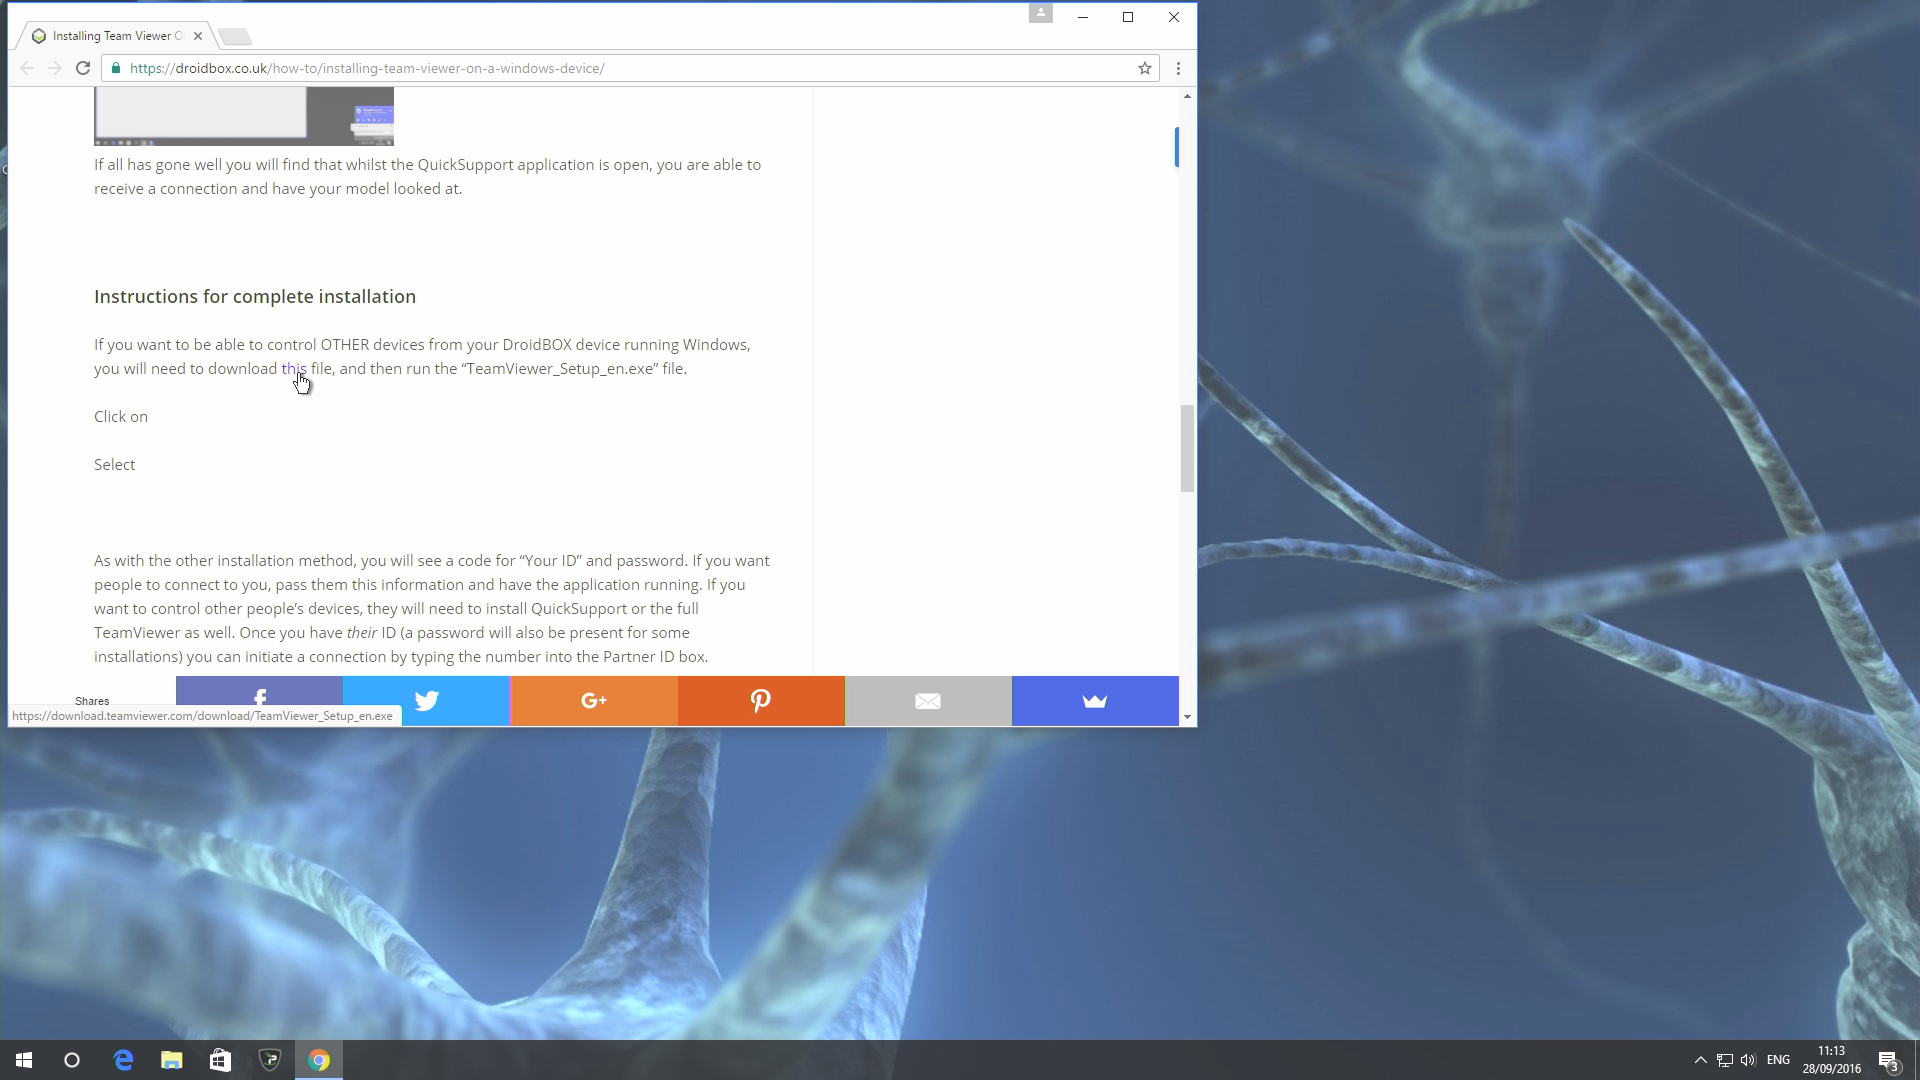
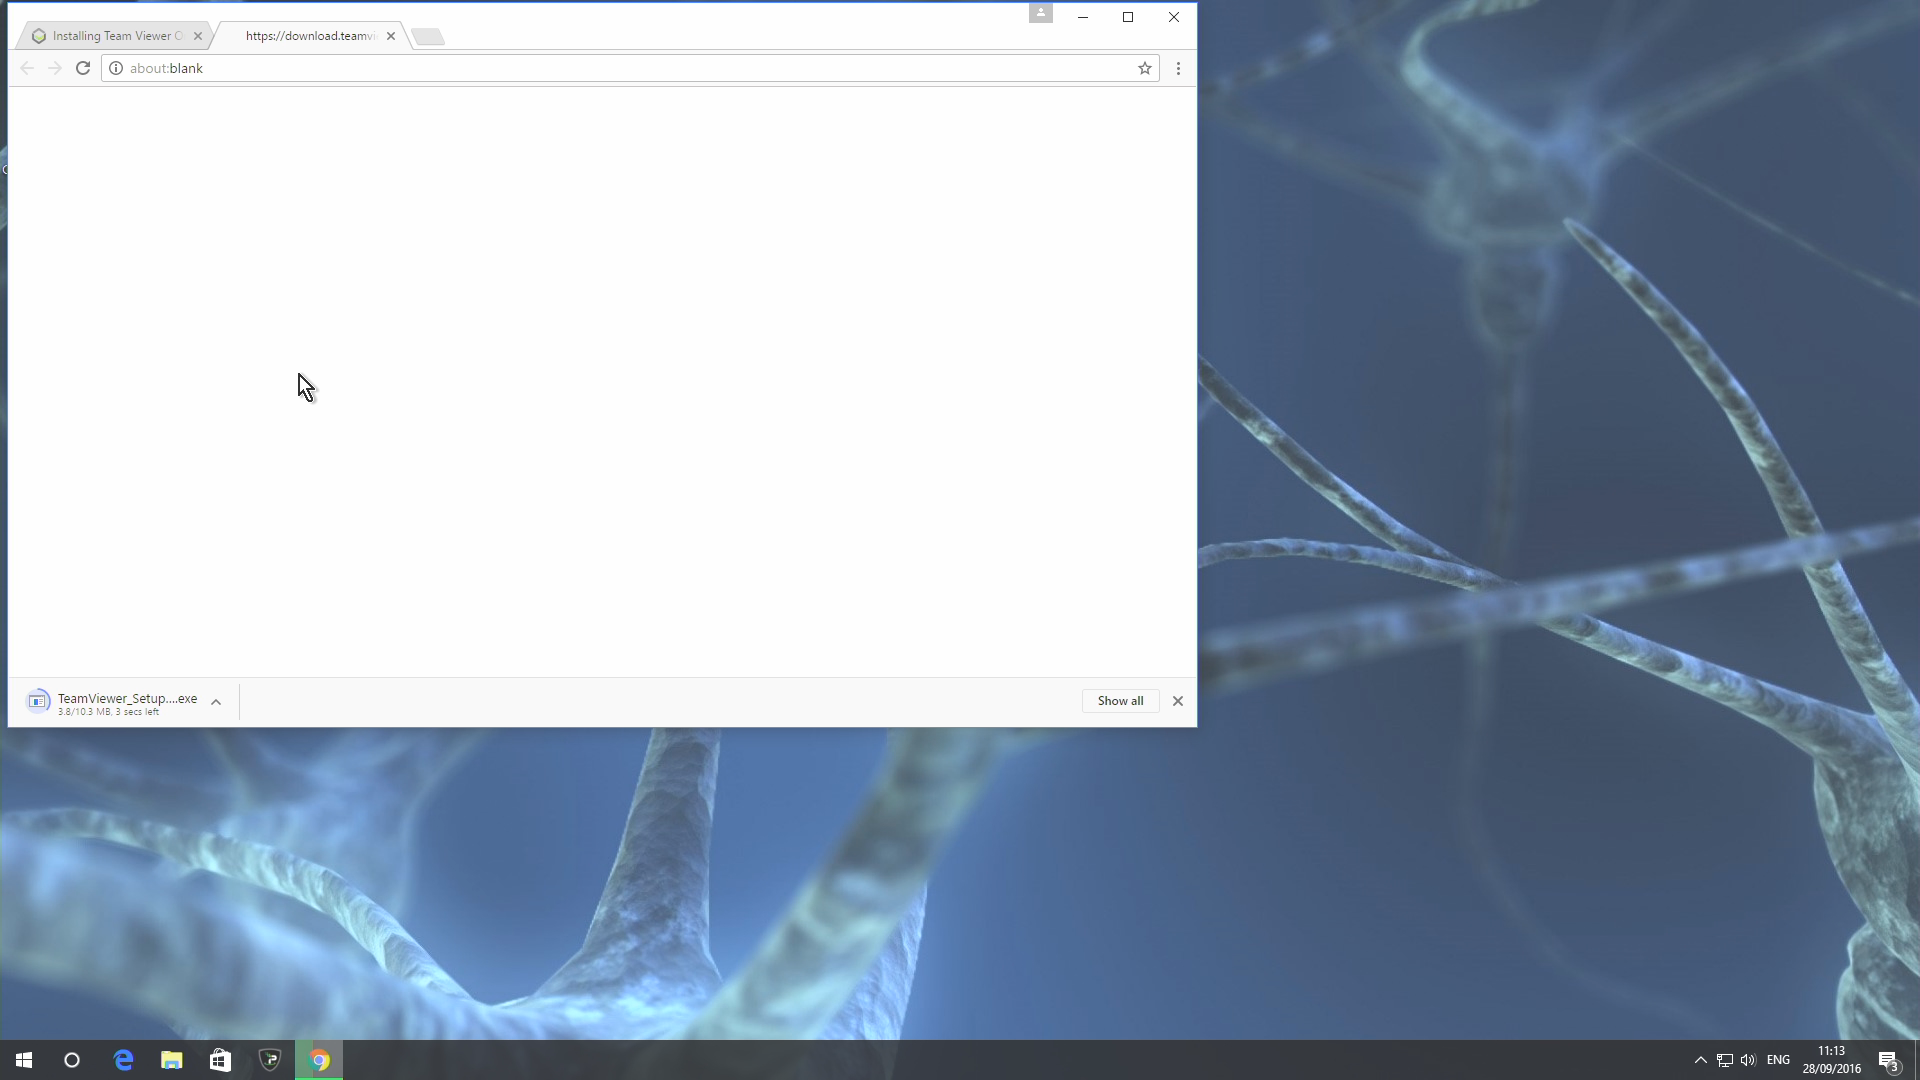
If you want to be able to control OTHER devices from your DroiX device running Windows, you will need to download this file, and then run the “TeamViewer_Setup_en.exe” file.
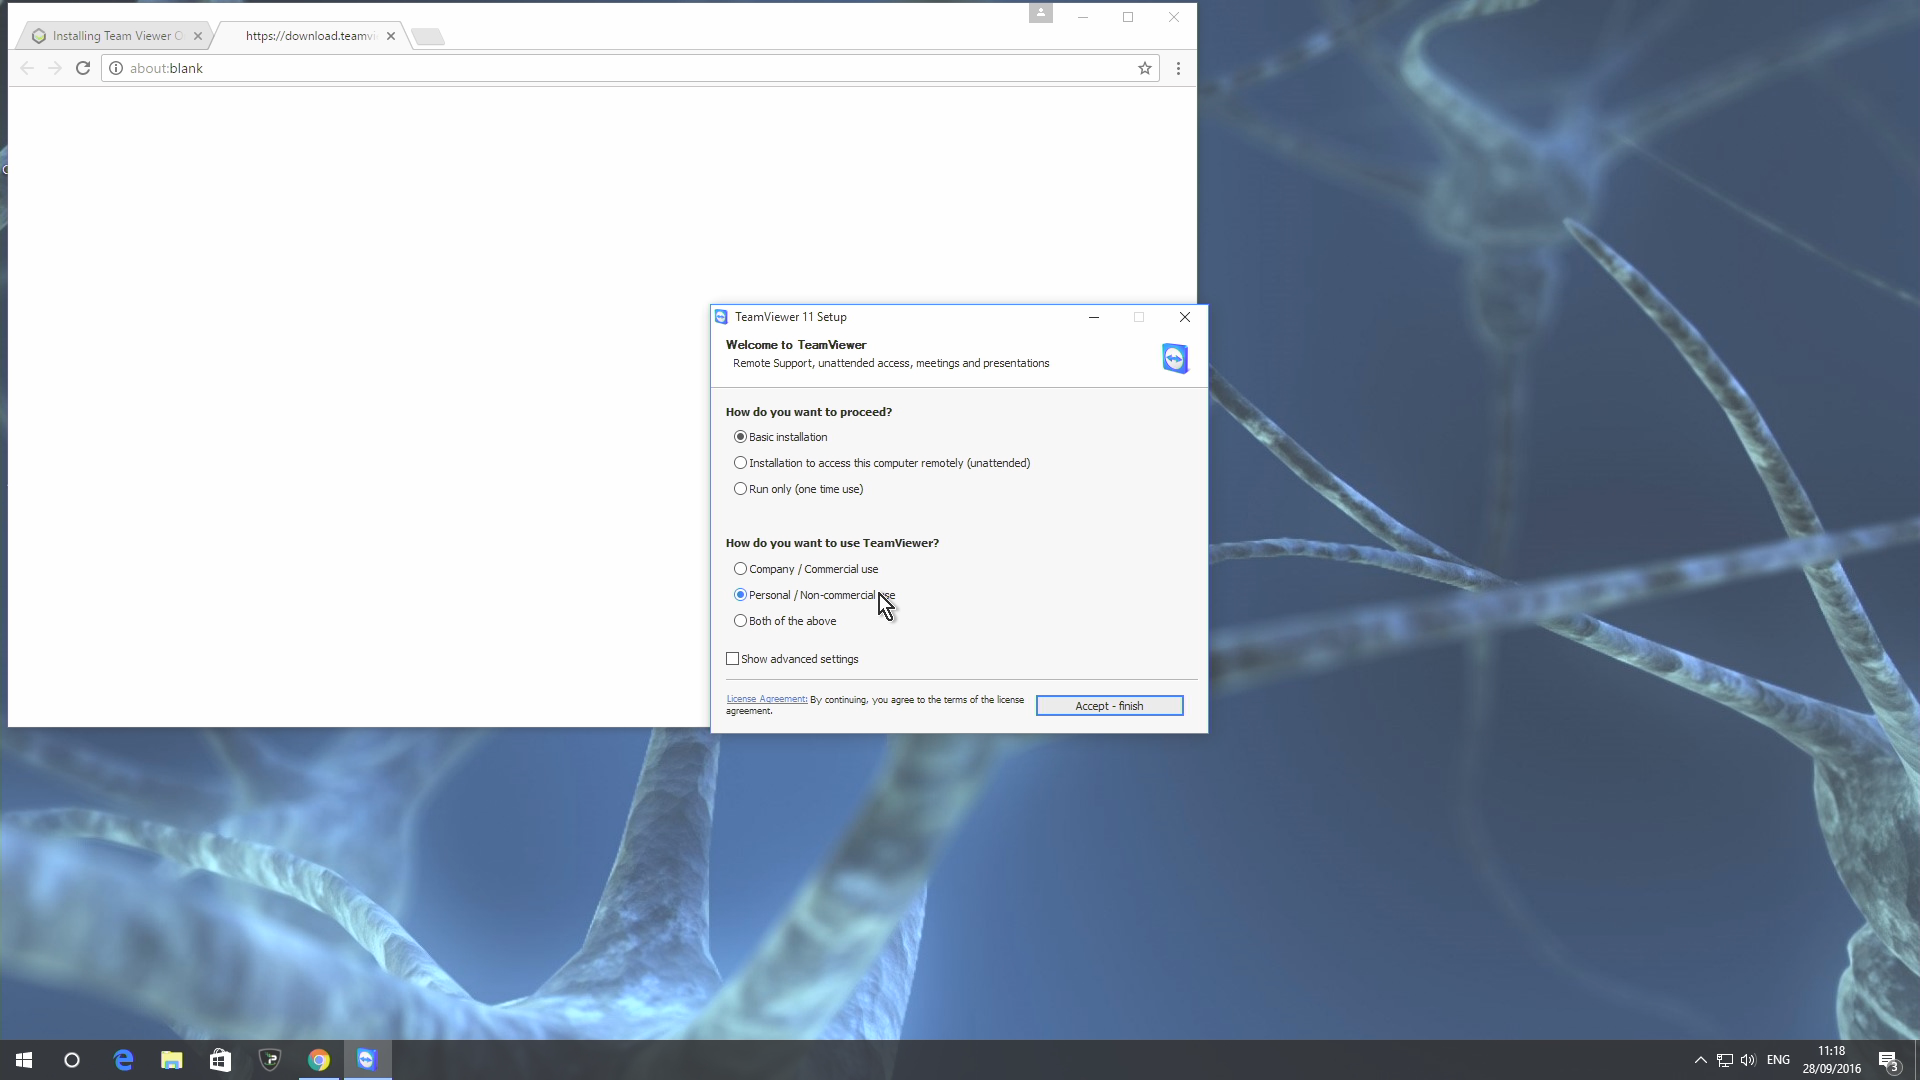
Click on the Personal / Non-commercial use entry, then the “Accept – finish” button
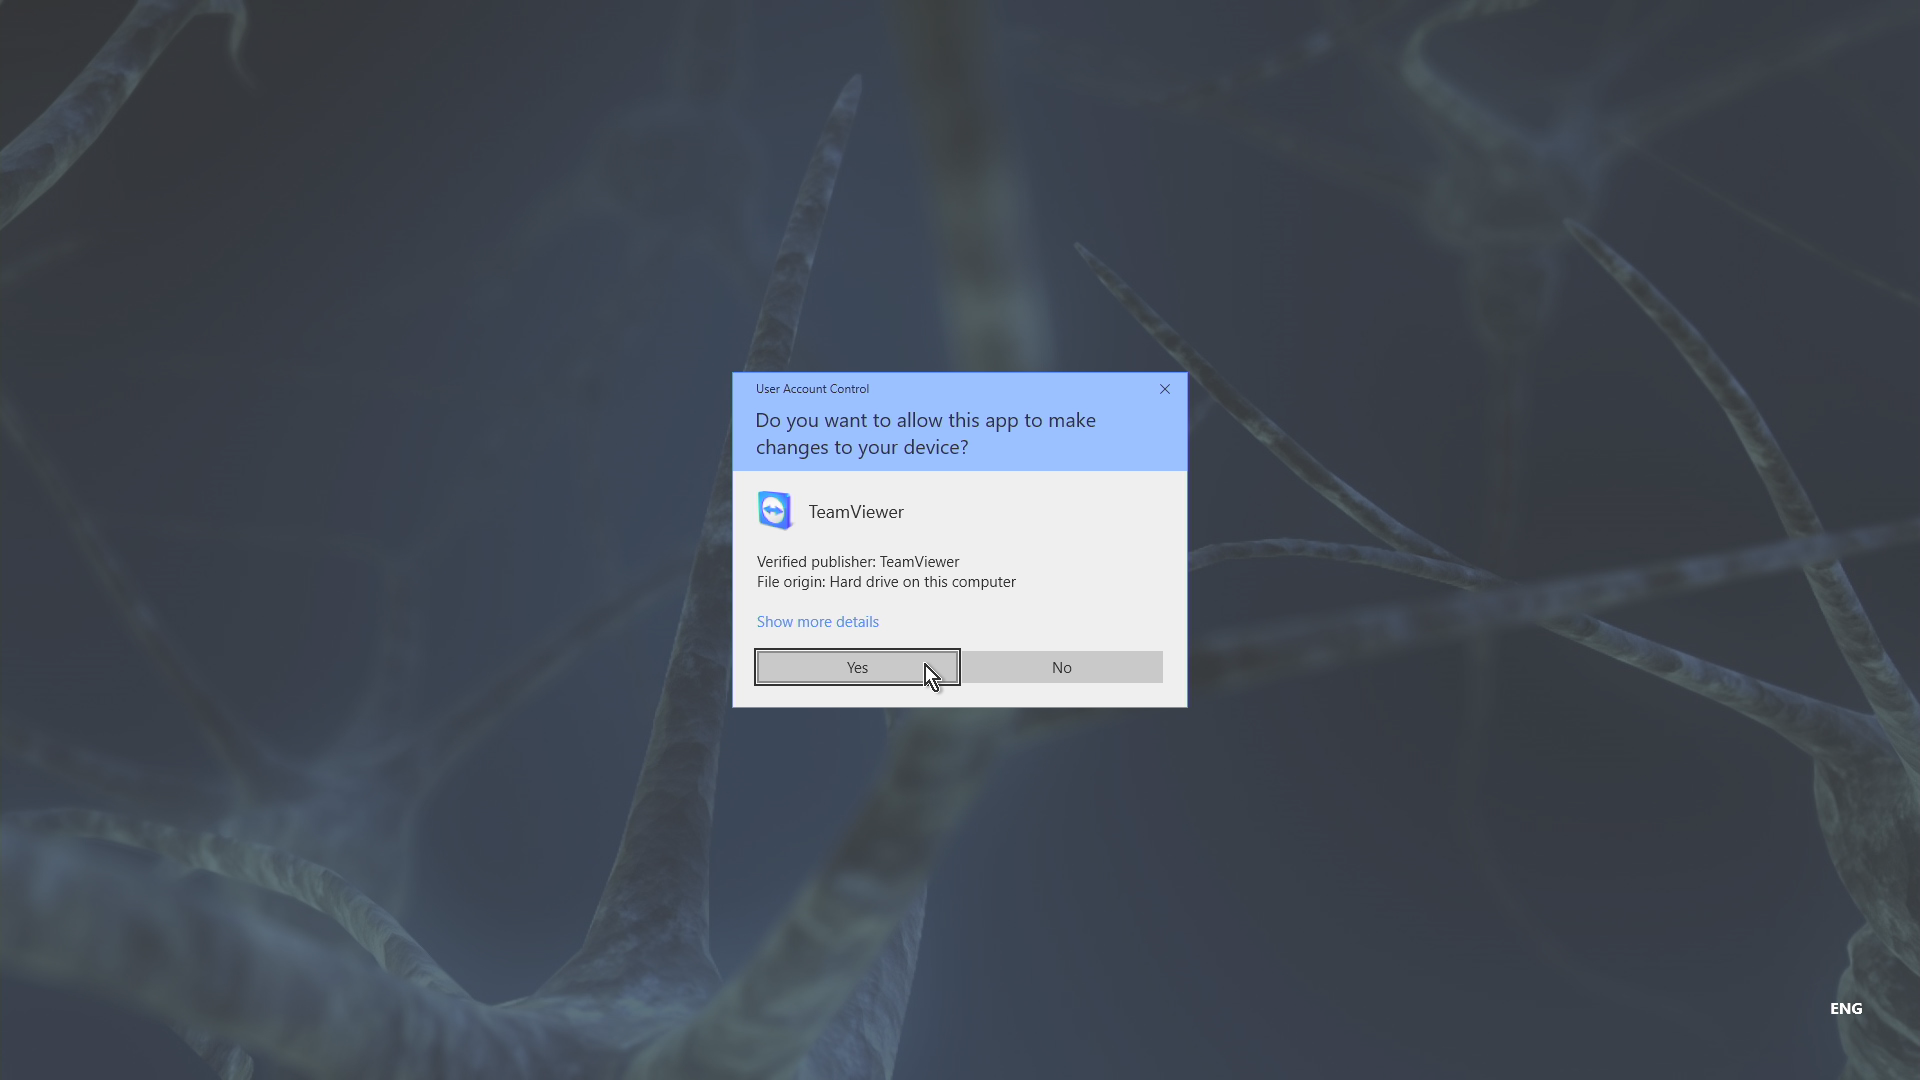
Select Yes button when asked if you want to allow QuickSupport to make changes.
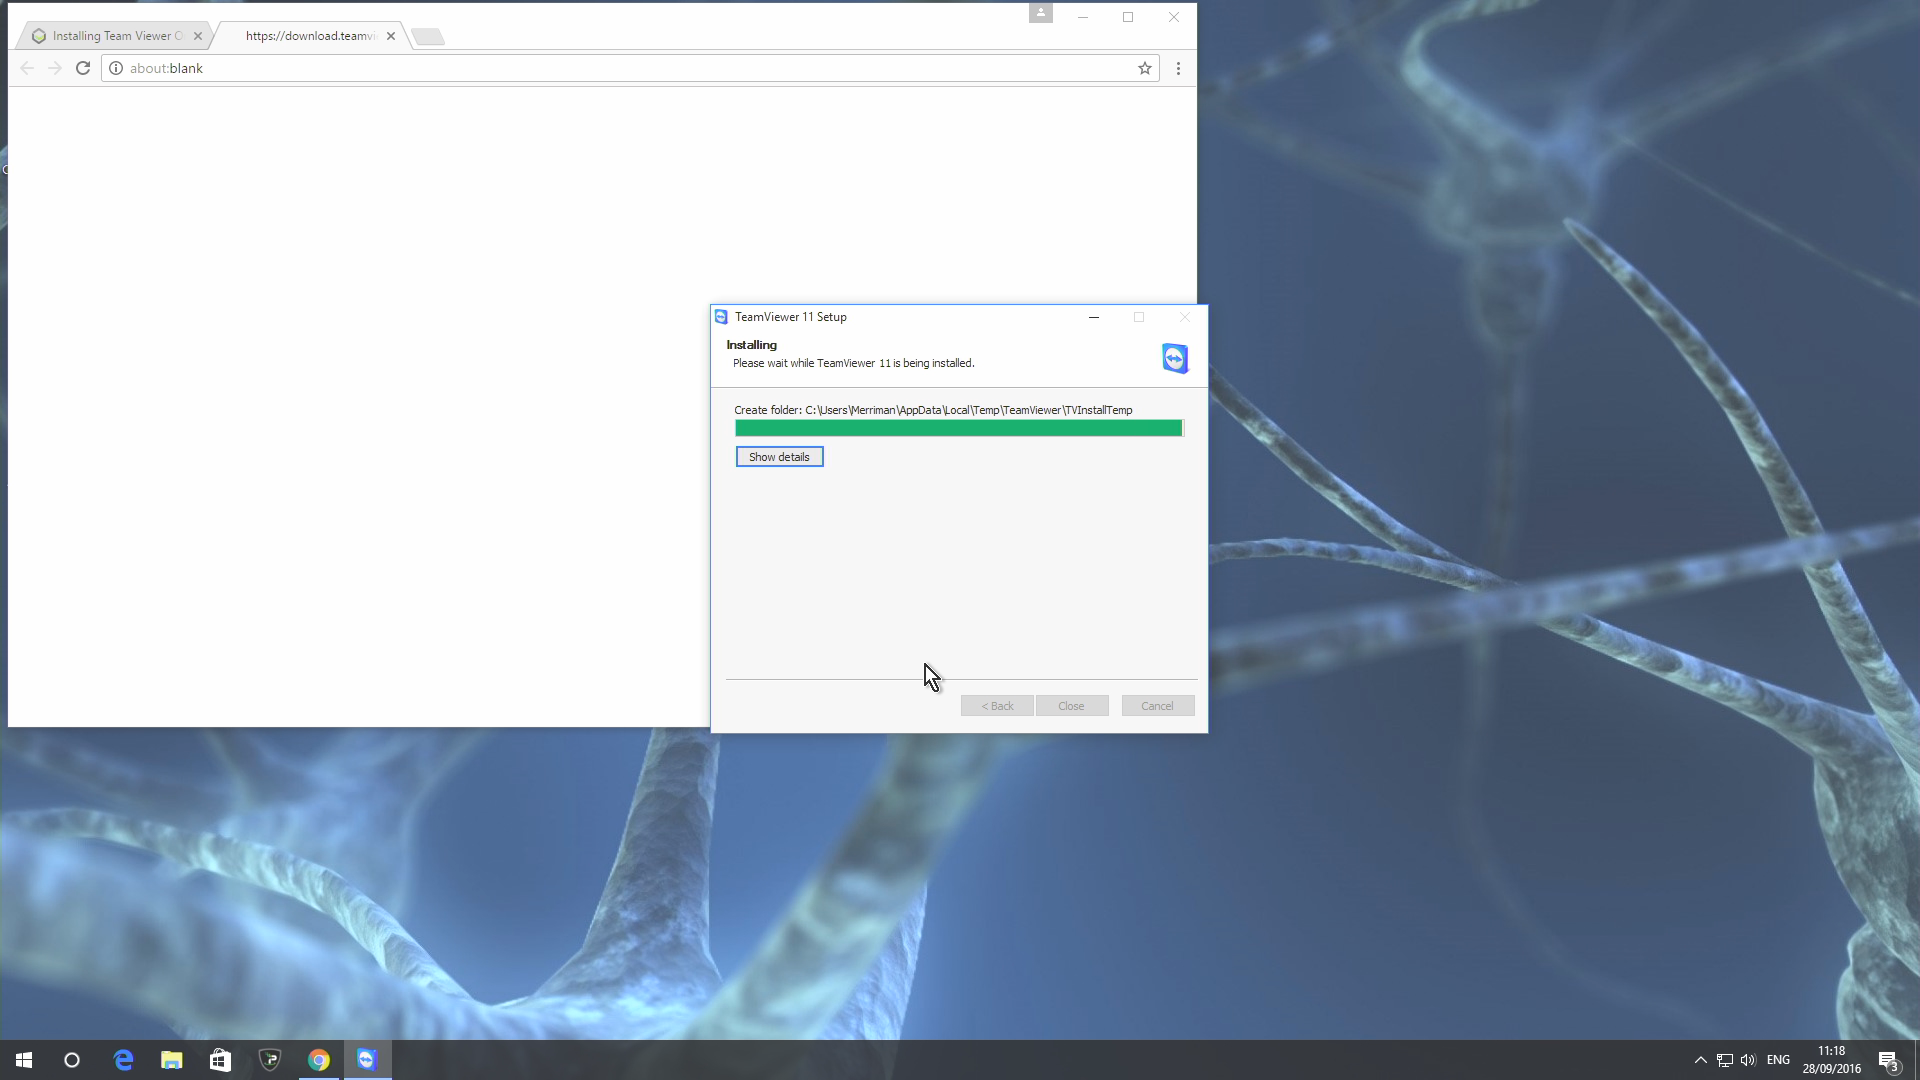
Allow the installation to complete and then click the Close button

As with the other installation method, you will see a code for “Your ID” and password. If you want people to connect to you, pass them this information and have the application running.
If you want to control other people’s devices, they will need to install QuickSupport or the full TeamViewer as well. Once you have their ID (a password will also be present for some installations) you can initiate a connection by typing the number into the Partner ID box.
NOTE – Windows Store Based Installs
You can also download and install TeamViewer via Microsoft’s Windows Store. Click this link or search the store for TeamViewer and install it using the steps listed below. You may however need to register for a TeamViewer account if you use this installation method.


In both cases, you should now see something similar to the screenshot above, press the Install button in the Store.
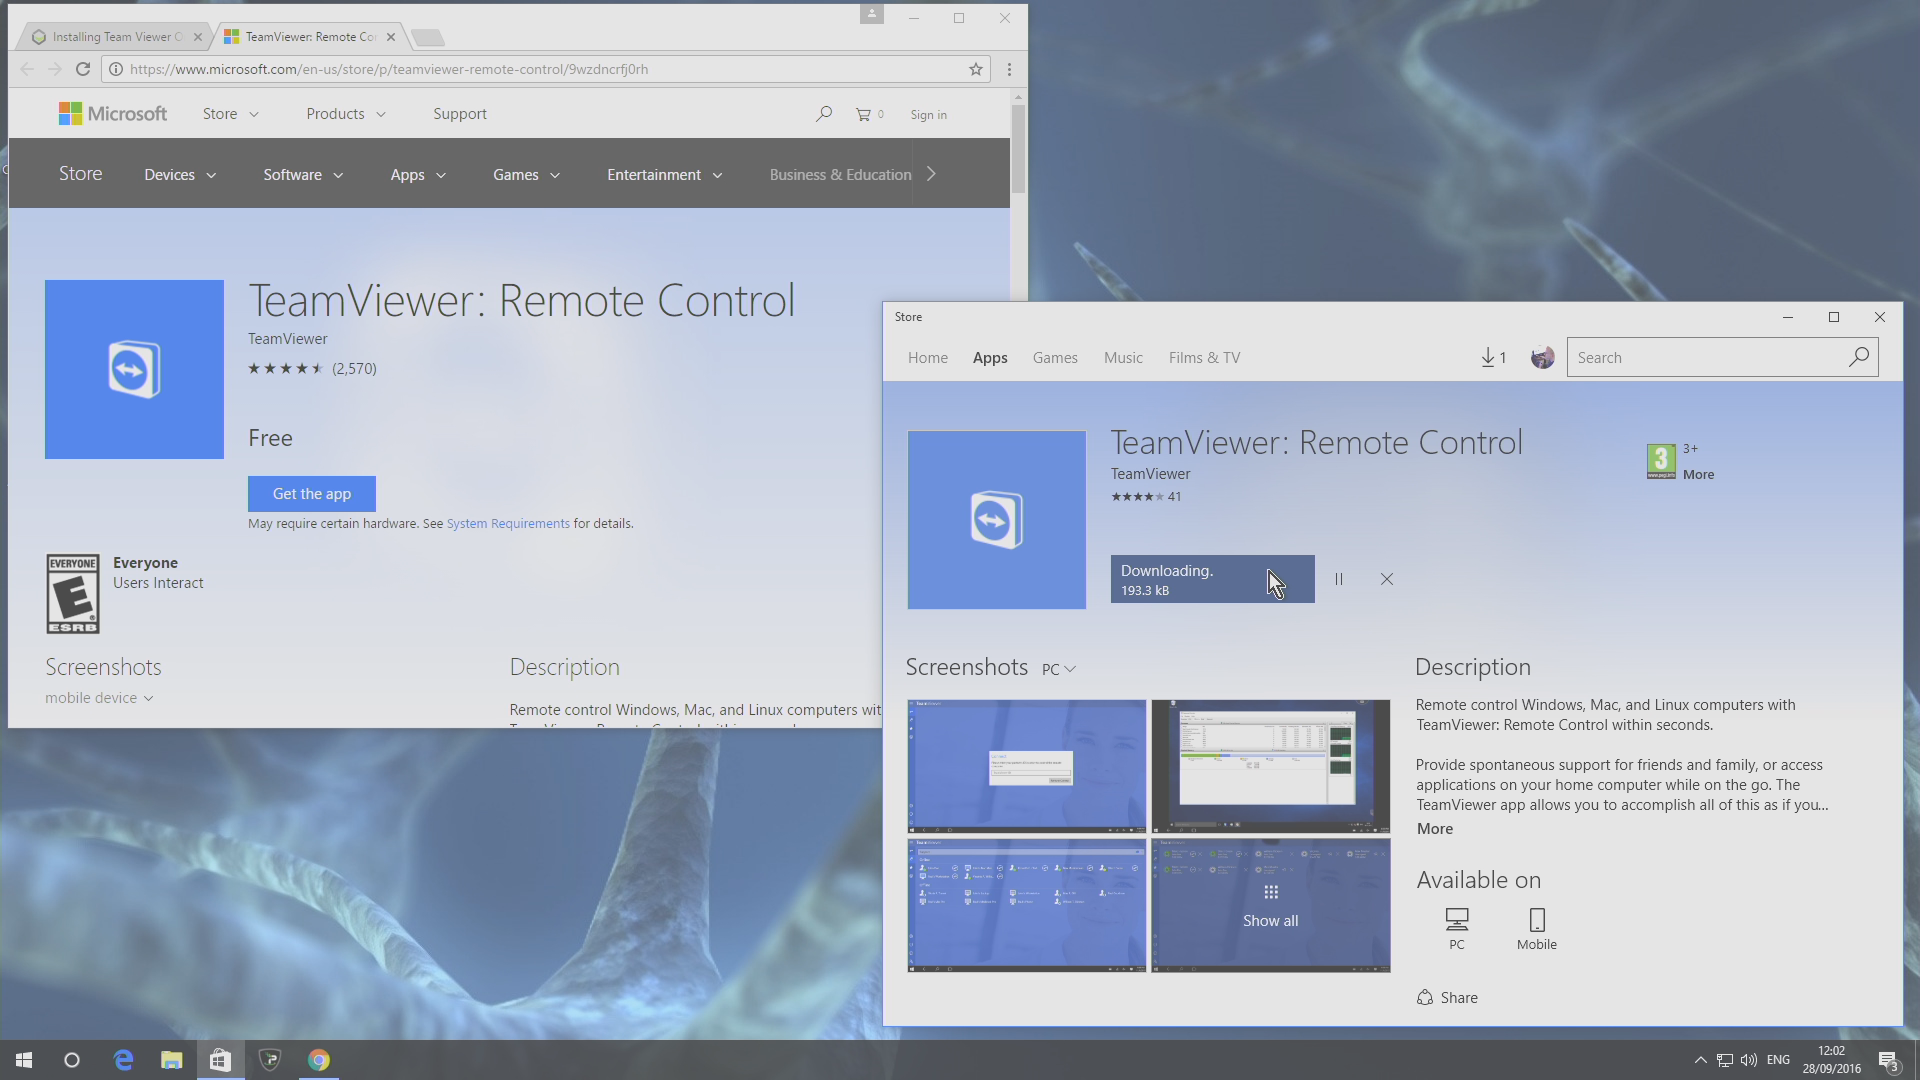

You will be informed the app is downloading and retrieving data. After this completes, click the Launch button
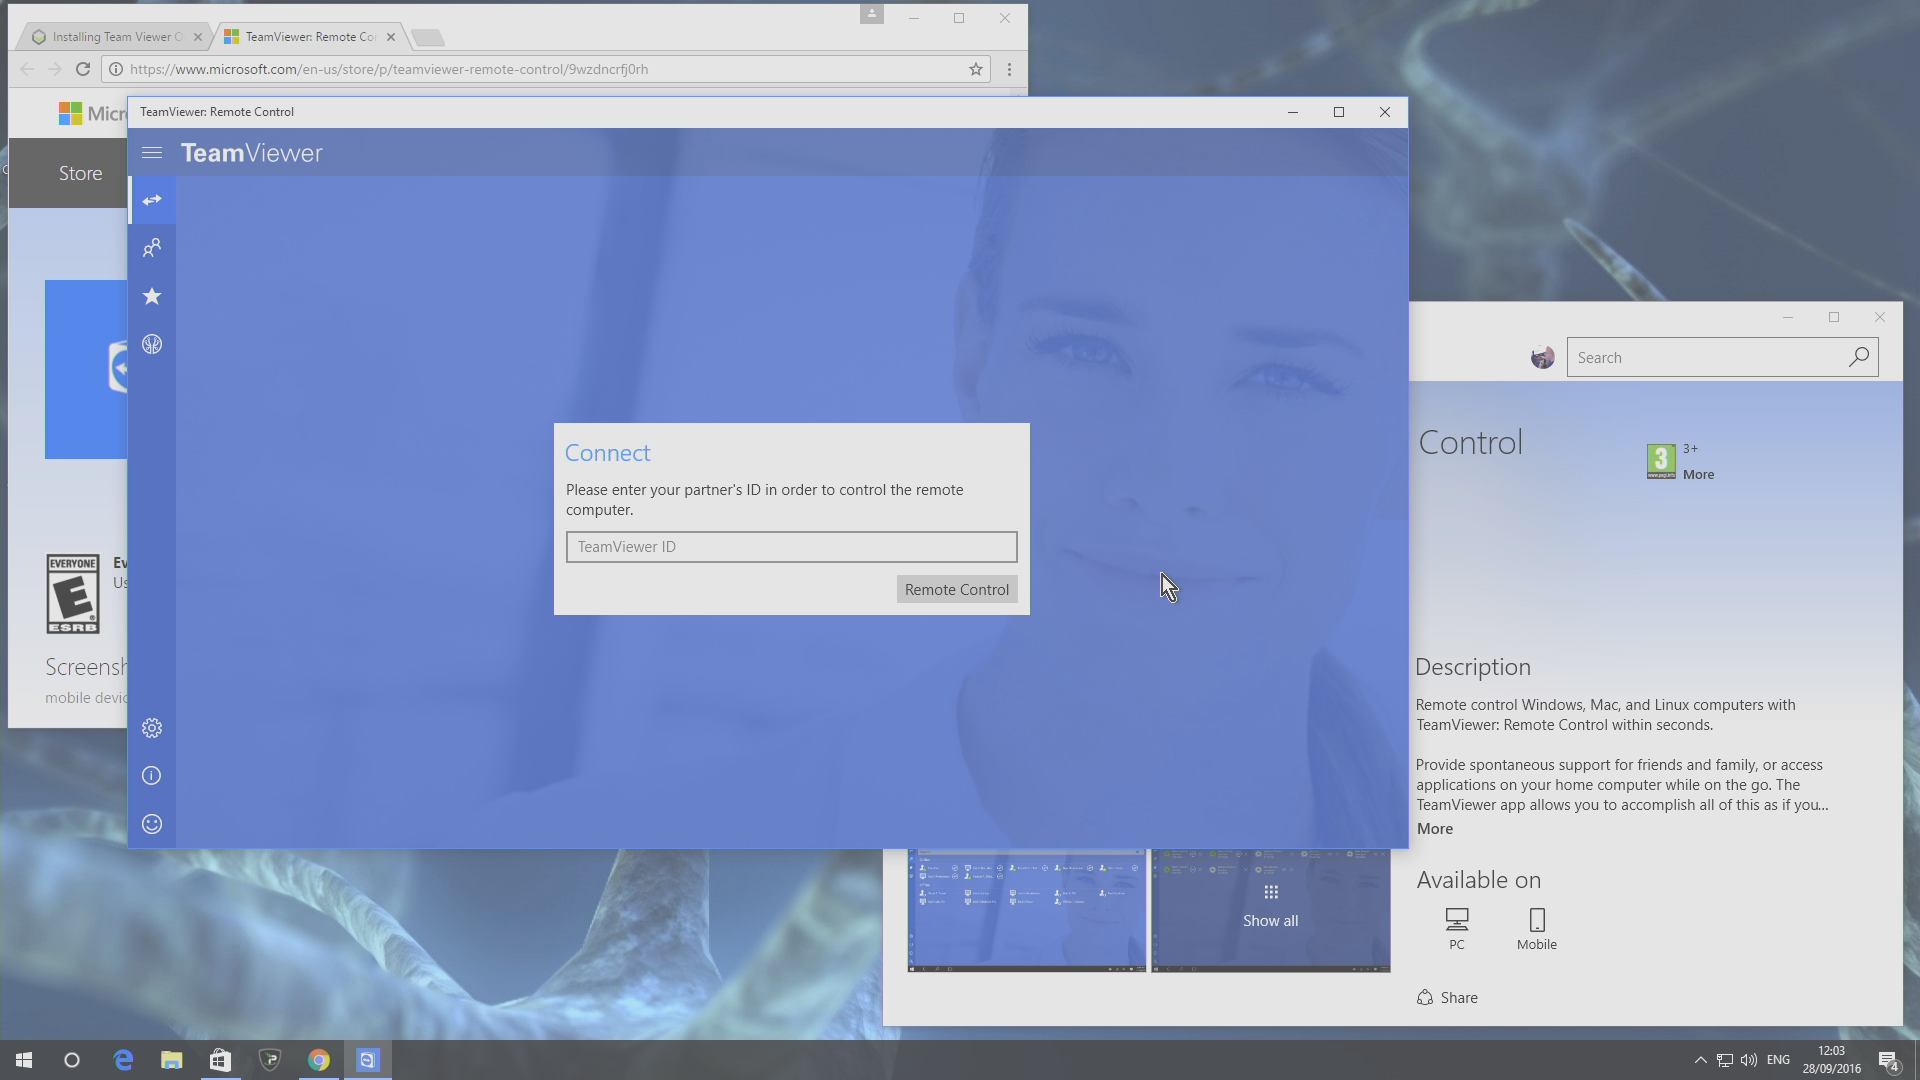
As with the desktop application version of Team Viewer, you can both receive remote connections and initiate them.

