

One of the biggest new features of the RG351P/M is the introduction of online play. This is made possible through RetroArch’s built-in netplay functionality.
We at Droix figured we’d make a small guide showing you how to get it up and running in the fastest possible way, as it might not be immediately apparent, and requires a small amount of setup, so read on and find out!
How It Works
RetroArch enables multiplayer through the process of synchronizing the state of the game across all connected users over the internet, through the game’s native local multiplayer system. This is slightly different from traditional online play.
Typically online multiplayer works something like this:

Everyone has their own console, their own game, and can easily join each-other through built in matchmaking or online party systems.
RetroArch however instead does the following (approximately):
- It synchronizes the game state -exactly- between all connected players
- Connected players each act as a different controller input.
So in execution it acts as if someone plugged a controller with a REALLY long cable into the Player 2/3/4 port of whatever console you’re emulating, so something like this:

(There are also built in measures to combat lag in the form of “rollback”, but that’s beyond the scope of this guide.)
So when playing online, there are two important things you must make sure of:
- That all players must have the EXACT SAME copy of the game, and…
- That the game itself actually supports local multiplayer
In addition, PS1, N64 and Dreamcast titles do not support online play at this point in time.
Getting Started
First of all, you’ll need to connect to your Wi-Fi connection, The RG351 can only recognize signals in the 2.4GHz band, bear in mind.
On the main screen of EmulationStation, press the start button. The main menu will appear.
Navigate to Network Settings, select it, then choose the “WIFI SSID” option. You’ll see a list of all visible nearby internet connections.
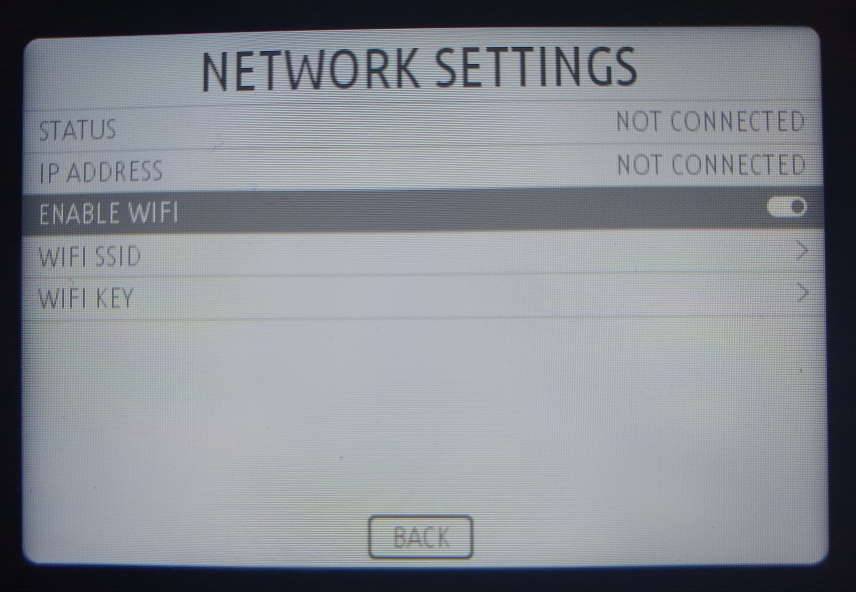
Once you’ve located and selected the one you wish to connect to, select the “WIFI KEY” option, then input the password for the Wi-Fi connection (if applicable).
Once finished, select the “BACK” button. The system will freeze for a minute, indicating it is currently attempting to connect.
If successful, when you open the Network Settings menu again, the “STATUS” should read “CONNECTED”, and you should also be able to see your device’s (local) IP address.
Hosting
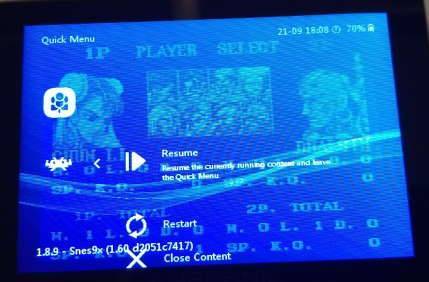
Enter the RetroPie Quick Menu (press the left stick and right stick) and press the B button to go up a level. Then press right on the directional pad or analogue stick until you see an icon that looks like a headset. This is the “Netplay” section.
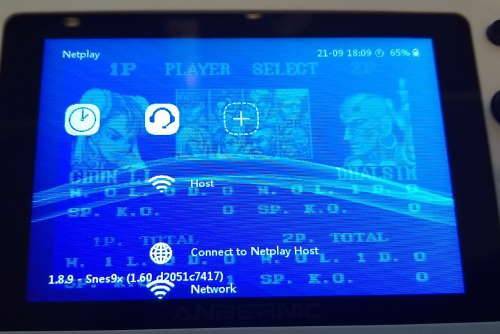
Select the “Host” option. Then scroll down and tick the “Publicly Announce Netplay” option. Scroll back up and select the “Start Netplay Host” option.
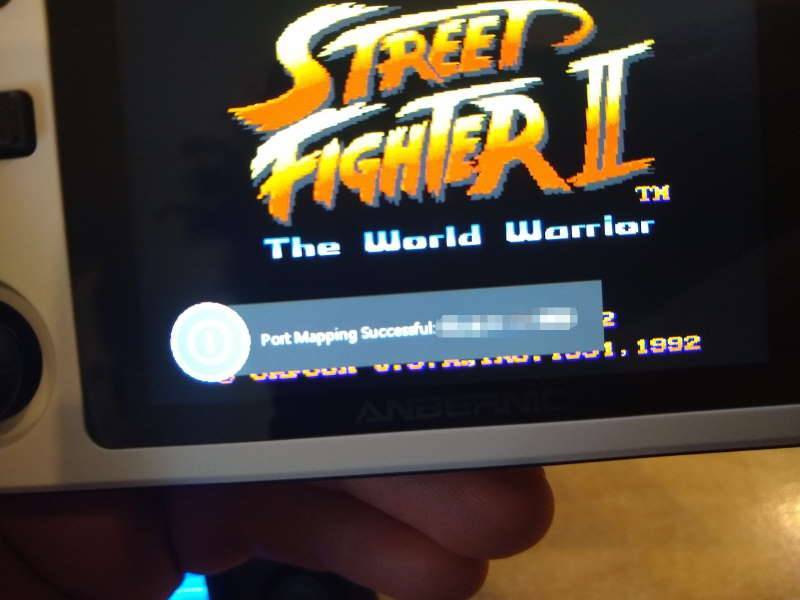
If successful, you should see a message pop up indicating as such (alongside your public-facing IP address).
You are now hosting your room. Once someone joins, they’ll be able to manipulate whatever Player 2(or 3, or 4) can in the respective game.
If you get the error message “Port Mapping Failed” wait a brief moment, then try hosting again.
Joining
Before joining a host, please be aware that the ROM file used needs to be EXACTLY the same between all connected users. If there is any difference whatsoever, an error message along the lines of “Cannot retrieve header” will appear.
As before, enter the RetroPie menu and navigate to the Netplay section.
Scroll to the bottom and select “Refresh Netplay Host List”. You should then see multiple rooms available. These are all other people using RetroArch on various devices (not just RG351’s!) that are hosting netplay sessions for various games.
Find the one that matches the host (you can see the filename for the game being played, as well as the core, build version of retroarch, and the country of the host). When you find a match, select them, and if all is well you’ll be connected.
Your game state will immediately advance so that it mirrors the host, so there is no need to worry about “being on the same screen”, or anything along those lines.
Leaving
Open the RetroPie netplay menu once more. You should see a new option “Disconnect from Netplay Host”. Select this.
The netplay session will end, and you will no longer be synchronized with the host. Your game will continue to run independently however from the same state as when you left.
We hope you’ve found this guide useful! If you’re unsure of anything, have any suggestions, or just want to say thanks, feel free to leave a comment, or send us an email at [email protected]!
You can also purchase (or pre-order, at the time this guide was written) an RG351P of your very own from us here: https://droix.net/products/rg351p-retro-gaming-handheld
