
If you’re reading this post, you either want to use your DroiX® device like a NAS, or possibly want to ensure Kodi is able to write to the storage devices you have attached. If so, scroll down for the details…
We have included relevant screenshots to illustrate the steps required. If you’re unsure how to proceed, please do drop us a line.

First, you will need to sign into Google’s Play Store if you haven’t done so already. Please see https://droix.net/first-run-of-googles-play-store for more details if you’re not sure how to do this.
Once signed in, please check all the applications are up to date. Click the menu button in the top left of the screen, then on to the Your Apps & Games entry. If updates are available, allow them to be processed.

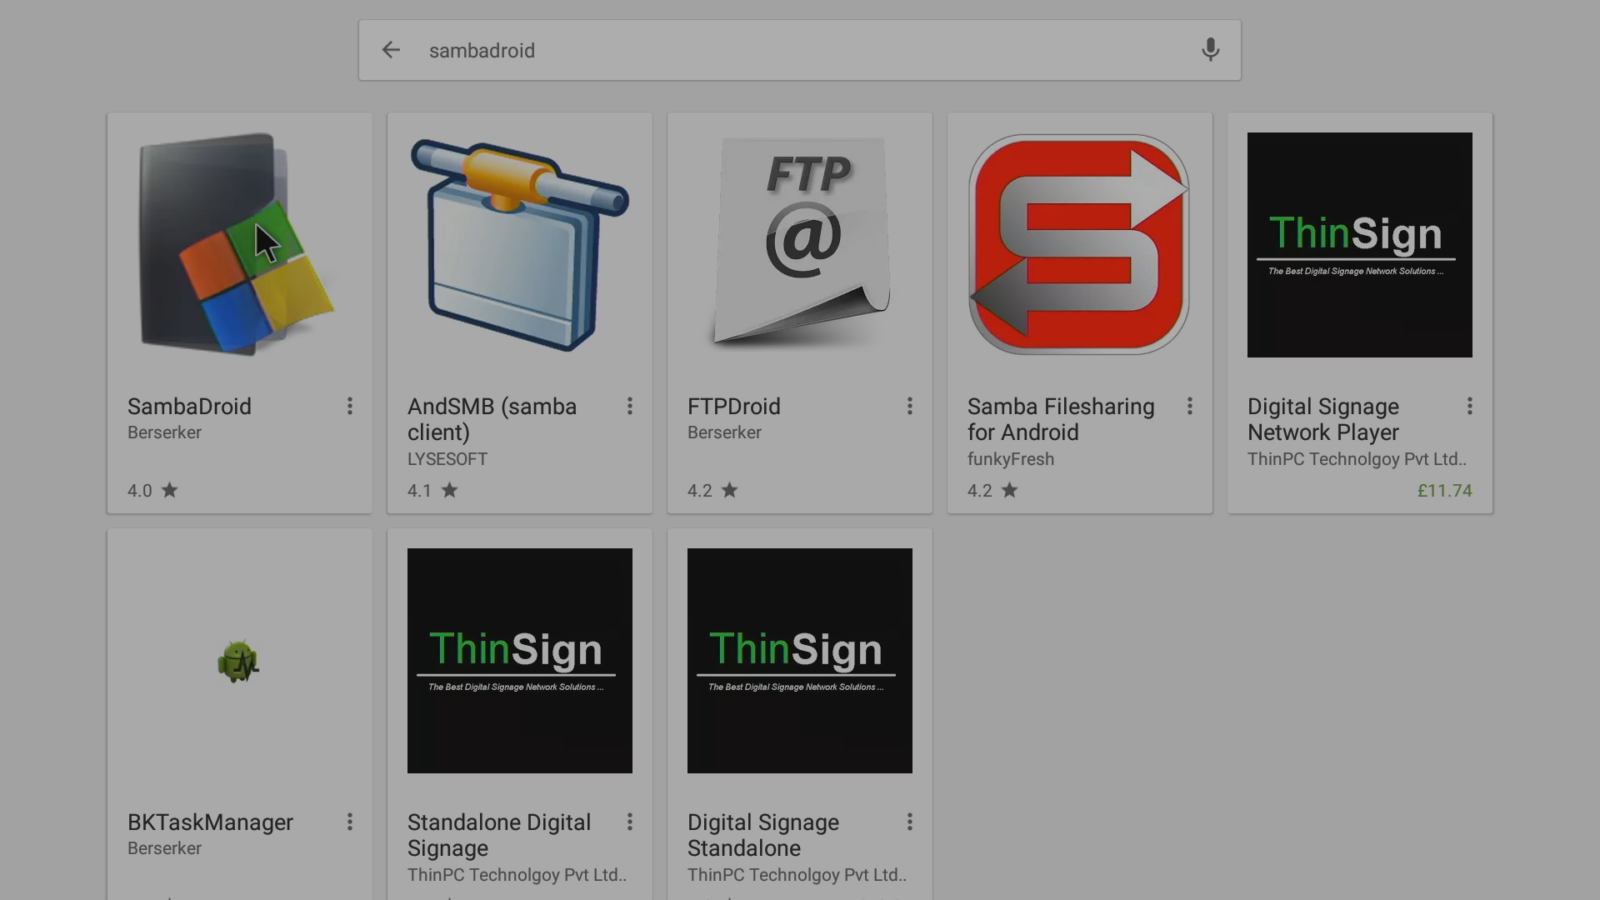
Now click on the search bar at the top and type in sambadroid

Once the Play Store has searched, you should see the SambaDroid entry, please click it


Now select the Install button and wait for the application to download and be installed

Click the Open button
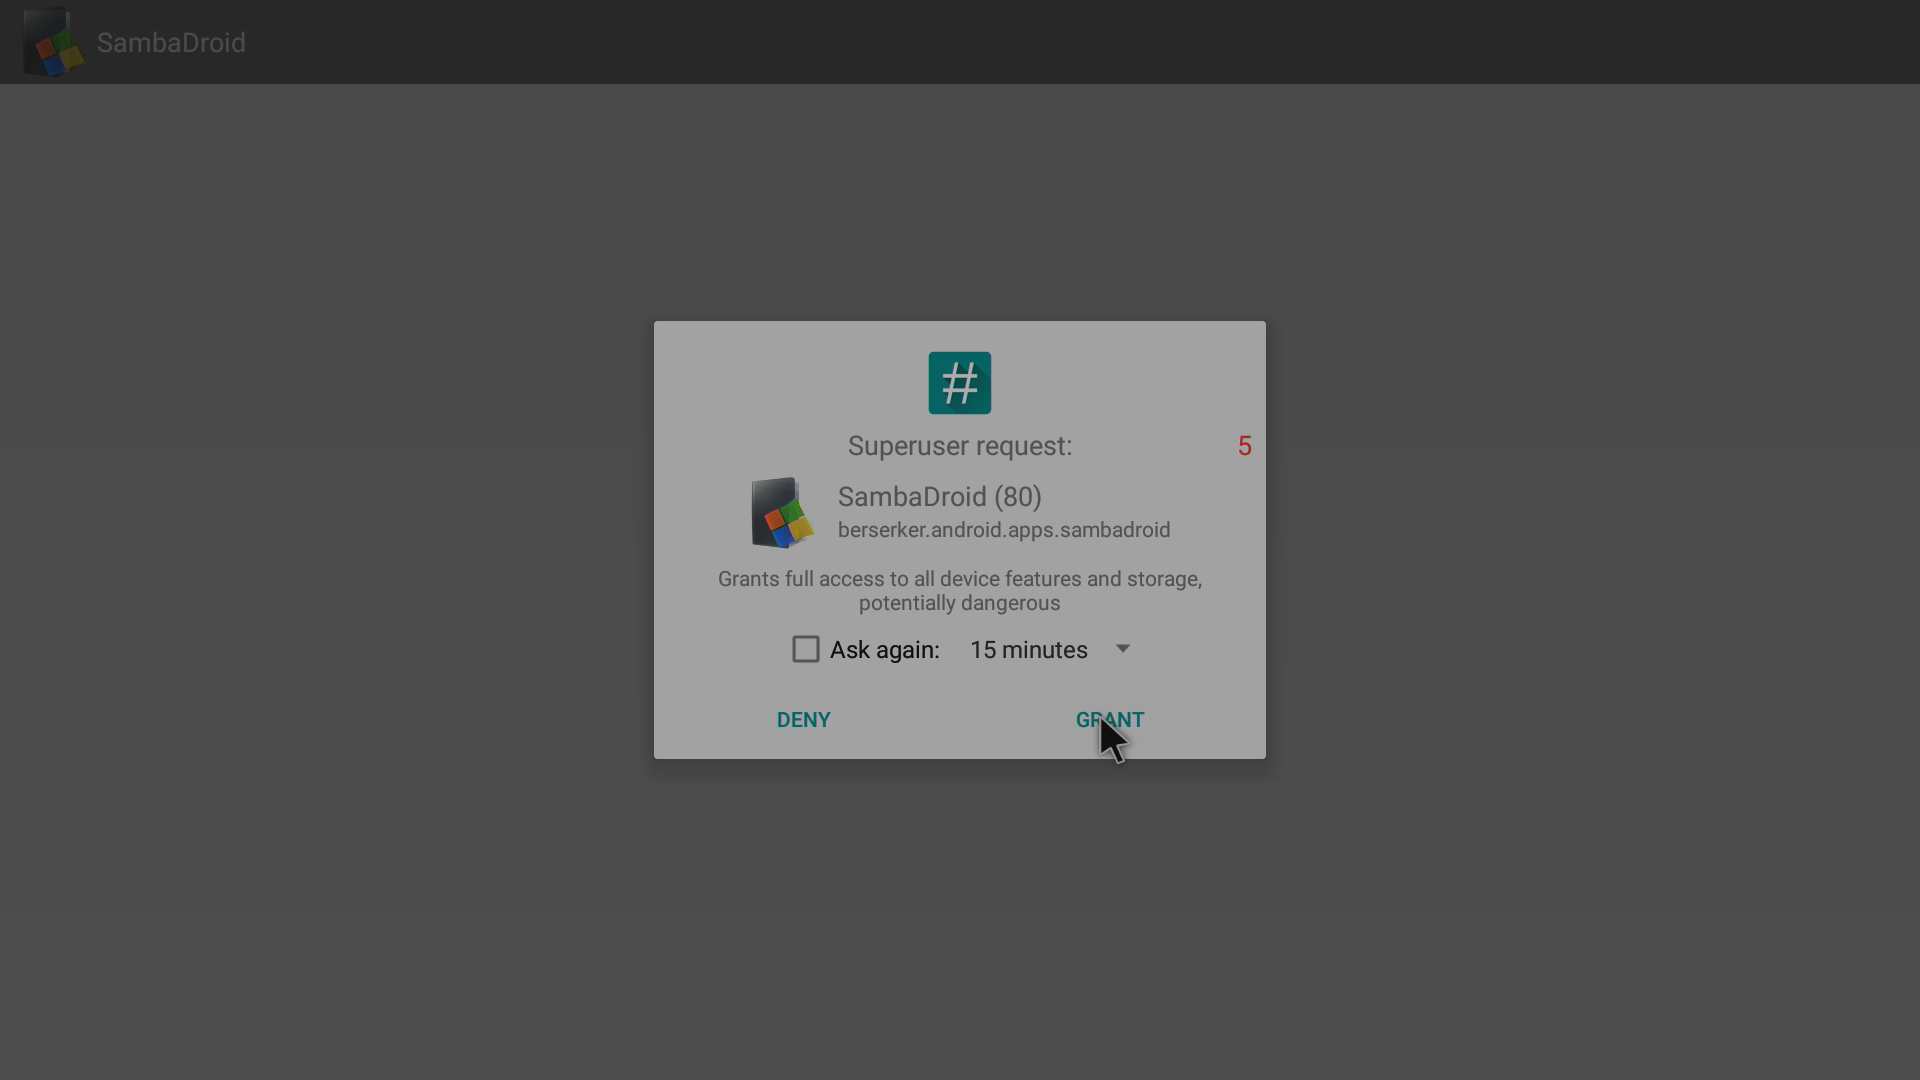
When asked, click the Grant button

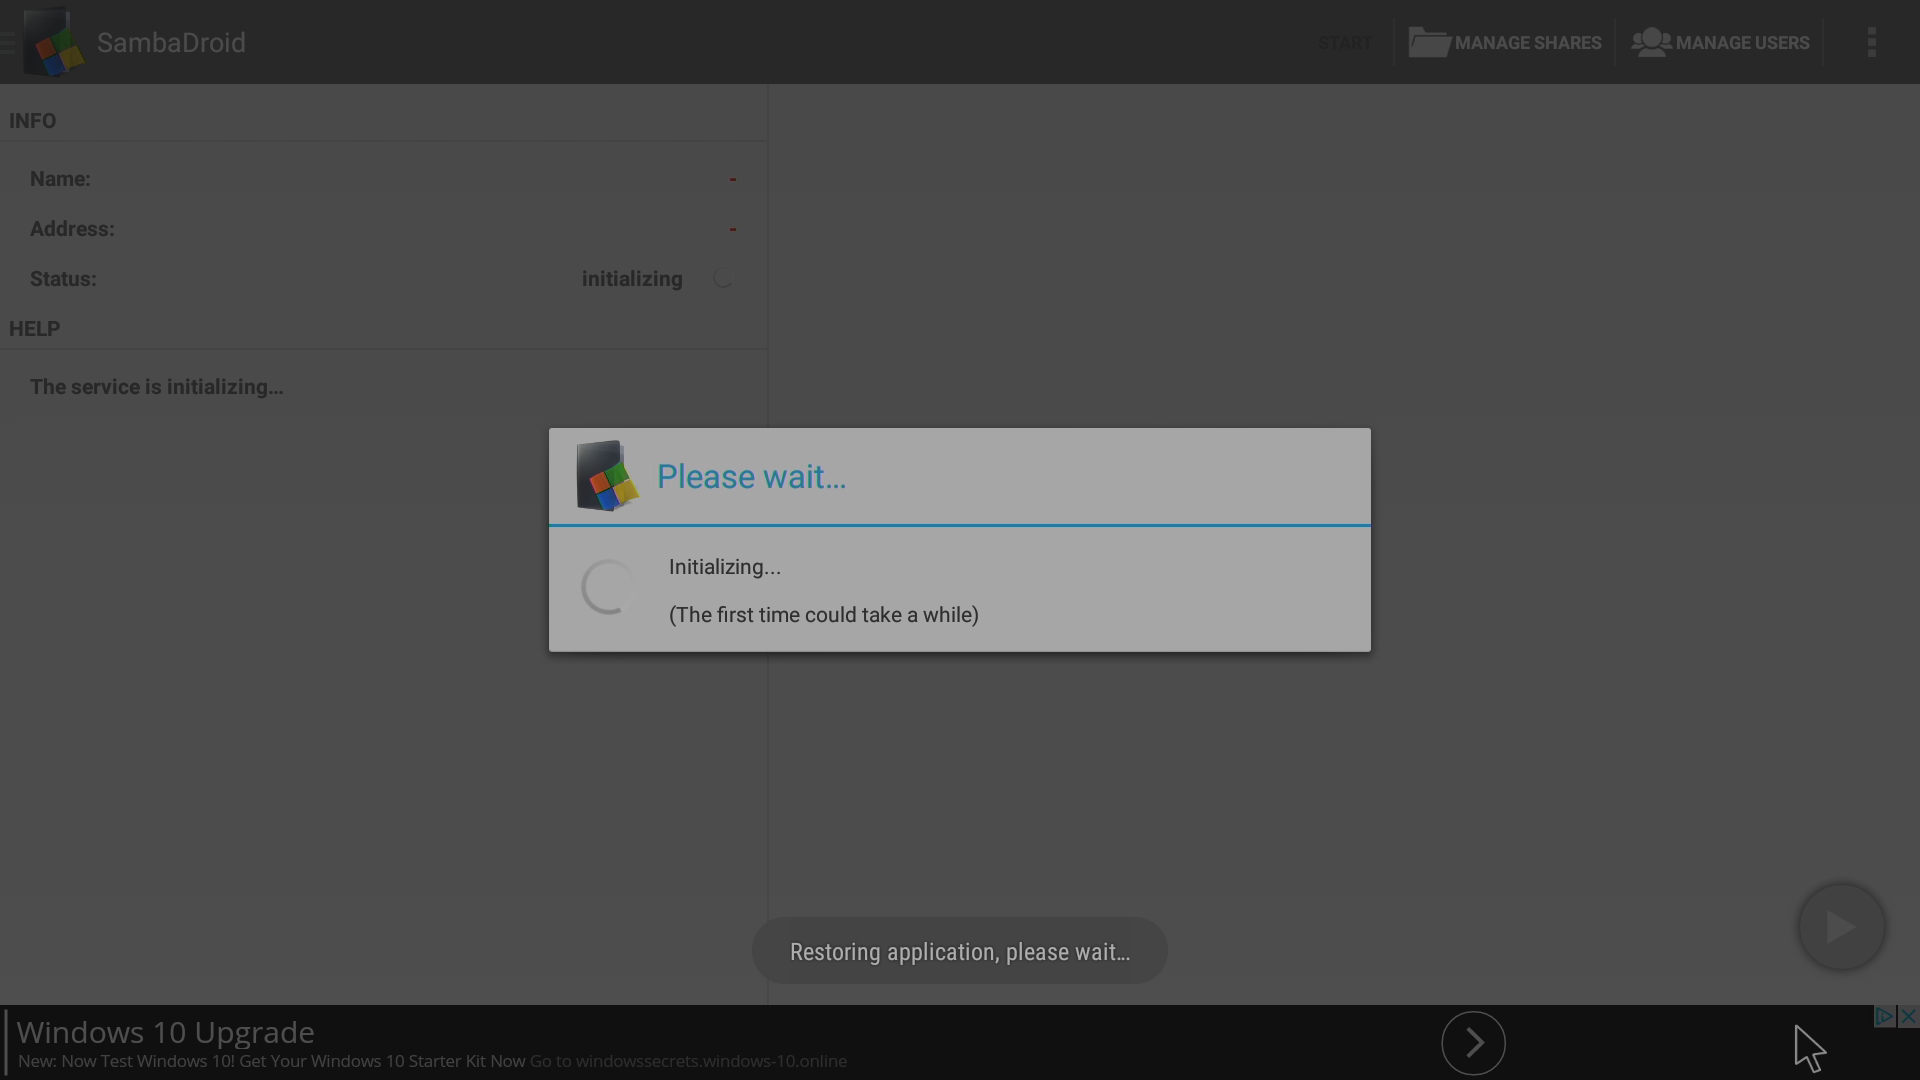
Take note of the first run help shown

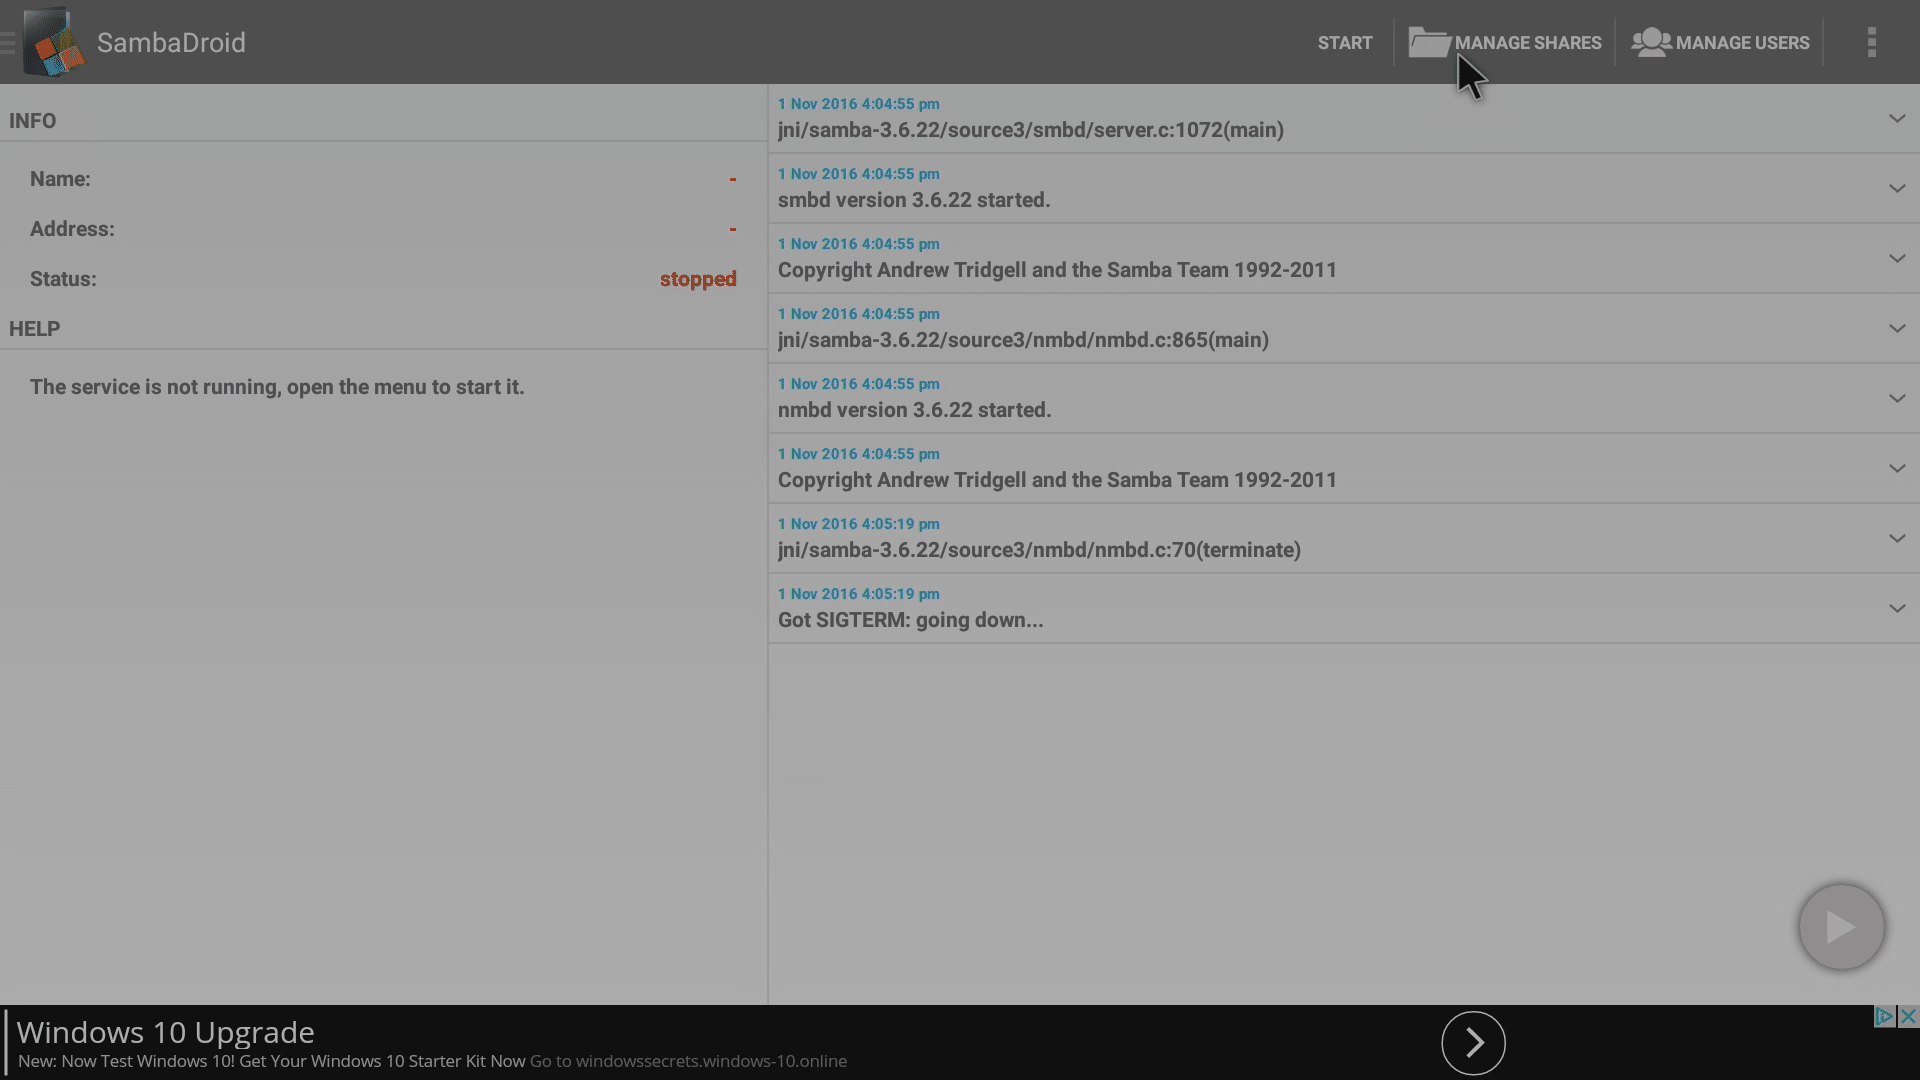
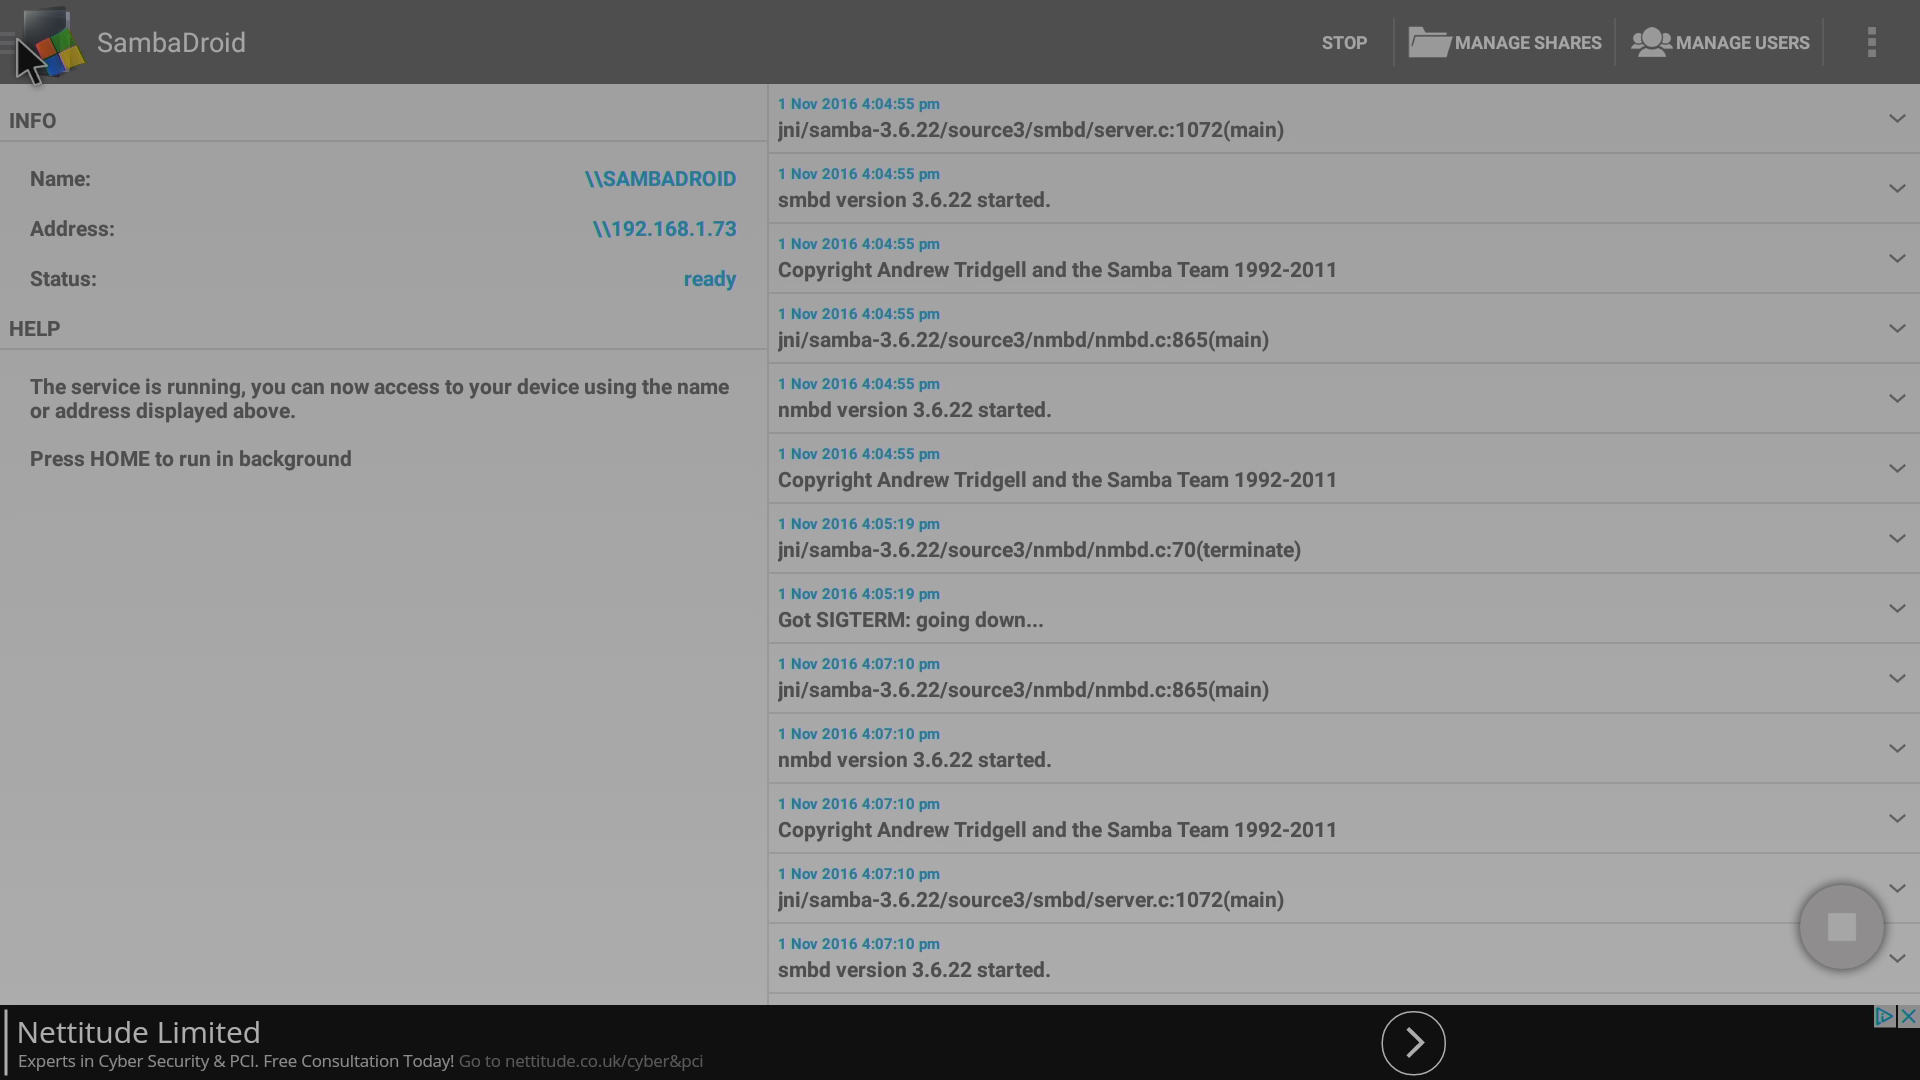
Click the Stop button
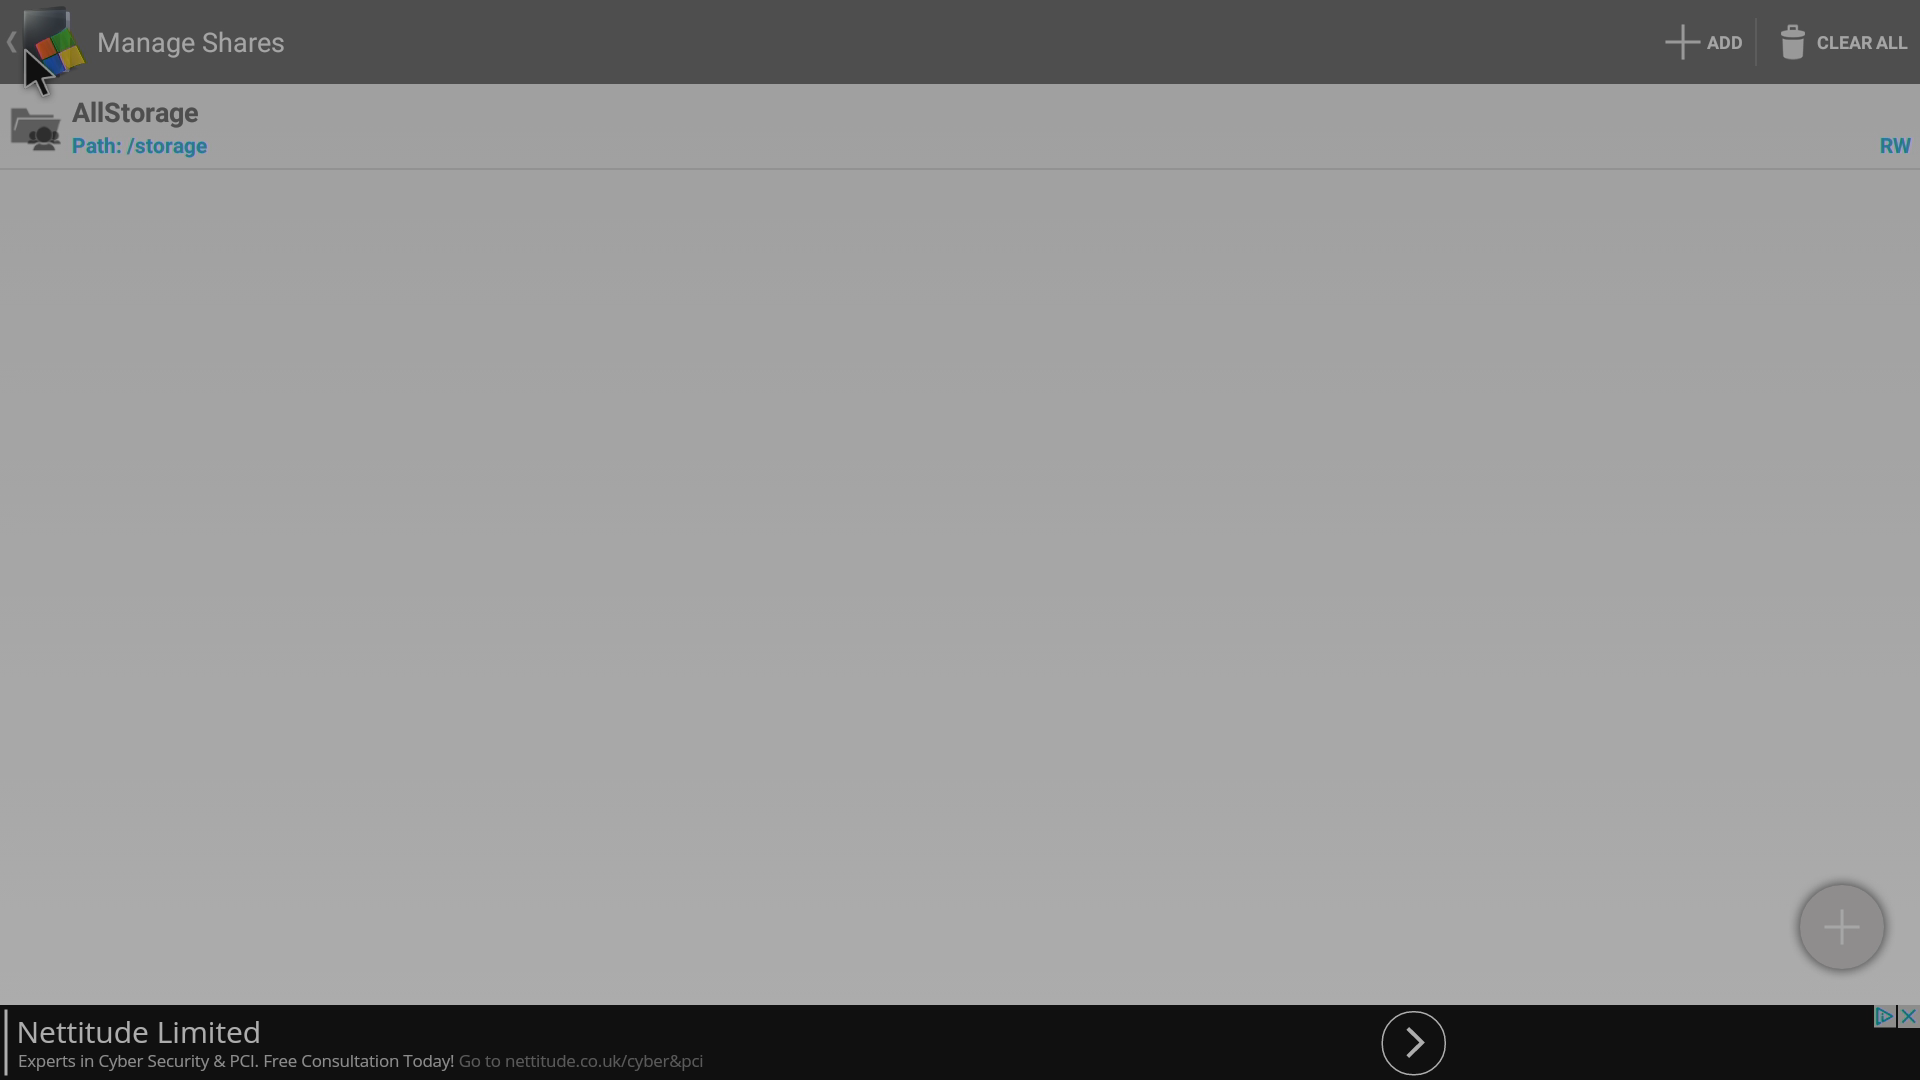
Now head to Manage Shares, as we will need to reconfigure it slightly

Click the entry at the top
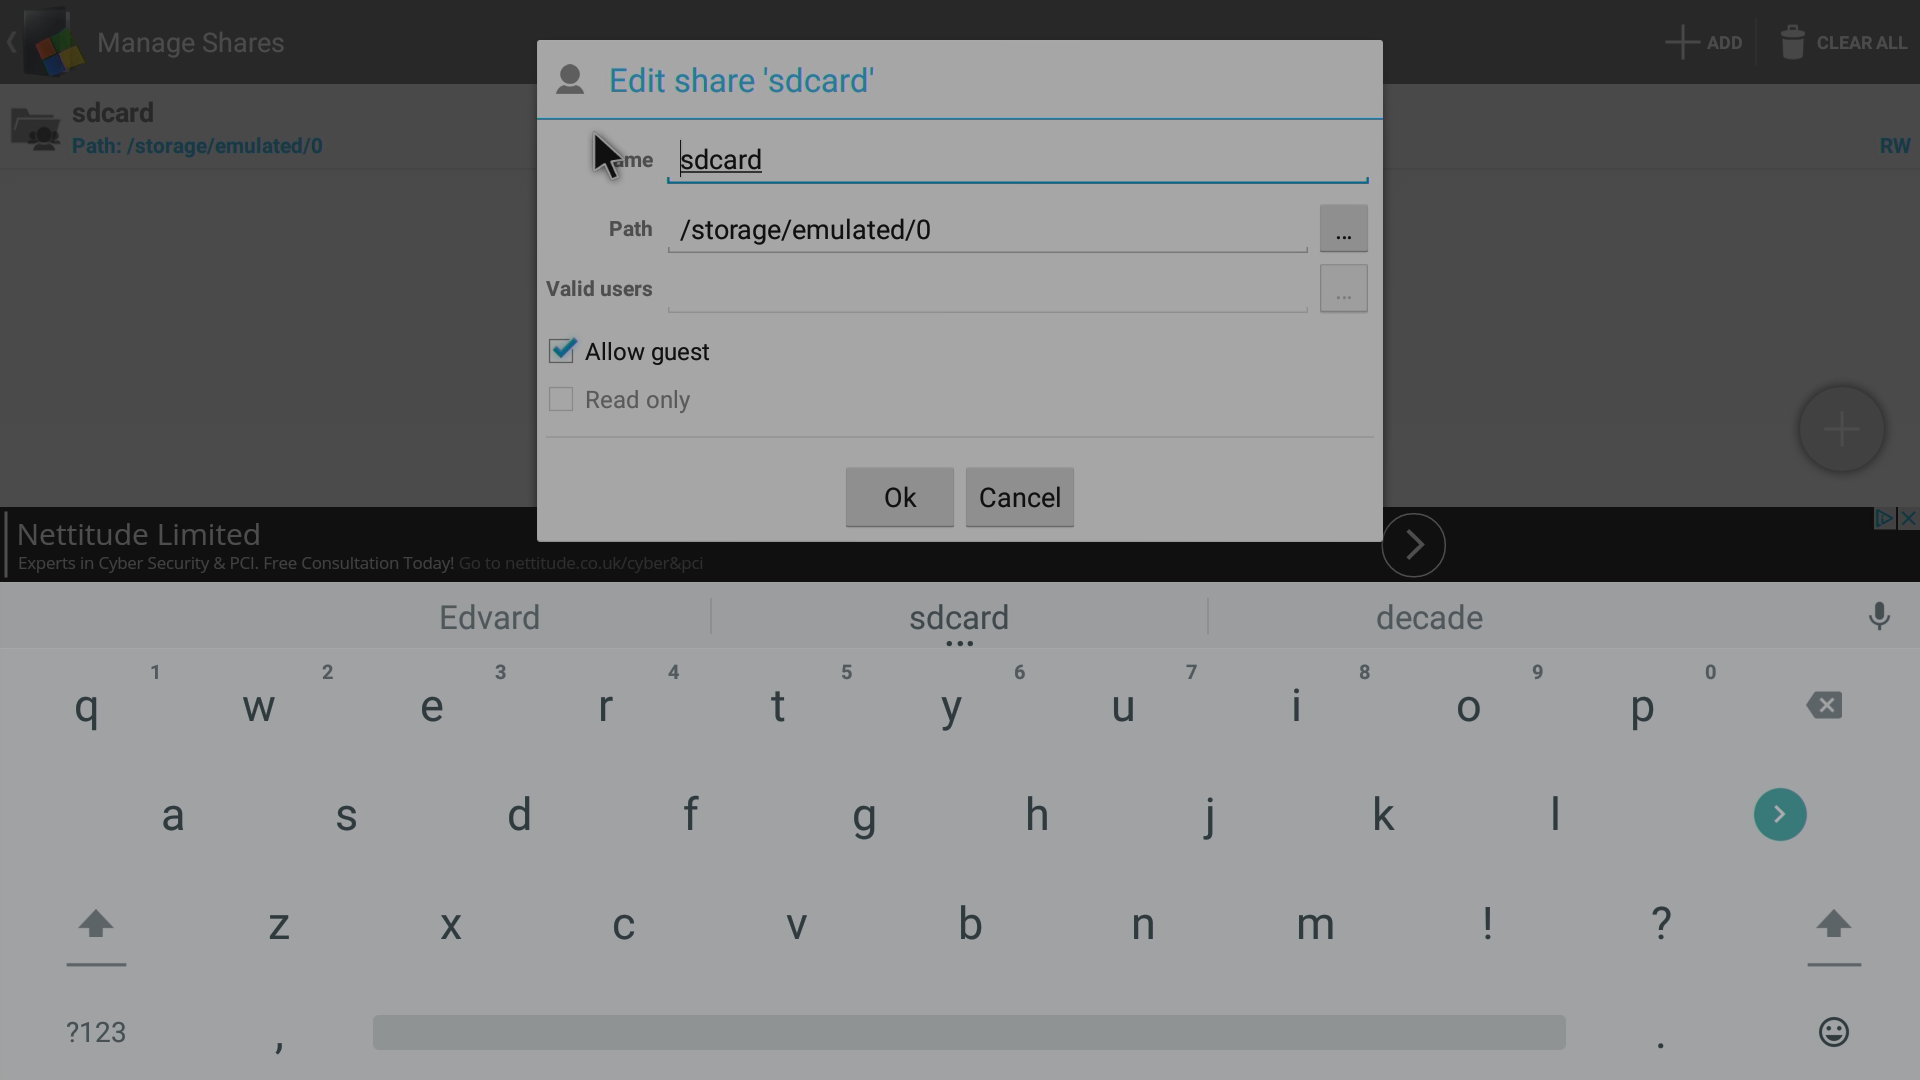
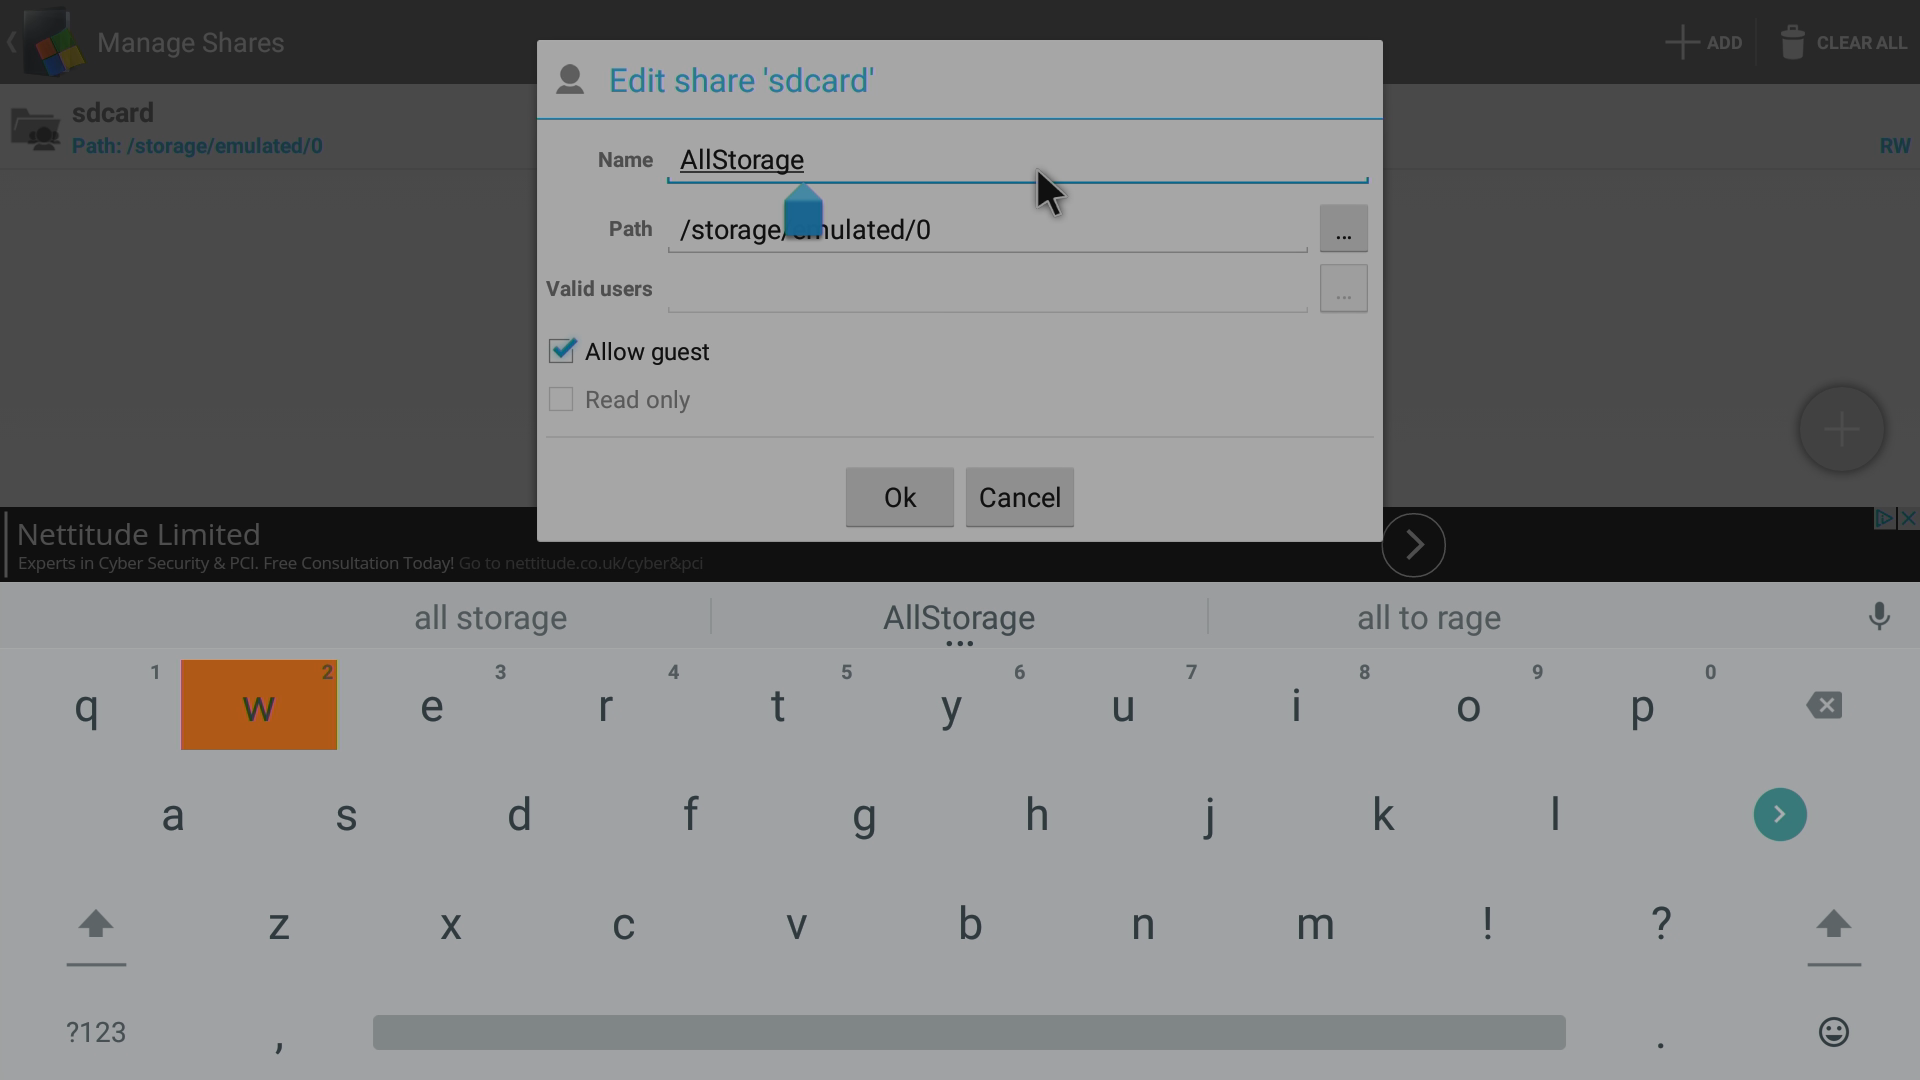
You can leave the Name as sdcard if you like, though in this example we will rename it to AllStorage

Click the icon of 3 dots on the Path line
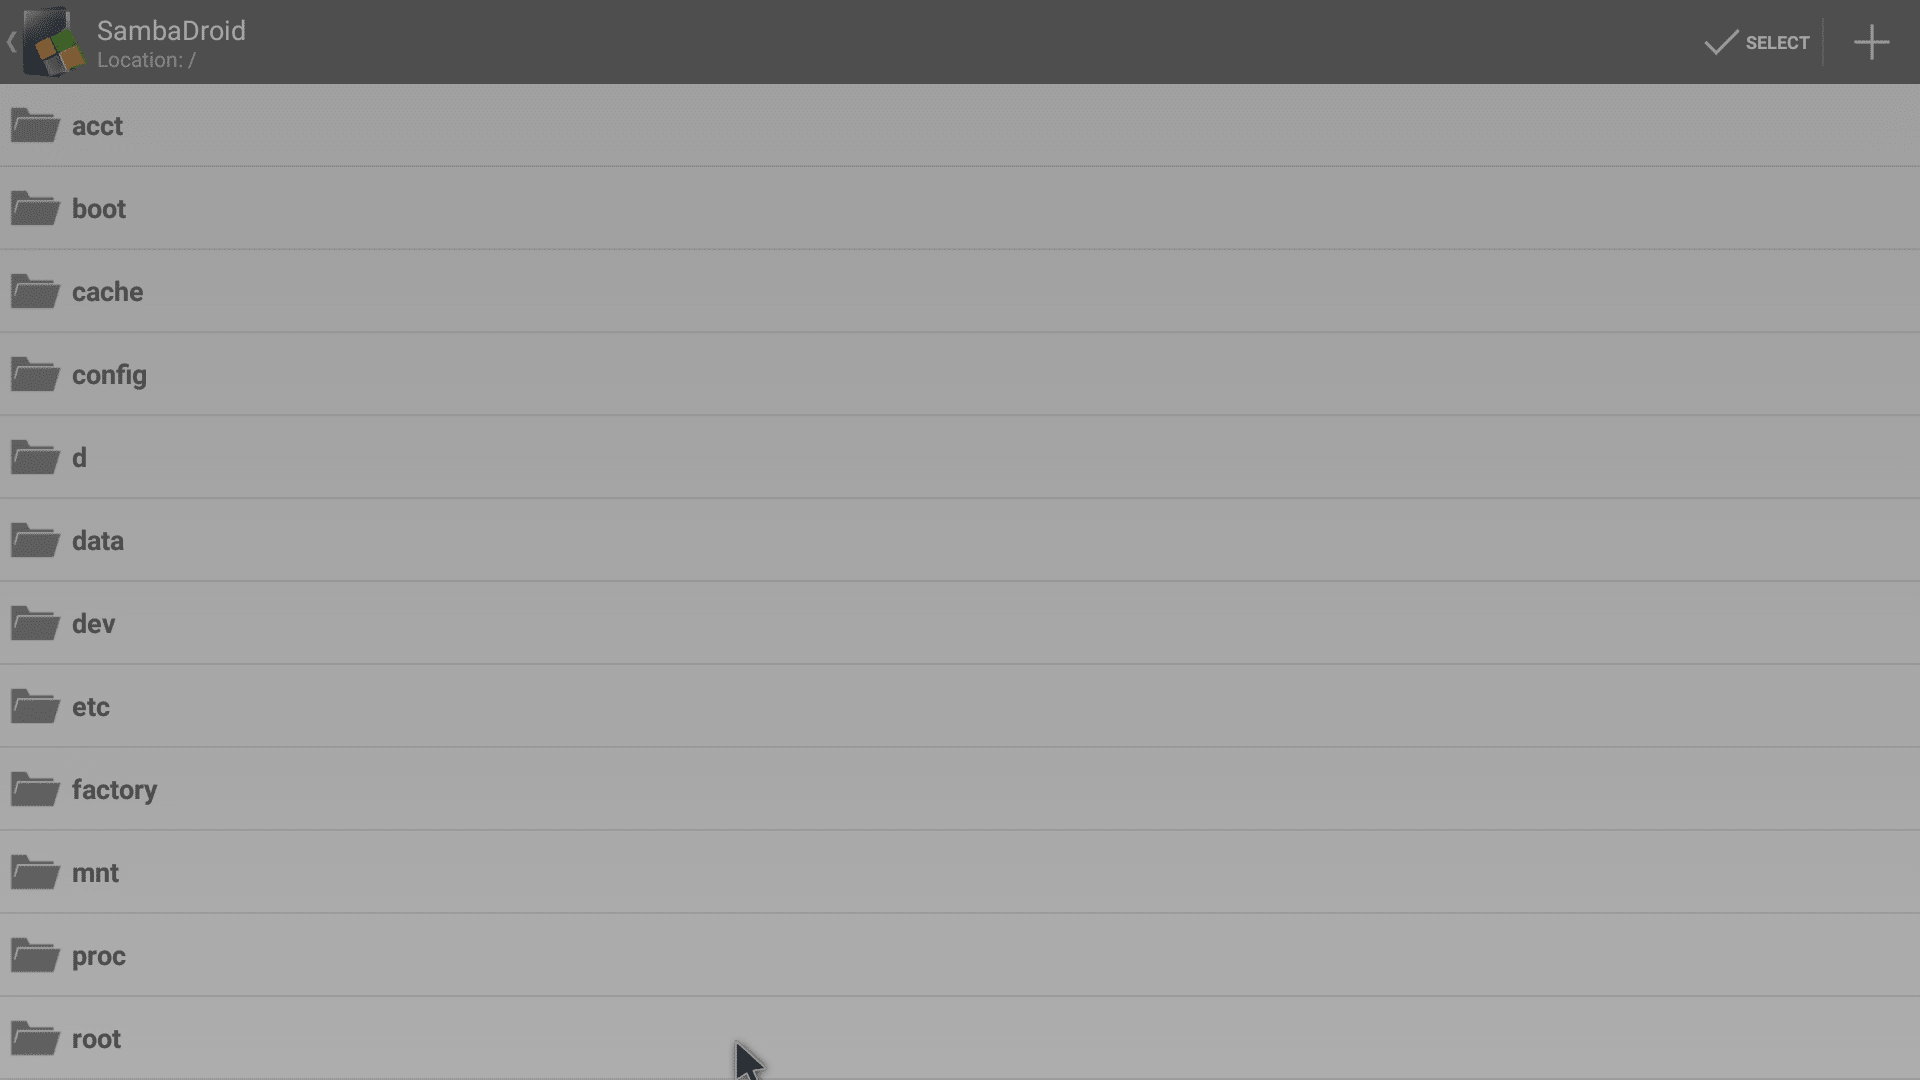
You will be presented with a screen showing folders in the root of your device, scroll down and select the /storage/ folder
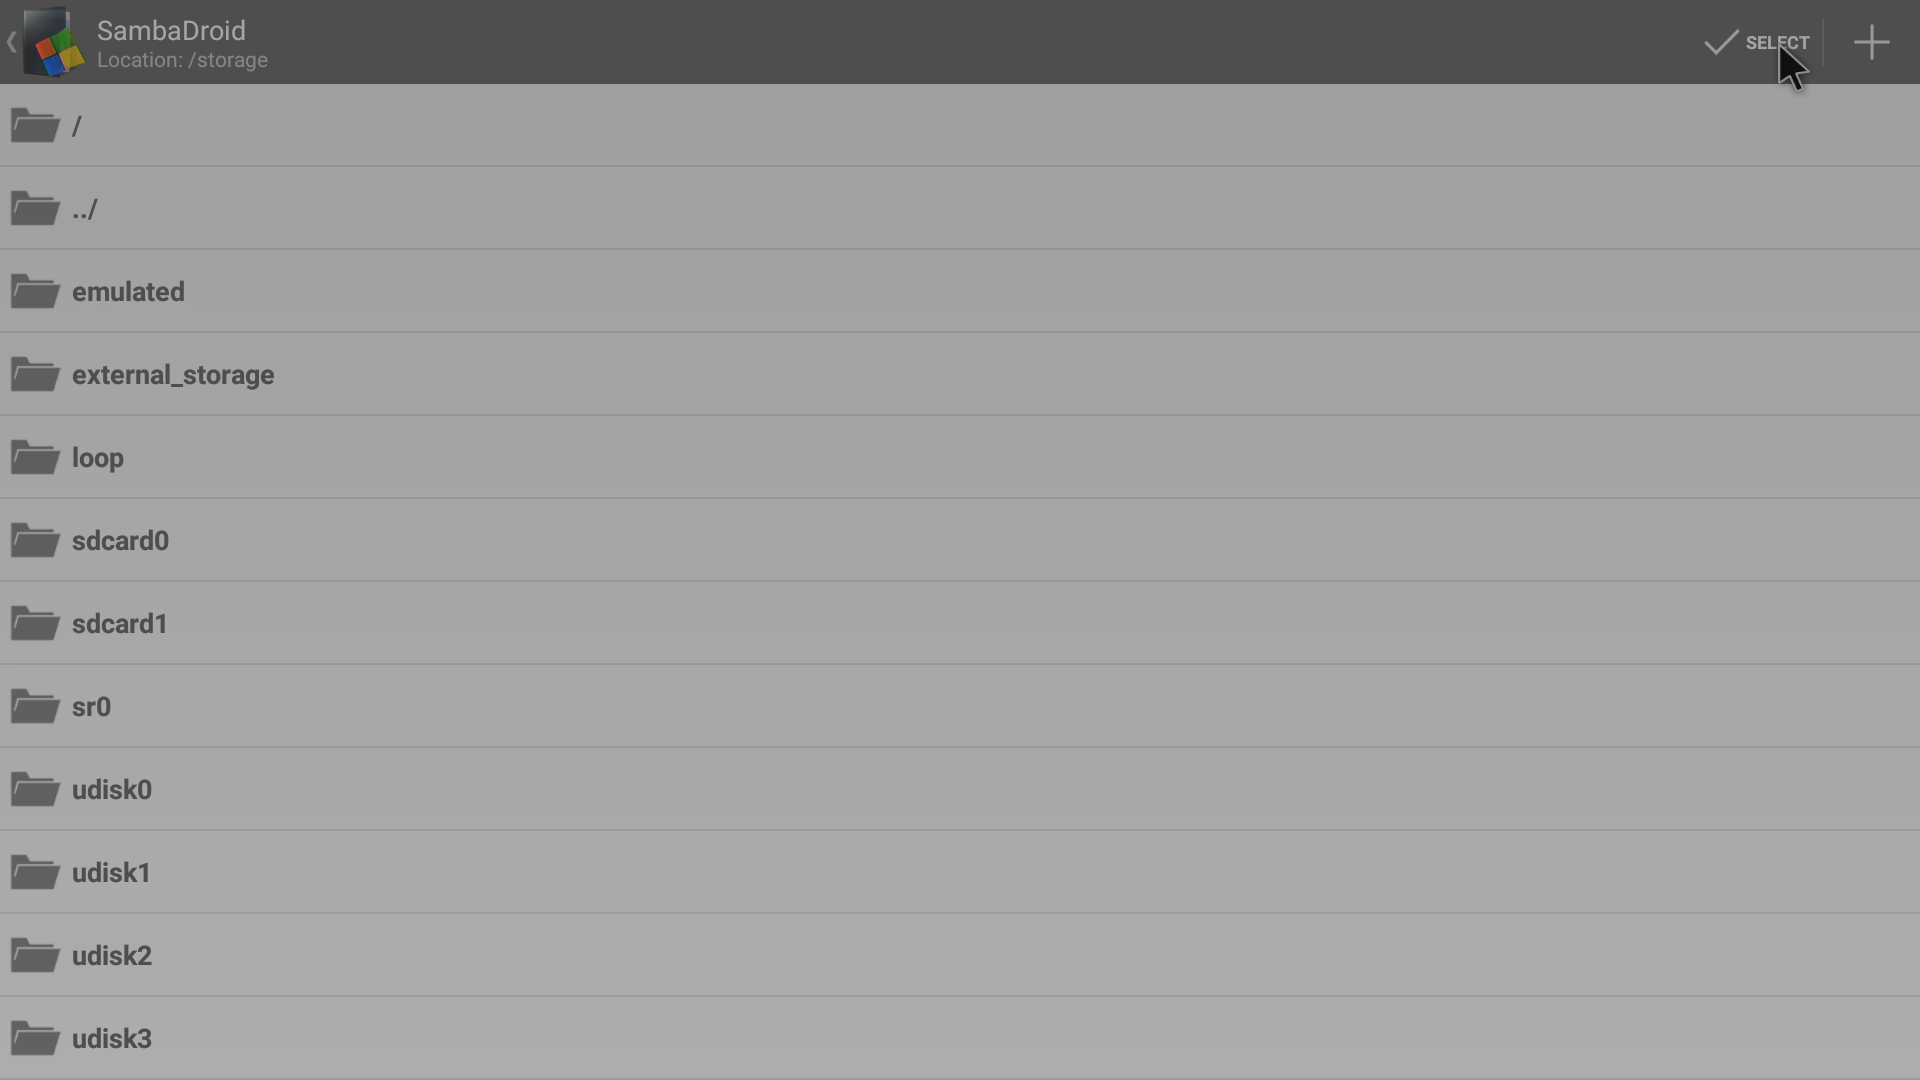
Click the “Select” button with a tick at the top of your screen

Assuming the changes are still shown, click the OK button
Return one screen back, either with the Return button on your remote, or the logo and arrow shown top left
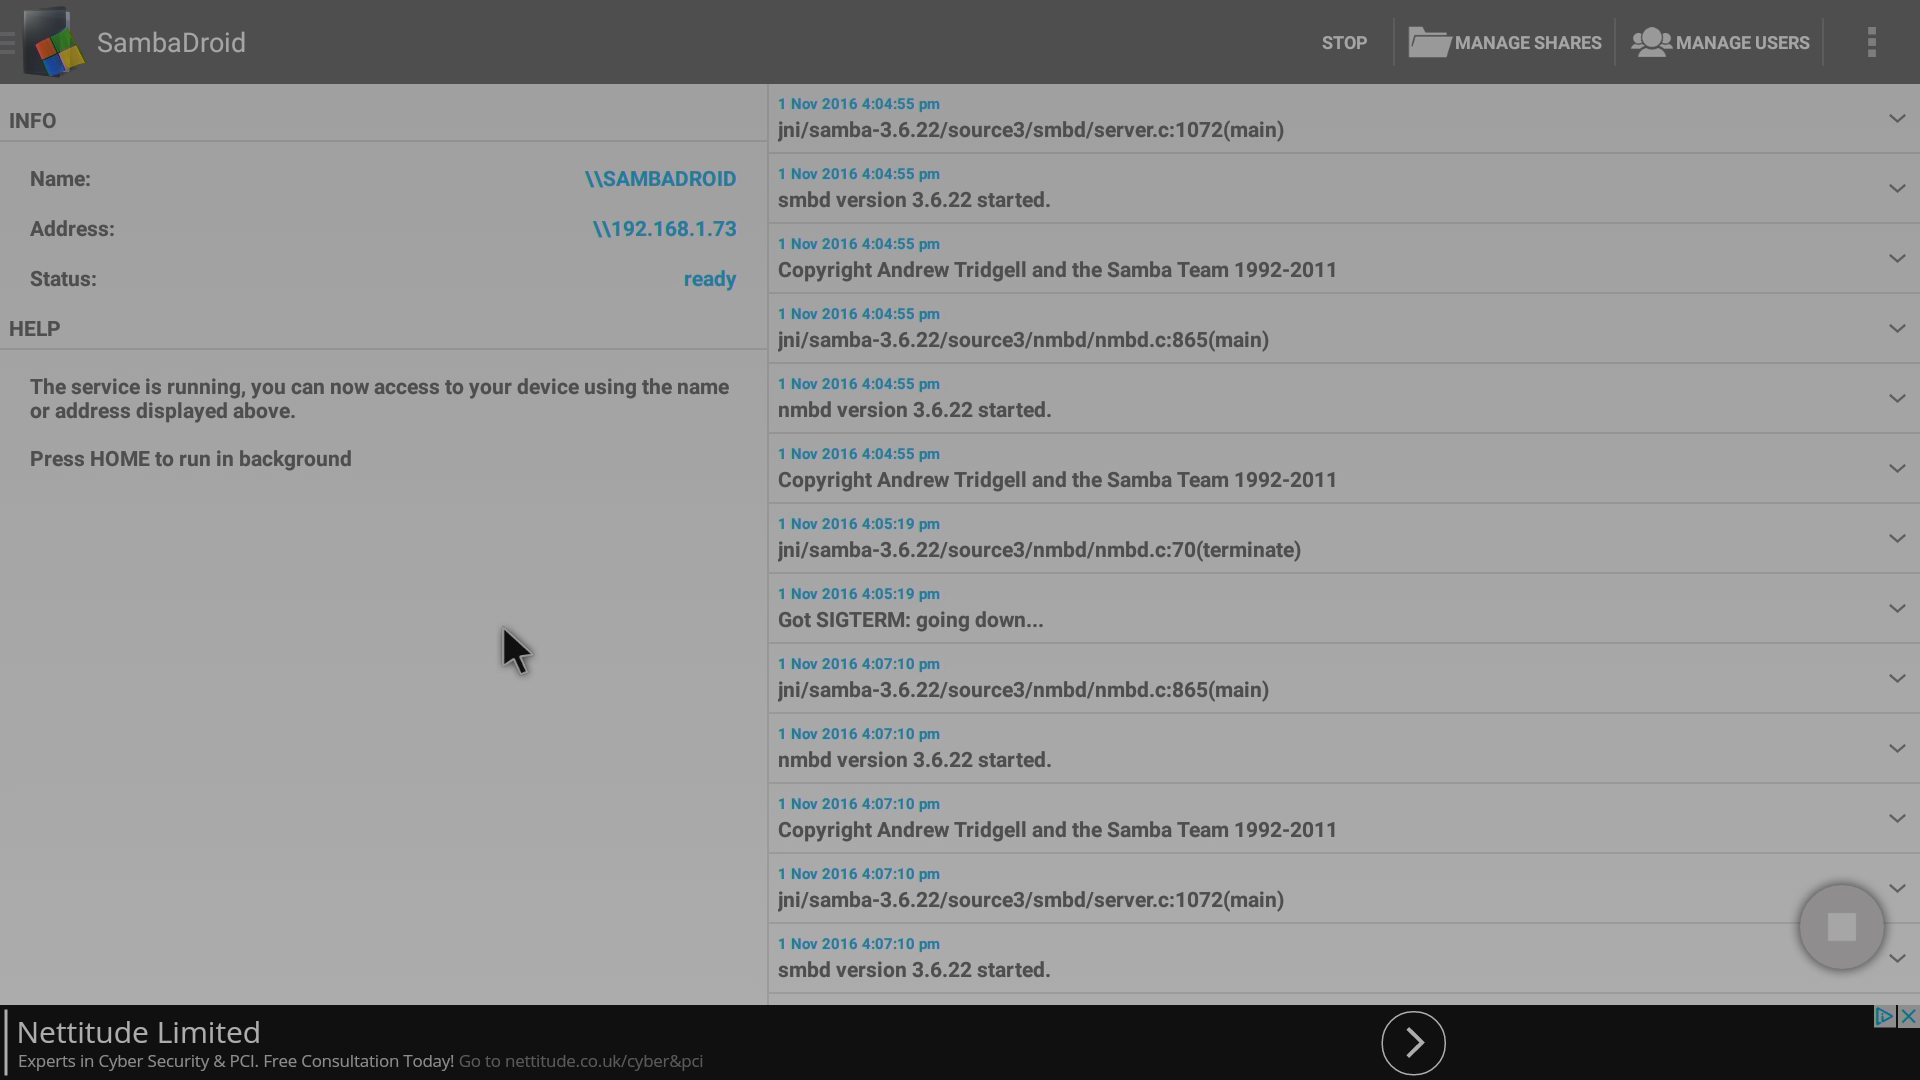
The service should restart itself, if it hasn’t click the Start button
The following is just for people wanting to use Sambadroid without other devices on their network. If you’re using this application to share files to other devices, please click here to skip the section below.
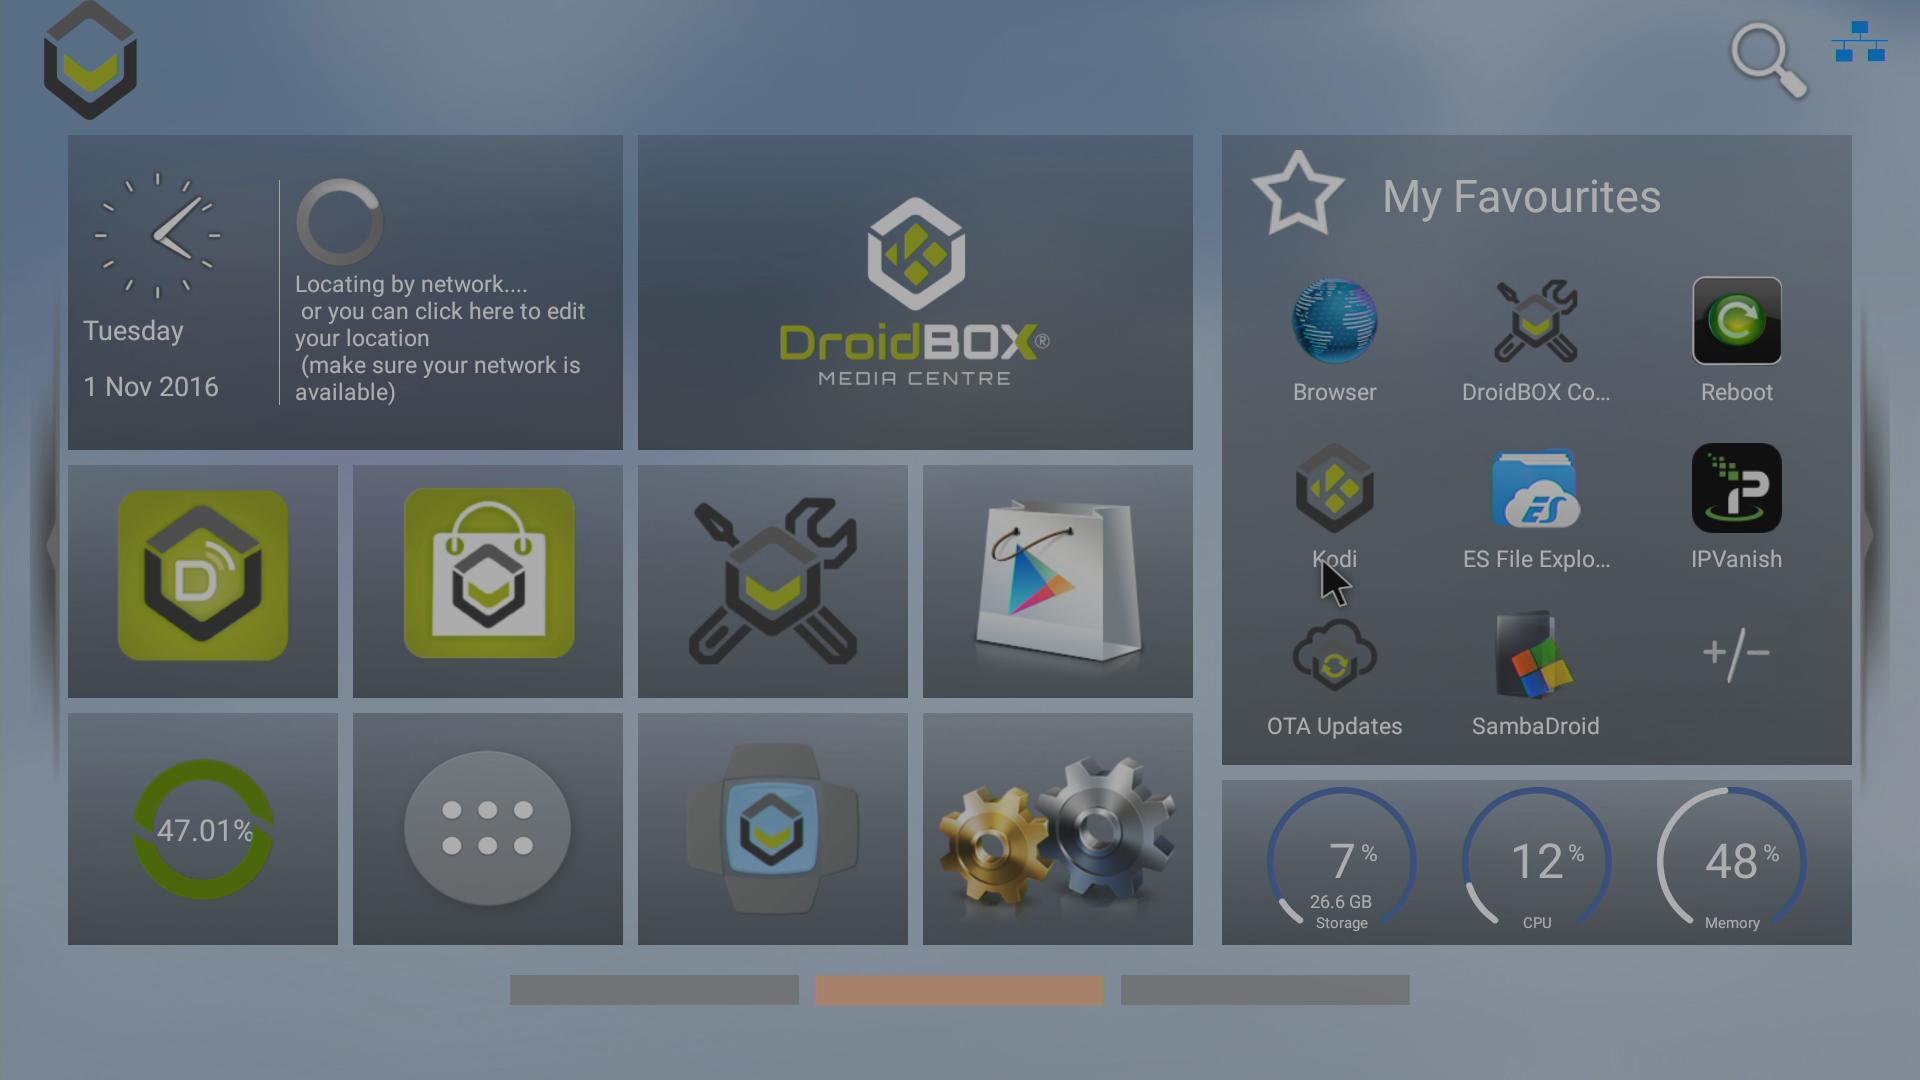
Next, open up Kodi or DroidBOX Media Centre (whichever you normally use) to test the system works

The exact screen will depend on what you are using the storage device for, however you will normally have a Browse button to click

Select the Windows network (SMB) entry if present, or the Add Network Location entry
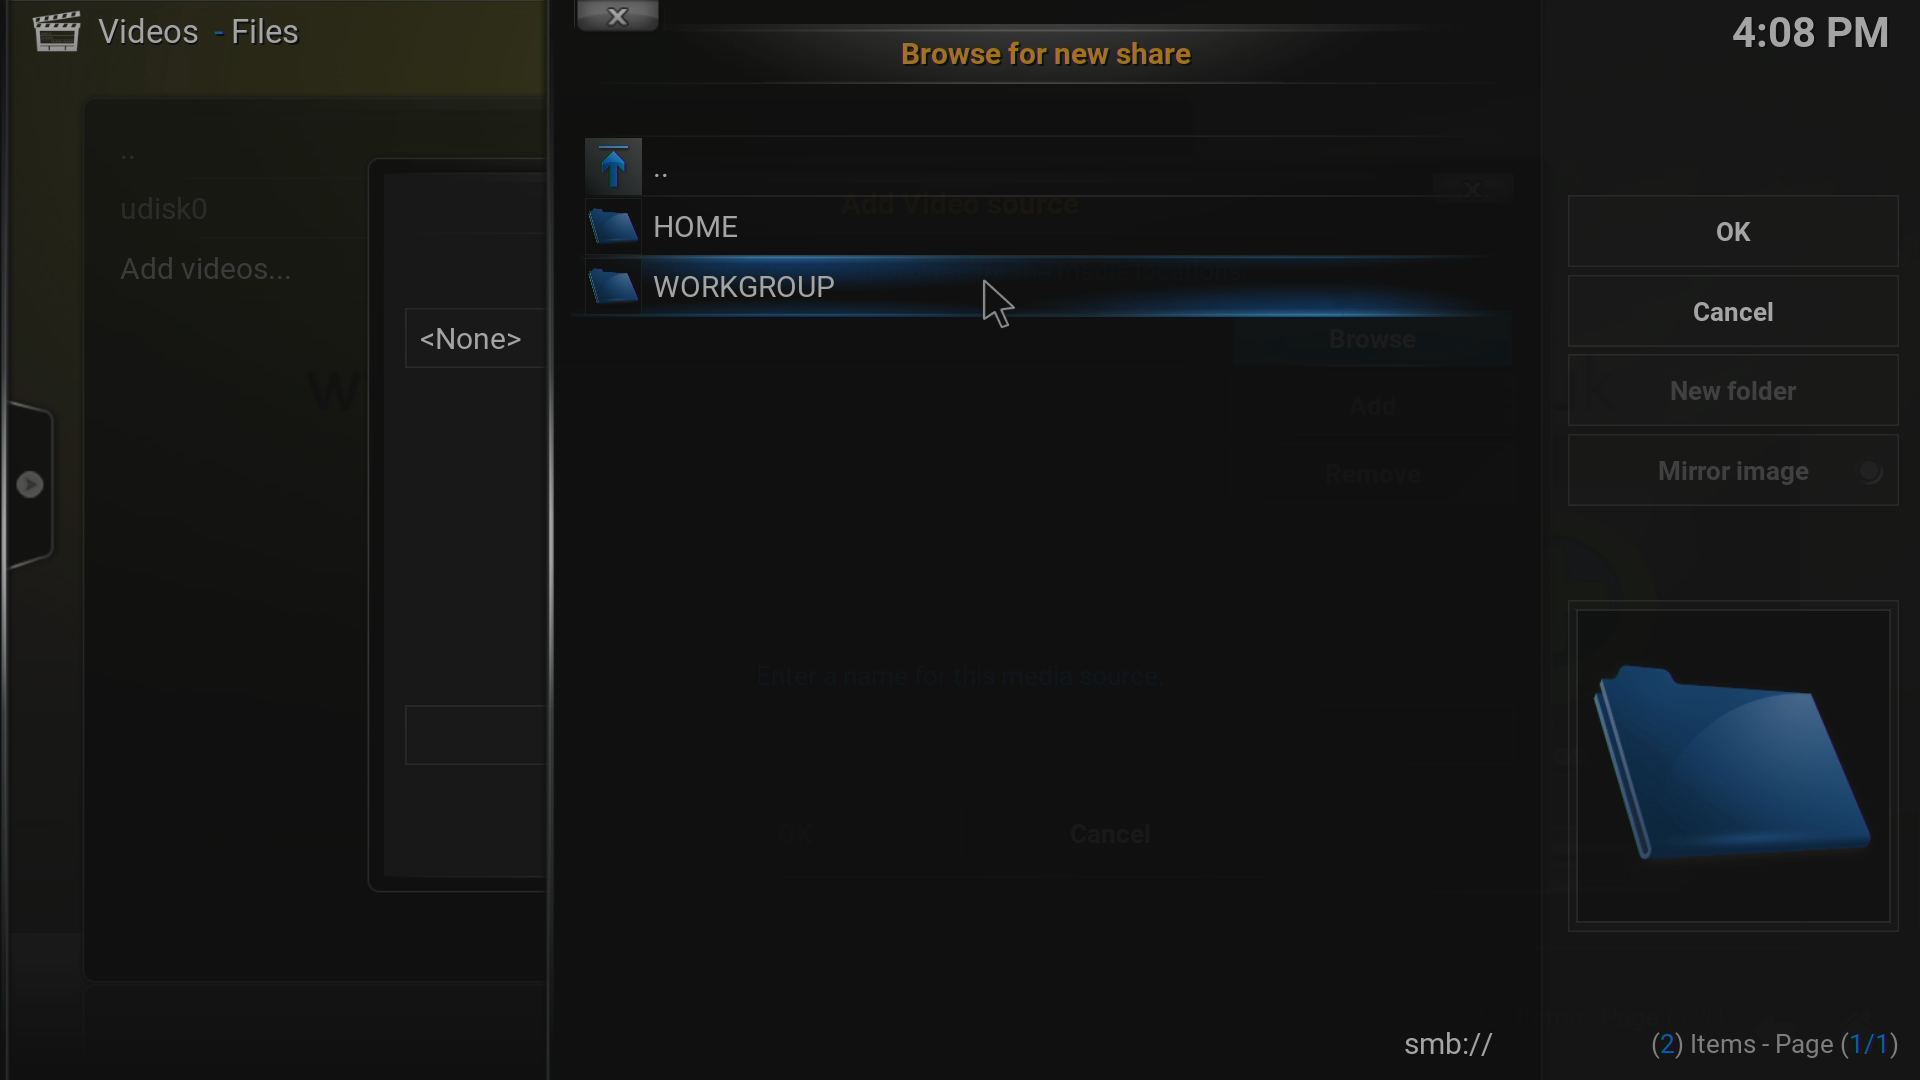
Select the correct Workgroup name (this will depend on your OS/network configuration)
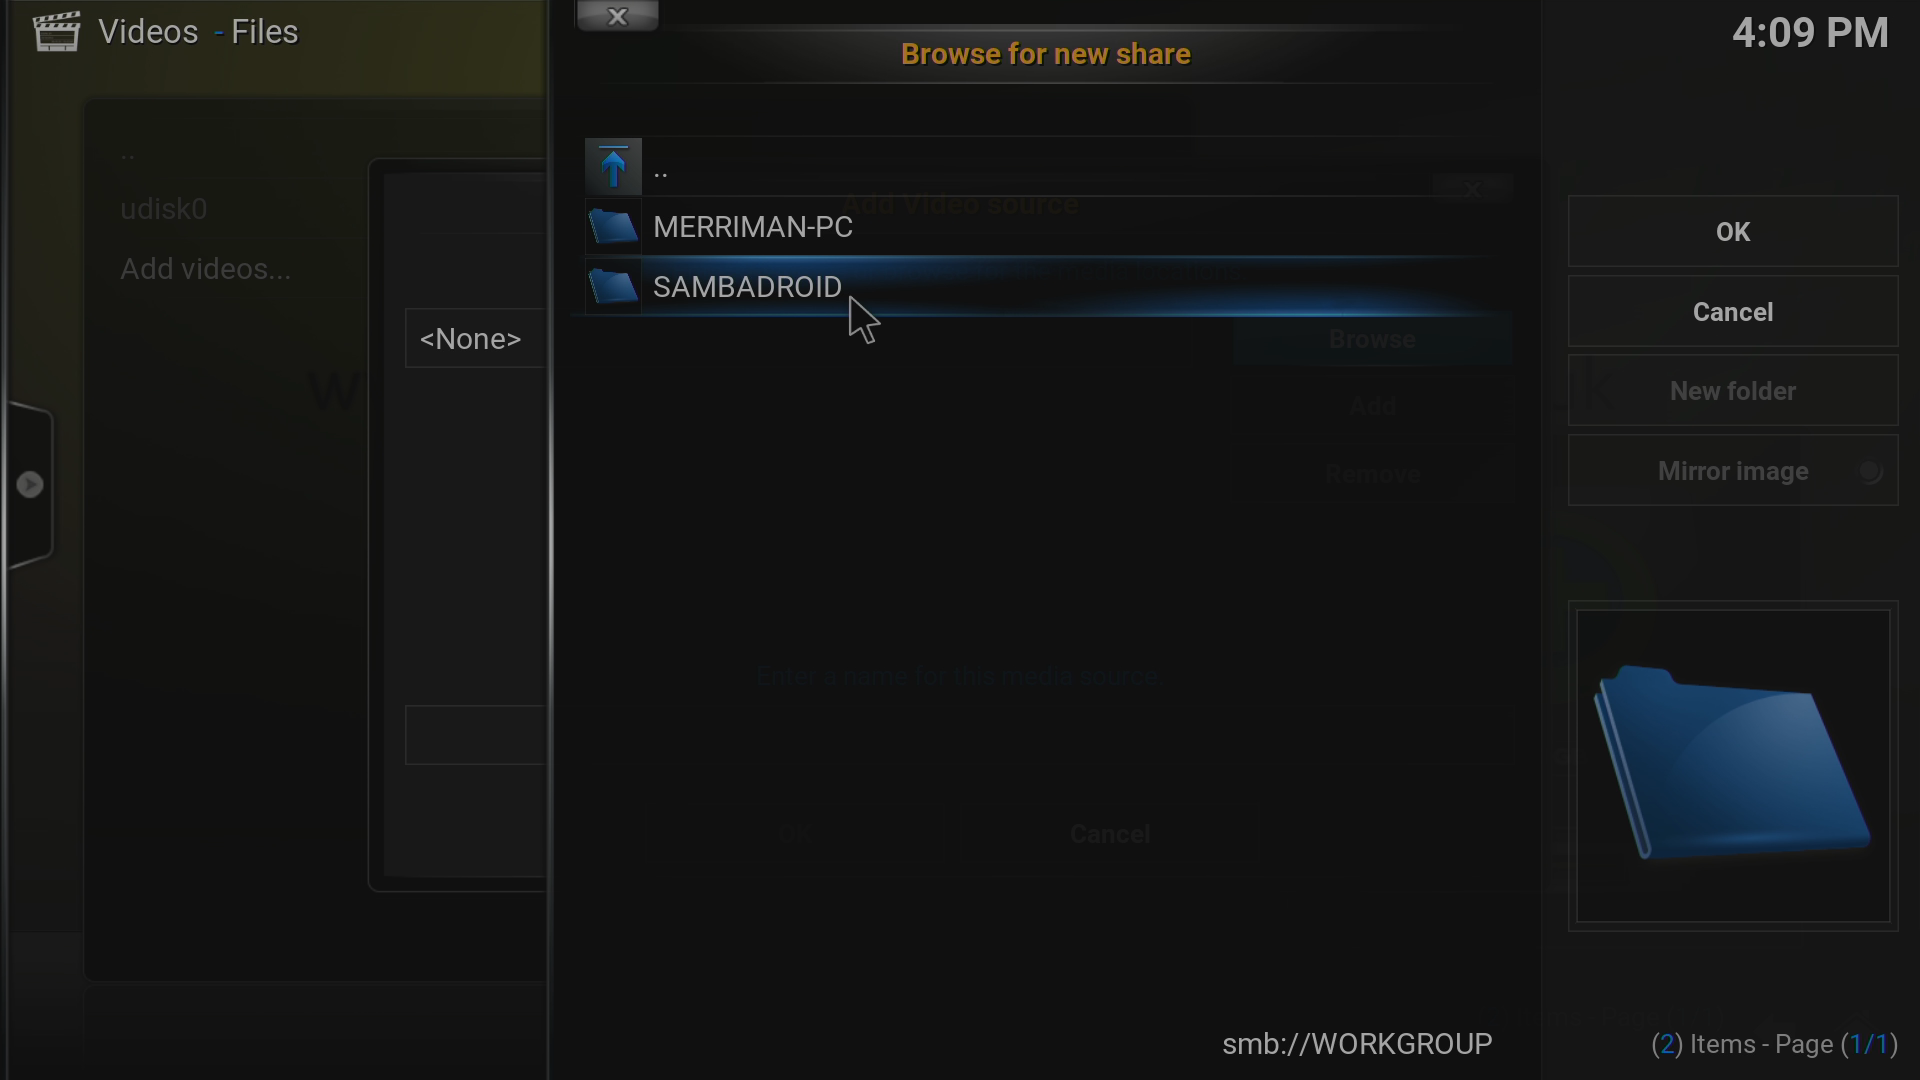
Unless you have already changed the network name given to your DroidBOX, you need to click SAMBADROID here
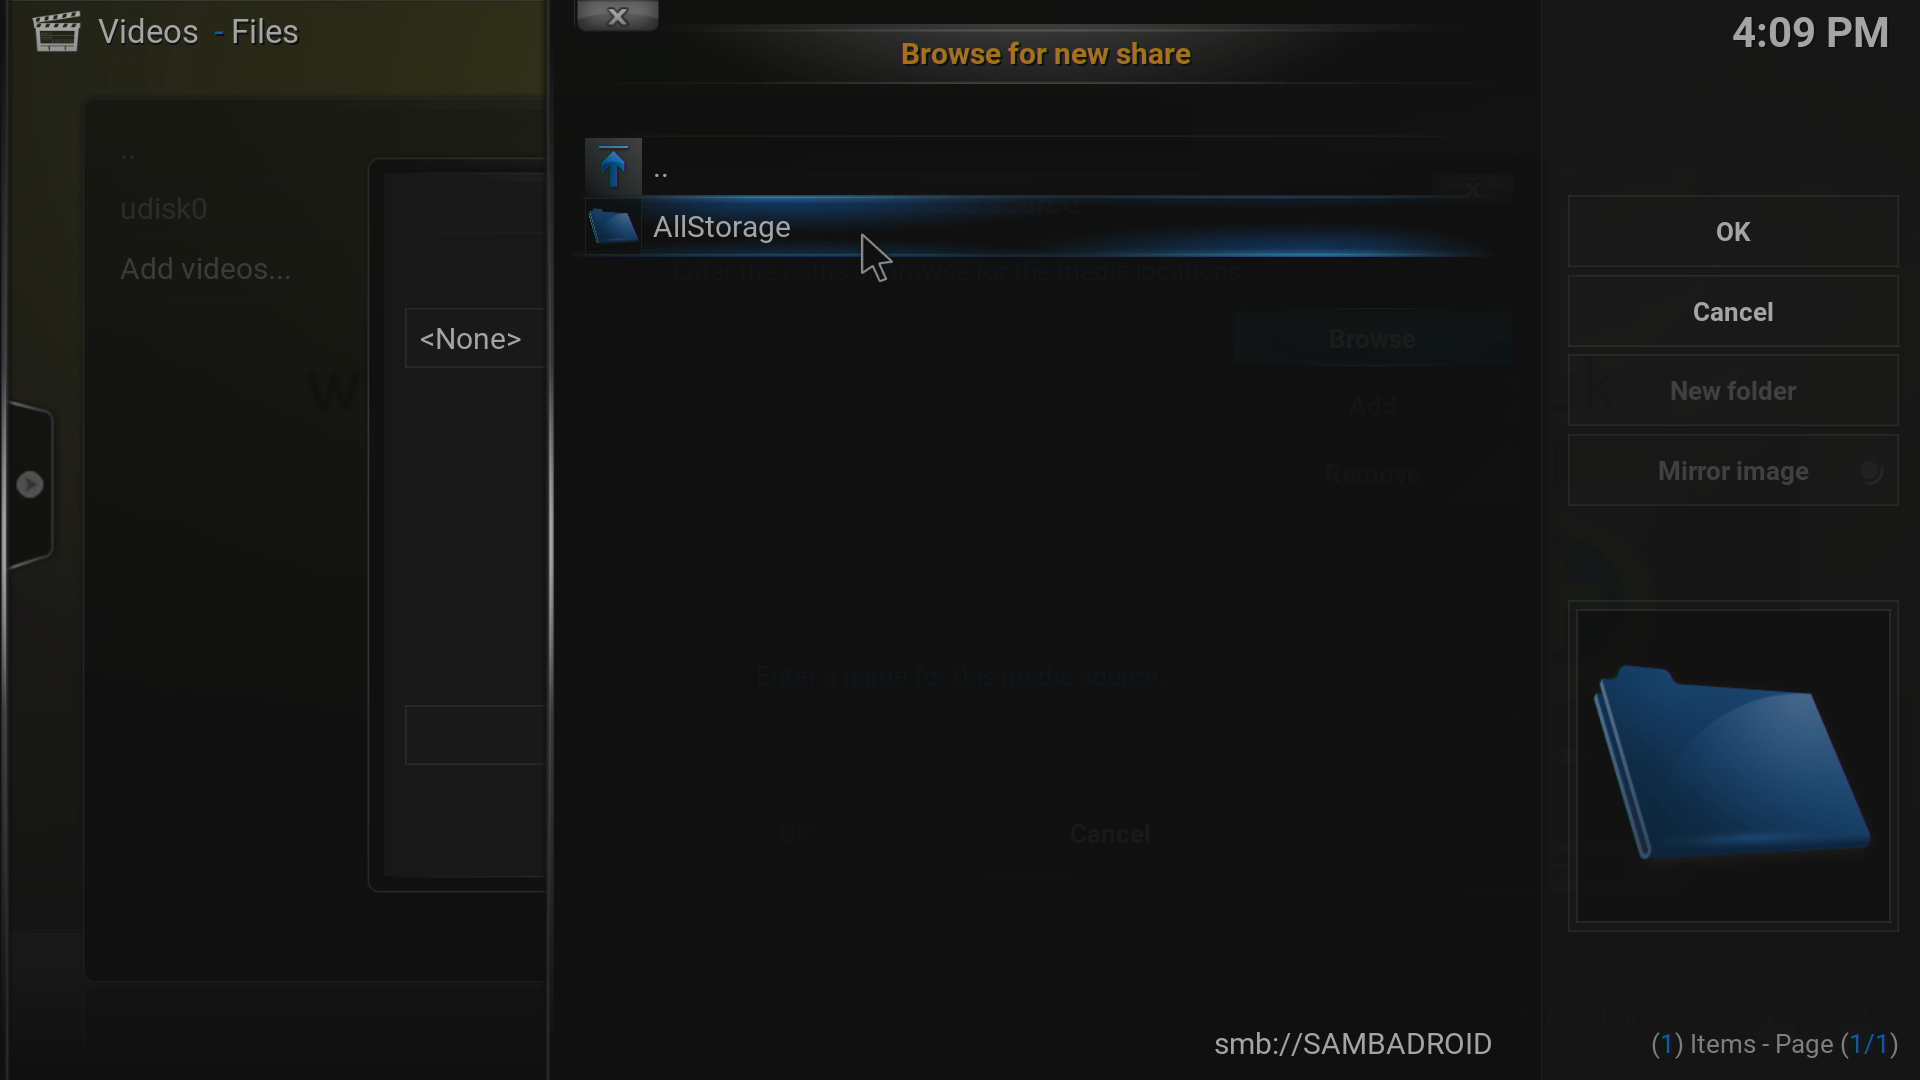
As with some other steps, the name you click here will depend on what you entered previously. Here we are going to select the AllStorage entry
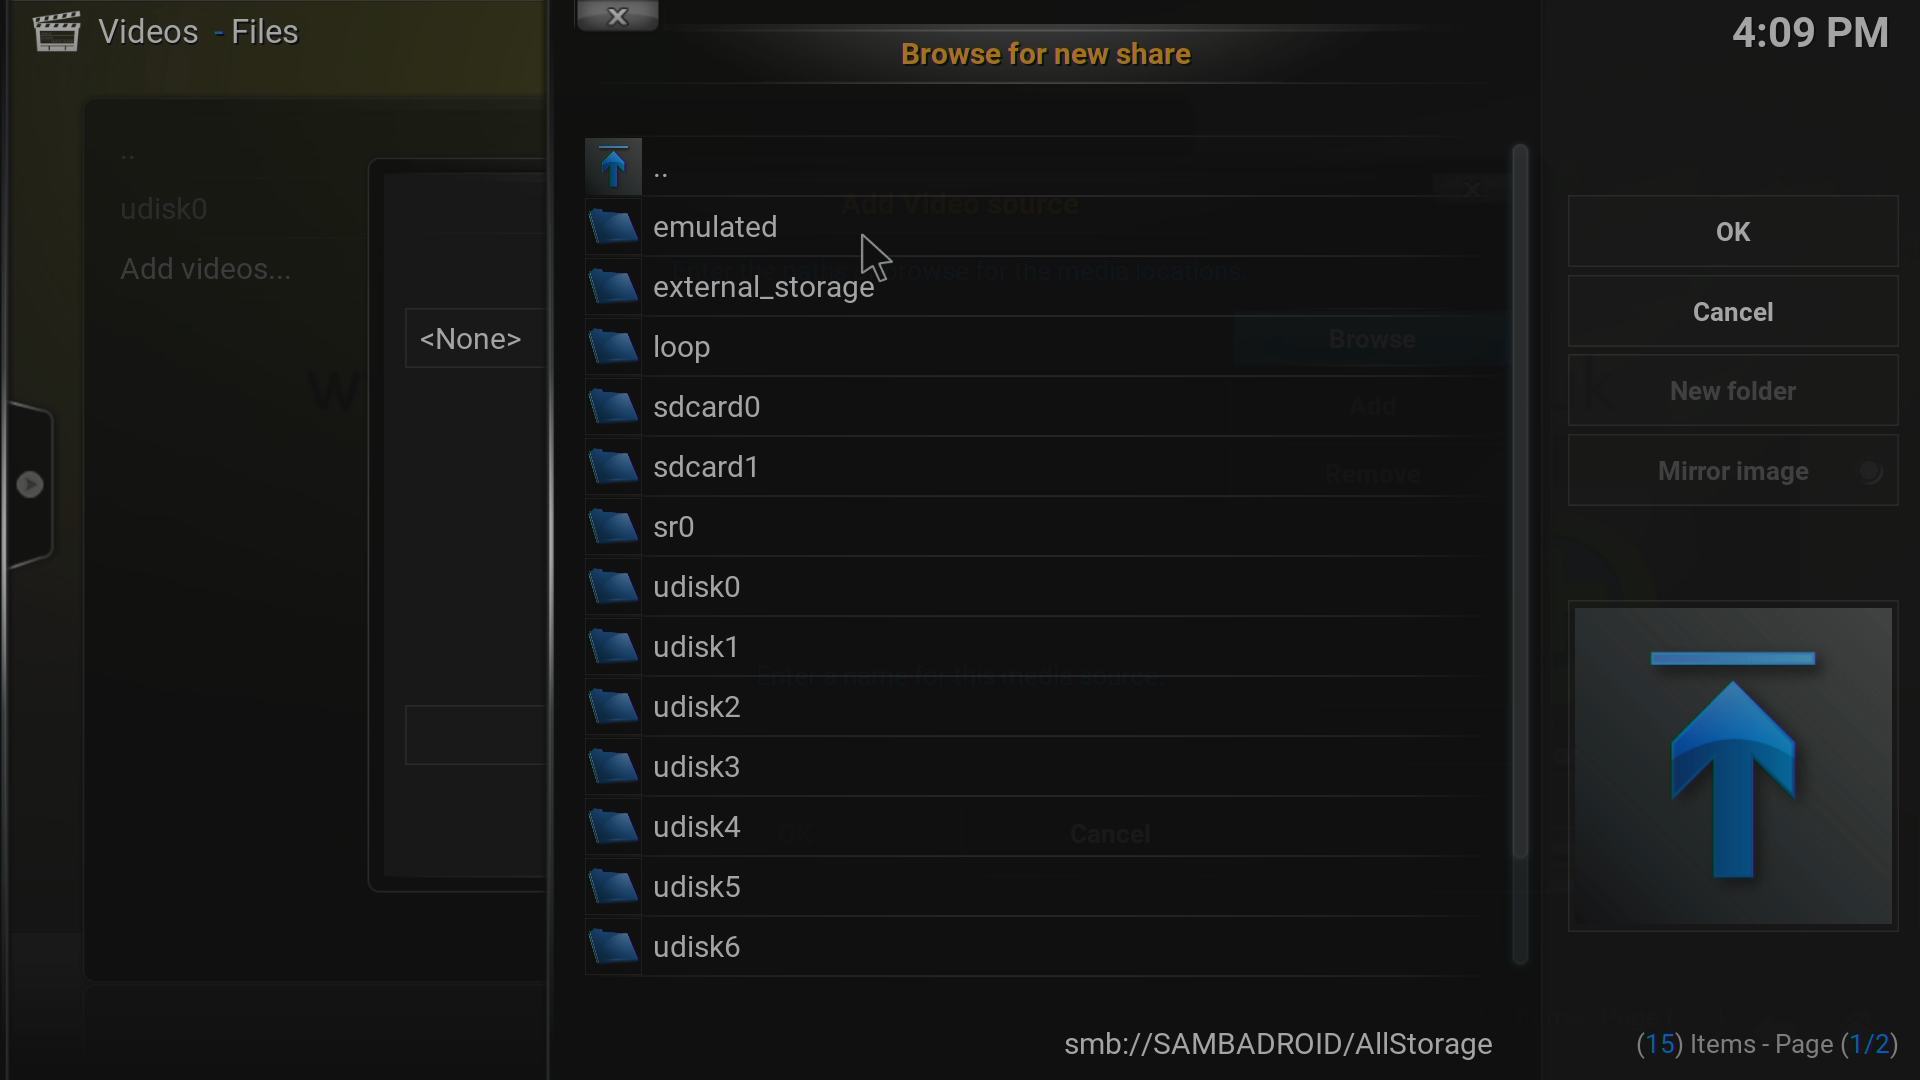
From here, navigate to the exact device and folder you want to have Kodi or DBMC use. Once set, make sure you’re able to read/write to the location
.
If the system is working, return to the SambaDroid application, and click the top left corner to have the menu slide in
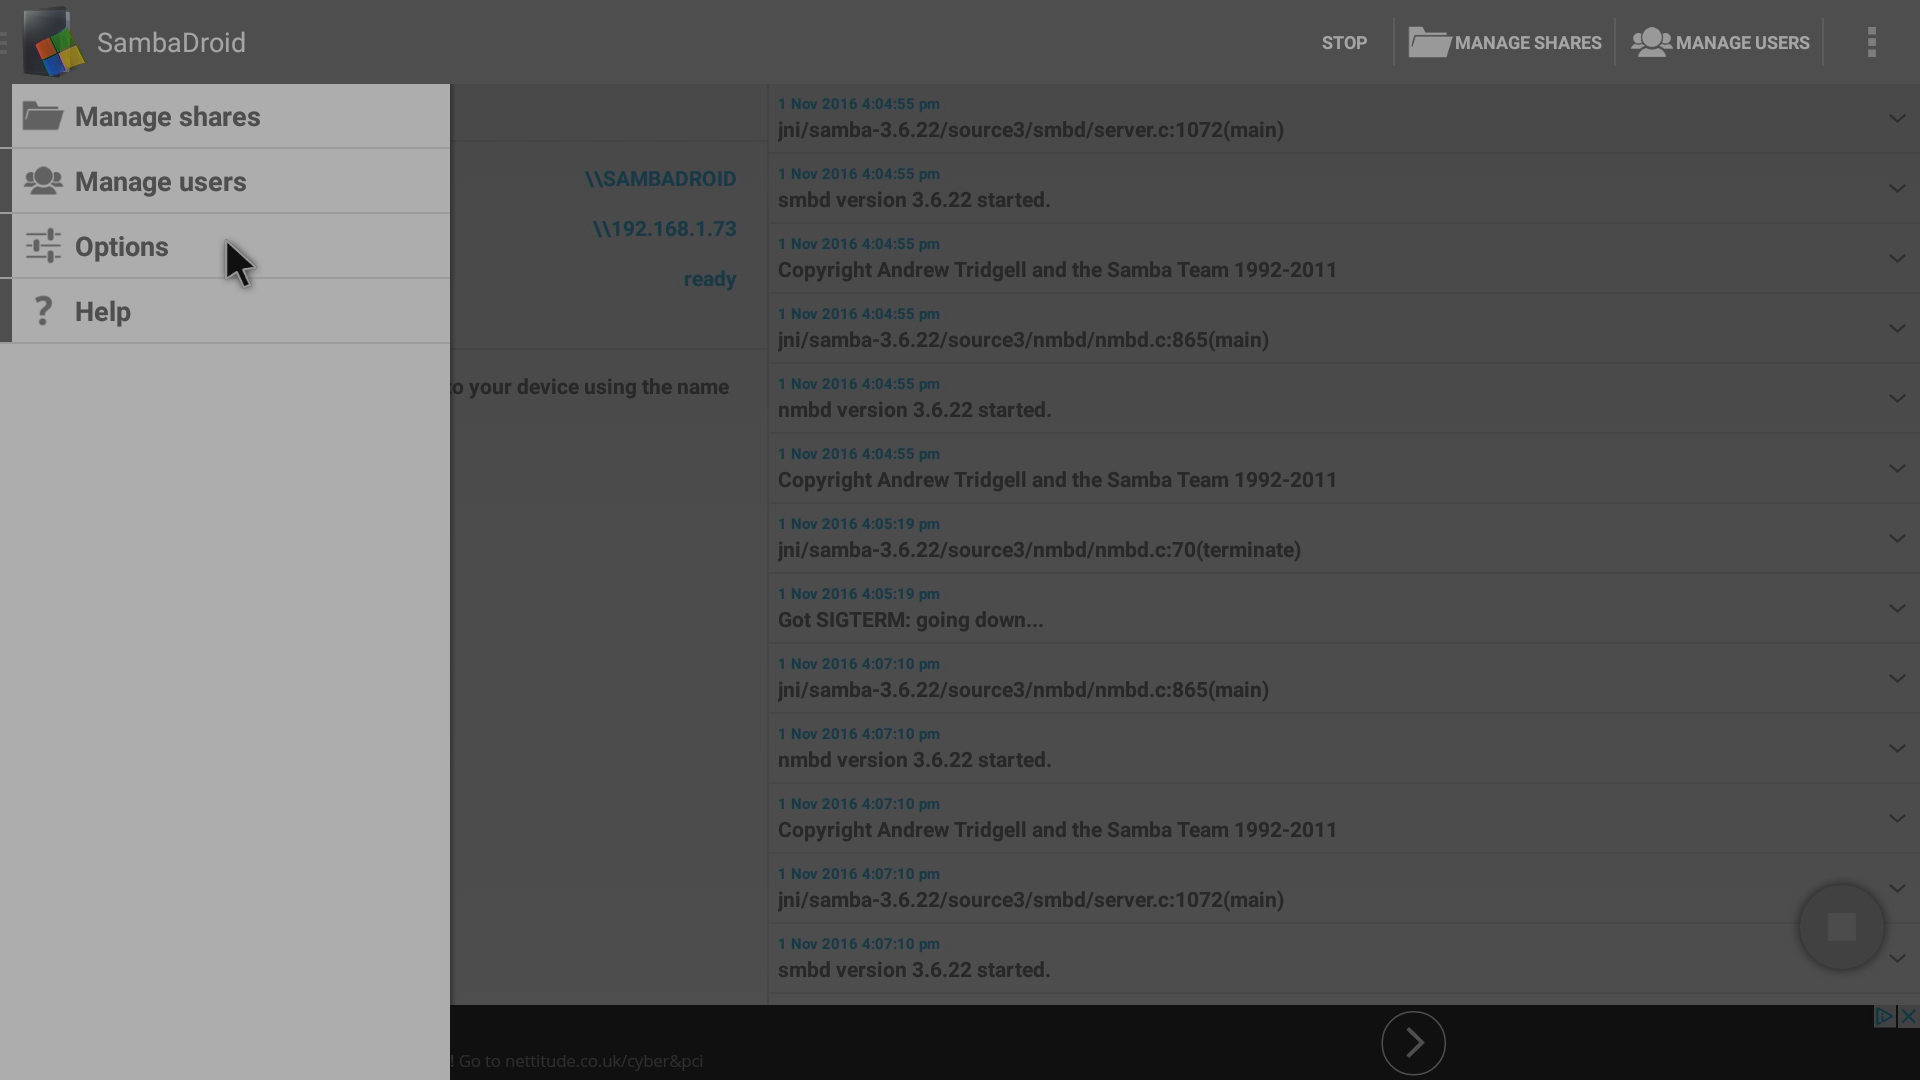
Click the Options entry
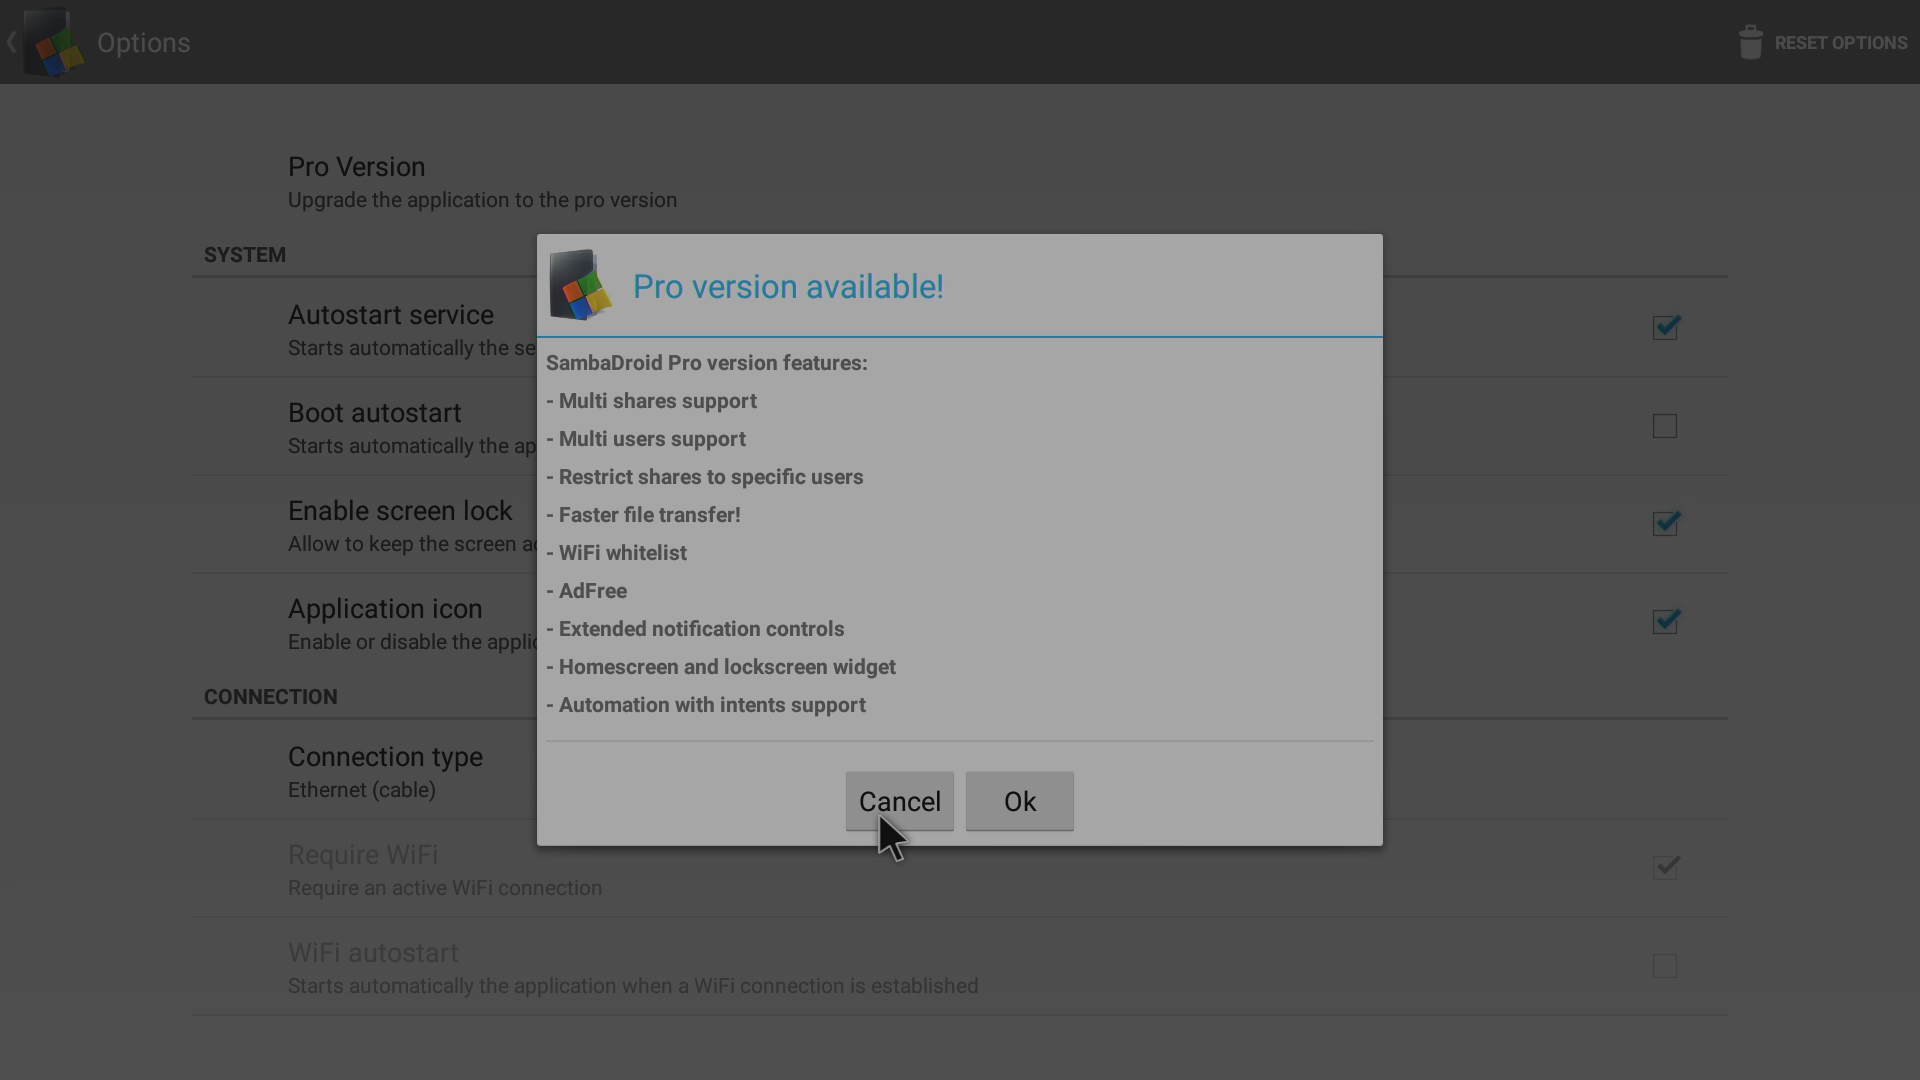
Consider purchasing the application (the “Pro” version) if you want to support the application’s author, or would benefit from the extra features found in his premium version
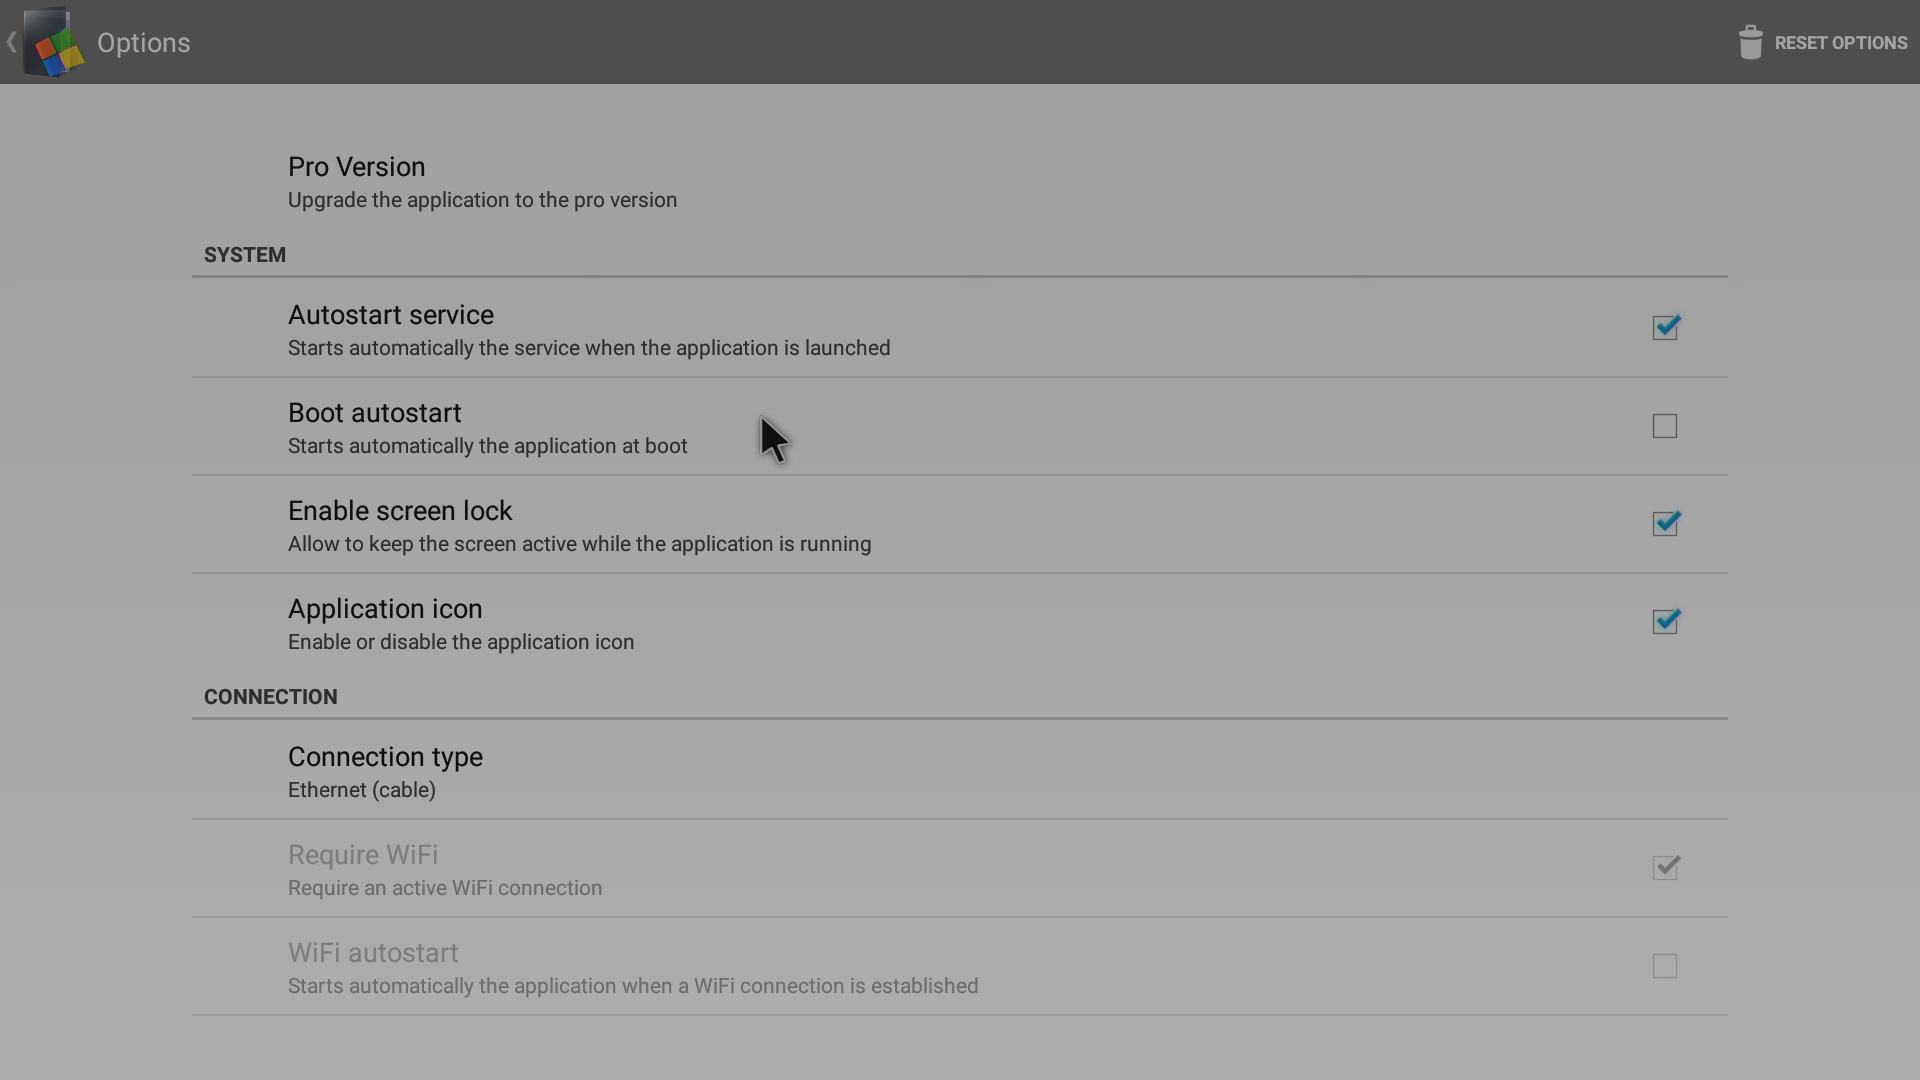
Here you can see the options in their default state

Tick the “Boot autostart” entry
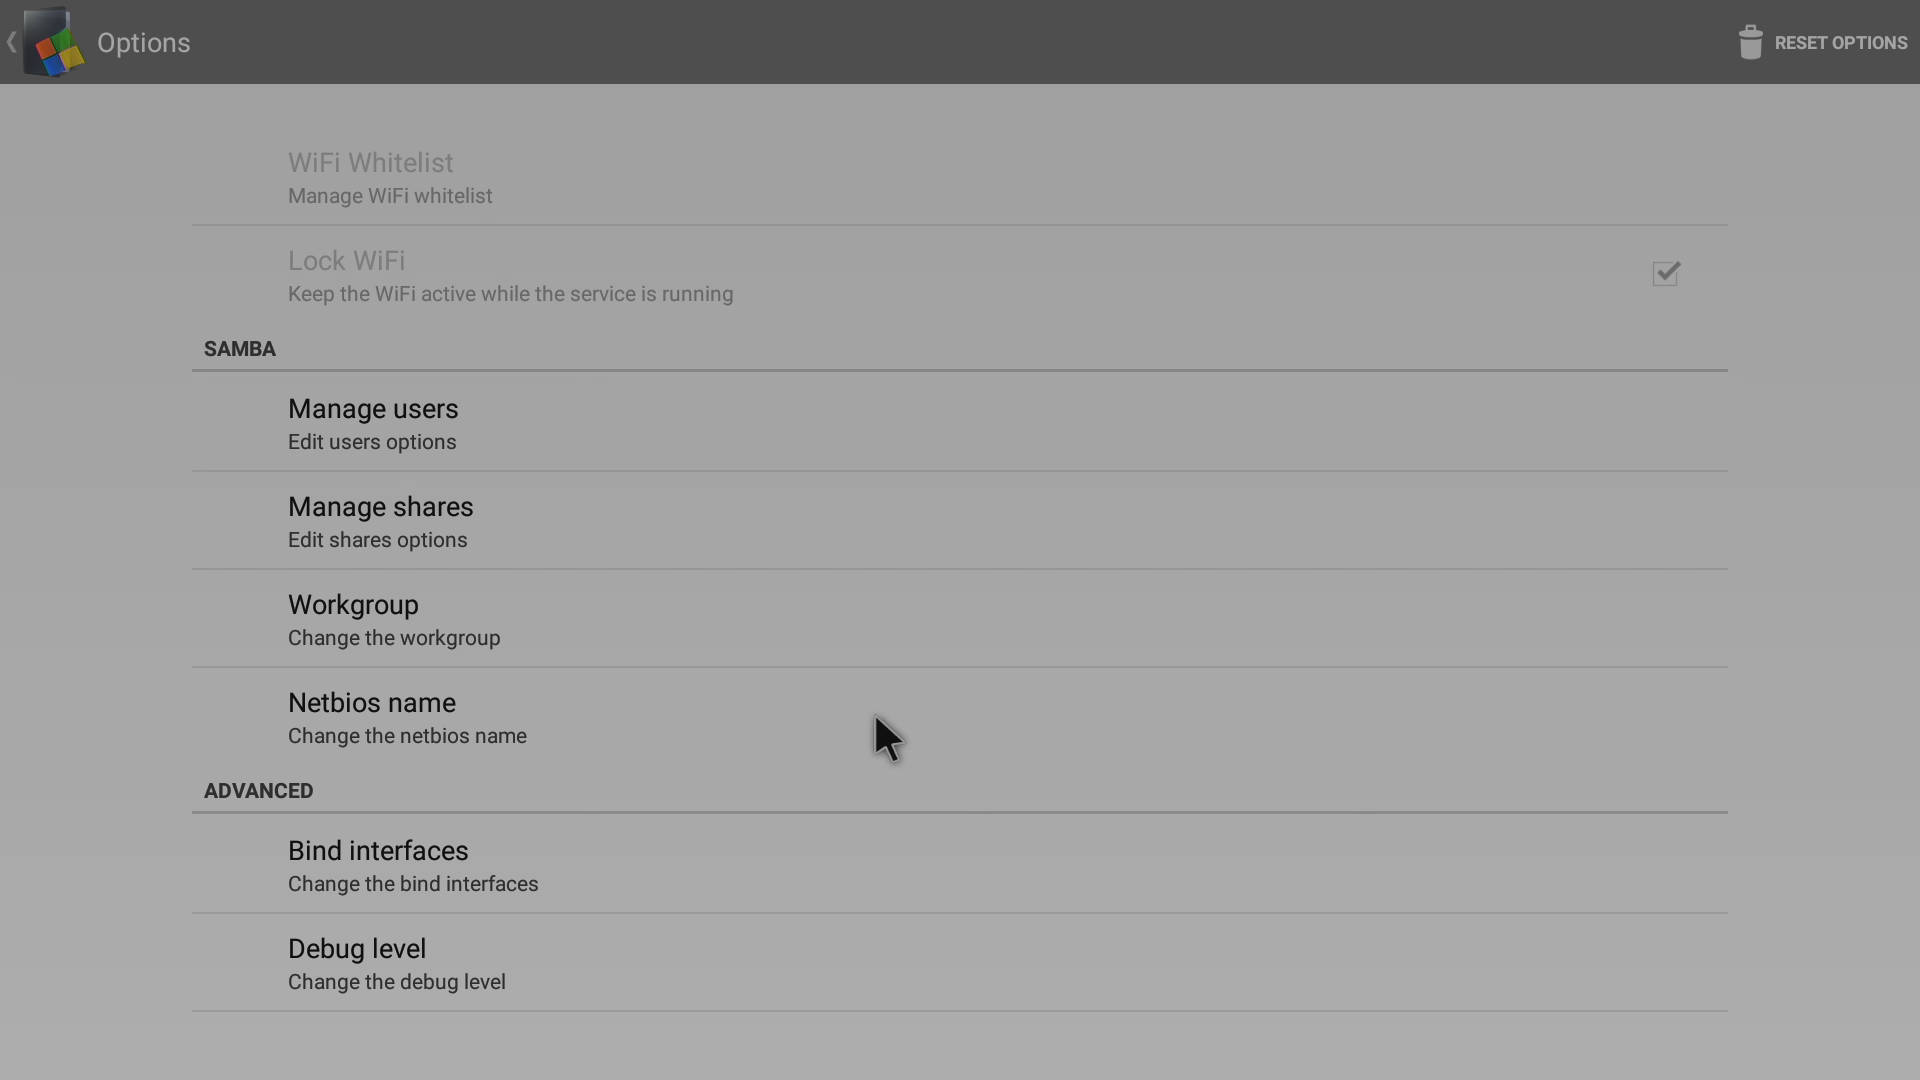
You will also find other entries in this list that may be of interest (to change your DroiX network name from SambaDroid for example)
A final test is to now reboot your device (don’t forget to make sure Kodi or DBMC has been properly closed down first), then re-check that Kodi or DBMC and SambaDroid are still playing nicely together.
