
If you have a surround sound capable amplifier then after checking just a few settings, you should find you can enjoy fully immersive sound with your DroiX® device
Some of these steps will depend on your exact hardware, software and audio equipment.
It would be a good idea to be aware of your particular setup before you start, so here is a quick checklist:
How is your surround sound system connected to your DroiX?

HDMI: If you have an AV amp, you may be connecting your TV to it (with an HDMI cable to the amp’s HDMI output) and then have the DroiX device connected to the amp’s HDMI input.

Optical/TOSLINK: If the cable connecting your DroiX to your sound system is really thin, and the plugs have plastic/glass in the middle, you are only using HDMI for the video signal to your TV. If this is your first time using such a cable and you’re finding it difficult to plug it in, check it is rotated correctly (so the flat part matches up to the flat section of the socket) and that the cover has been carefully removed from the plug.

Coaxial: If the connection to your amp is digital, but uses a metal plug (either a 3.5mm headphone plug or a single RCA/phono plug) to connect to your DroiX, then again your HDMI cable is JUST being used for video. You may find your amp’s socket is coloured orange.
Which version of Android is installed on your device?
Android: If you own a T8-S or T8, you are running the KitKat version of Android.
If it is a T8-S Plus v1, T8-S Plus v2, T8 Mini, iMXQpro or iMXQpro v2 then Lollipop or Marshmallow is the build of Android on your device.
If you are not sure, click the Settings icon on your homescreen, then look for a More Setting button or an “Advanced” tab and then a More Settings button. Now scroll down and look for a “About Phone/Tablet/Device” entry to click on. You should now see a reference to 4.4 or 5 build. KitKat devices will have 4.4 mentioned, where as Lollipop will mention 5.something.
If you are using OpenELEC or LibreELEC instead of Kodi/DBMC in the Android operating system, the settings are also covered further down this page.
Which version of your Media Centre app is in use?
Open the app you normally use for online entertainment. This will normally be Kodi, DroiX Media Centre (DBMC) or XBMC. Find the SYSTEM menu in the app and look for a System Info entry to click. If it reports that you are running a version earlier than 16.0 or 16.1, please update.
The easiest way to do this is through Google’s Play Store. If you haven’t used it before, please visit https://droix.net/first-run-of-googles-play-store first. If you are sure you have a version prior to 16.1 of Kodi installed, you can search for Kodi, then click on the Uninstall button, then confirm you are certain. Once the process completes, you can now use the Install button to have the latest Kodi installed for you.
If you need to update DroiX Media Centre (DBMC), you can do so with our DroiX Market application. This app marketplace is pre-installed on most recent DroiX firmwares, or you can download and install it from https://droidbox.co.uk/blog/droidbox-market . Once the DroiX Market is open, scroll down to the Kodi/DBMC/SPMC section and open it up fully by clicking the icon. You can now install DBMC. If you are updating from a very old version then you may want to uninstall the old version afterwards. Newer DBMC installs will be updated without the need to uninstall the old version.
If you are running XBMC (confirm via the System Info menu mentioned previously, do NOT rely on the shortcut’s label on your homescreen), you will want to update to either Kodi or DBMC.
What to check:
Optical/TOSLINK
To ensure this type of connection is being used correctly, please see https://droix.net/optical-out-on-a-t8-with-kodi for configuration settings.
HDMI
If you’re using an HDMI cable and have not changed settings already, you can normally skip stSght to the Kodi section below.
Android
Lollipop/Marshmallow


Starting from Android’s homescreen, please click the icon of two cogs, to be taken to the Settings screen.
From here, click the sounds icon, then the Digital sounds icon on the right.
If automatic detection has not resulted in the correct socket being used for Audio, select HDMI if you are using this type of connection, and SPDIF if you’re using the TOSLINK thin audio cable. If your amplifier is not capable of processing the audio being sent, return to the PCM option.
KitKat


First click the Settings icon (two cogs), then click the red Advanced tab please. If Digital audio auto-detection has not resulted in your amp receiving a signal, please turn it off and select the line below.
If you’re using an HDMI cable to connect to your amplifier then HDMI passthrough is the option to select. Likewise, if using a TOSLINK cable, select the SPDIF passthrough entry.
As with Lollipop devices, if your amplifier can not process the raw audio, select the PCM option.
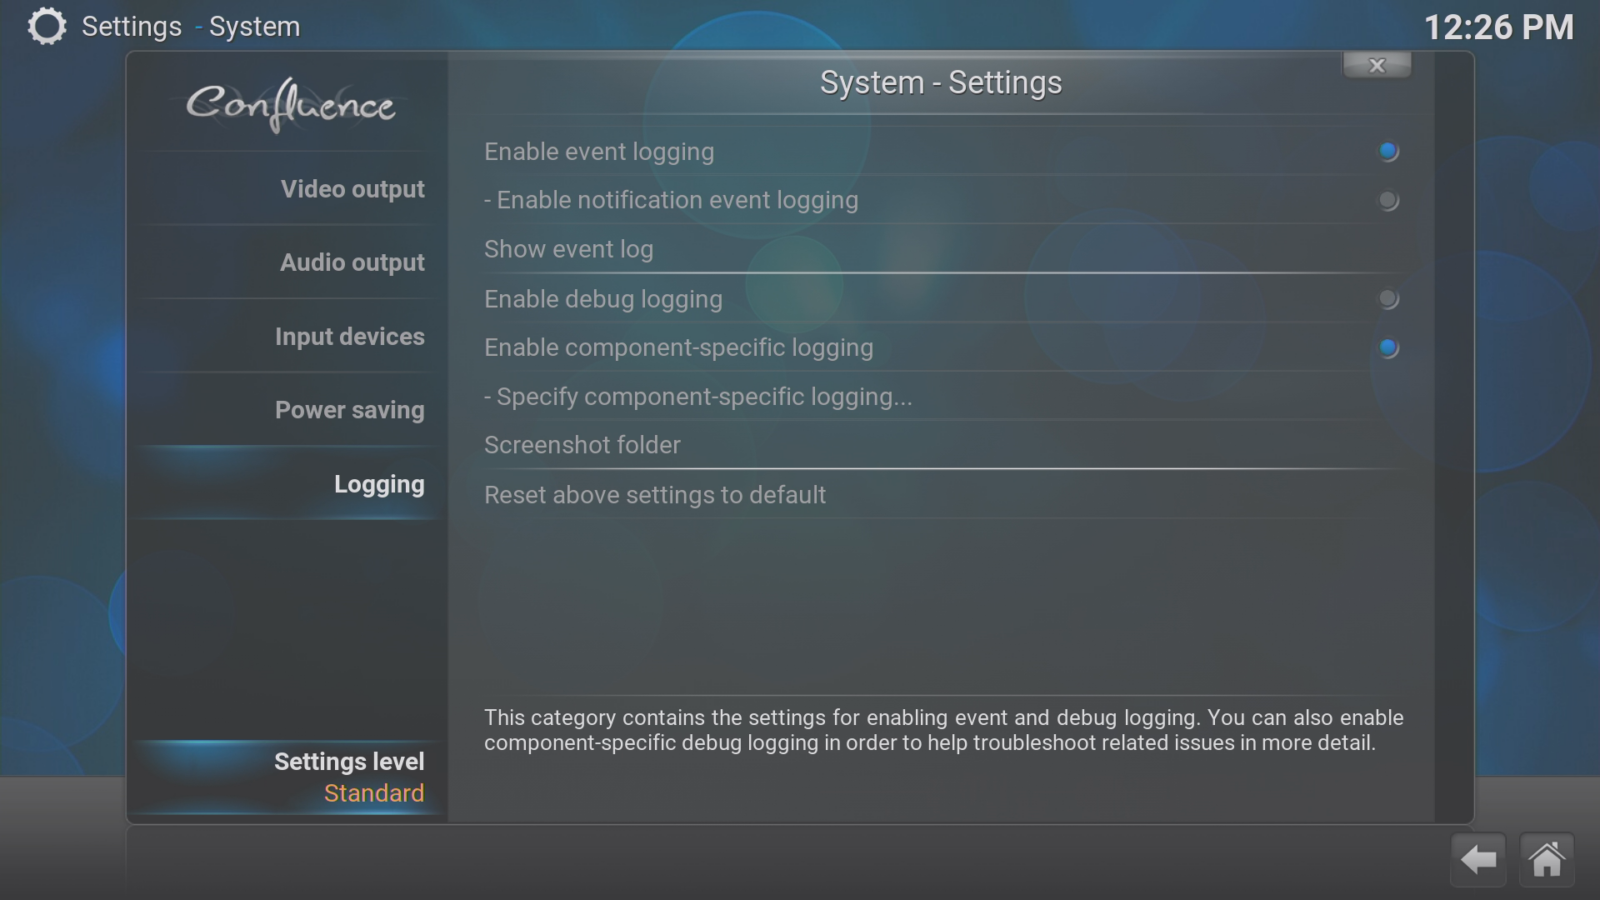
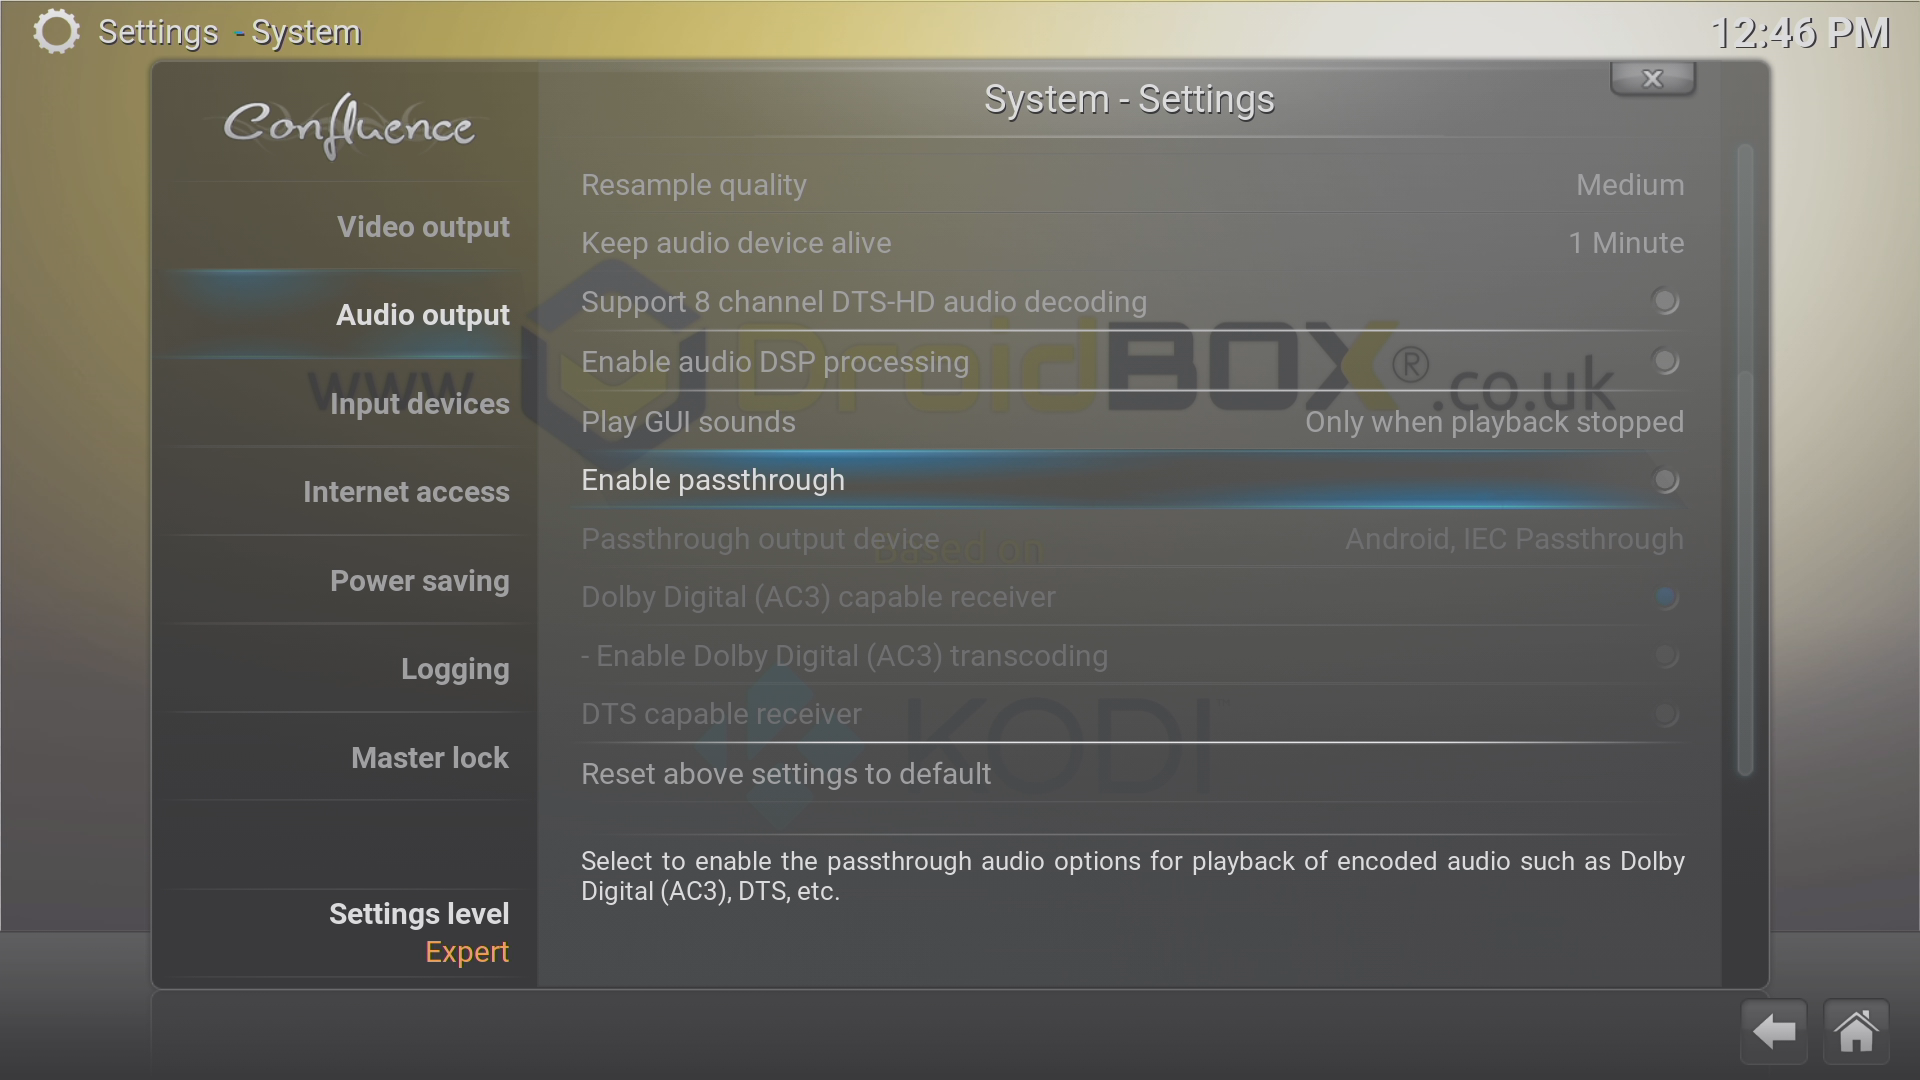
Kodi Jarvis (Android and OpenELEC)


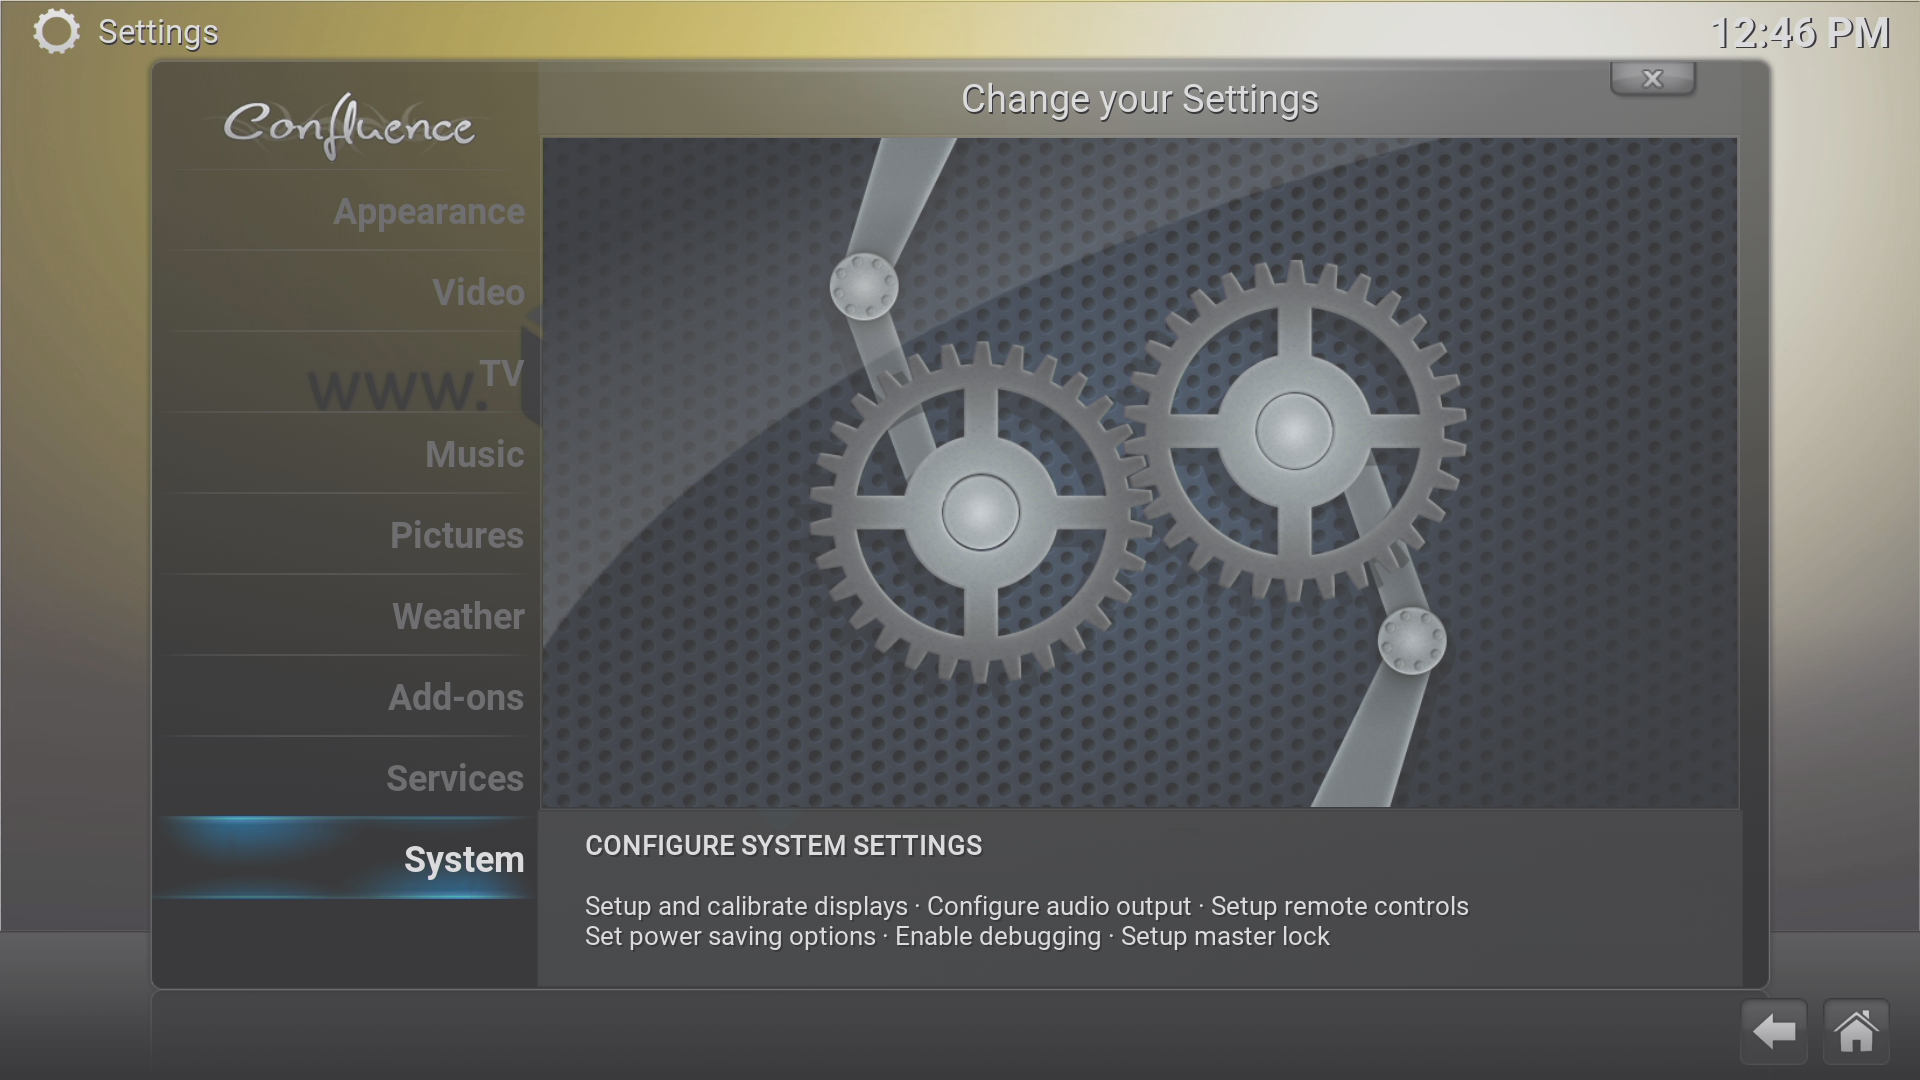
Open Kodi and click on the SYSTEM menu
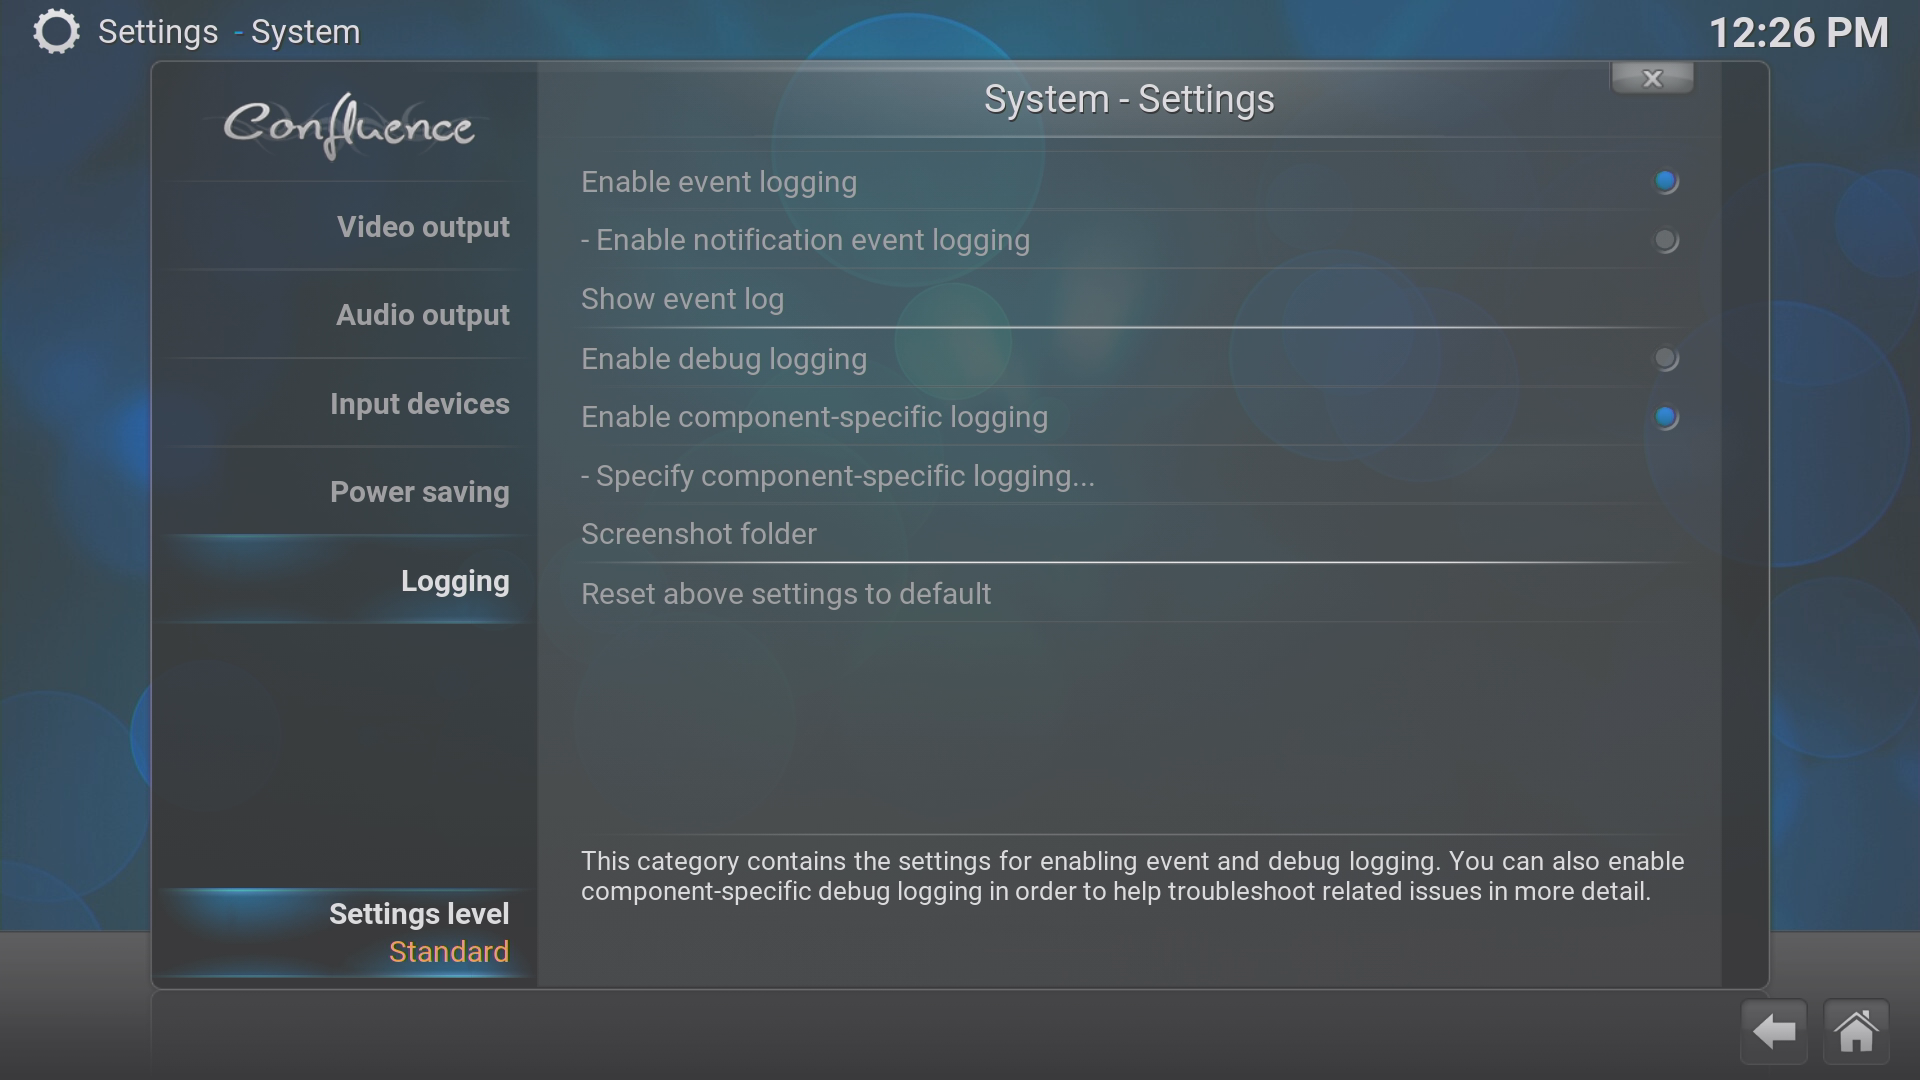
Now click on the bottom entry (again called SYSTEM)
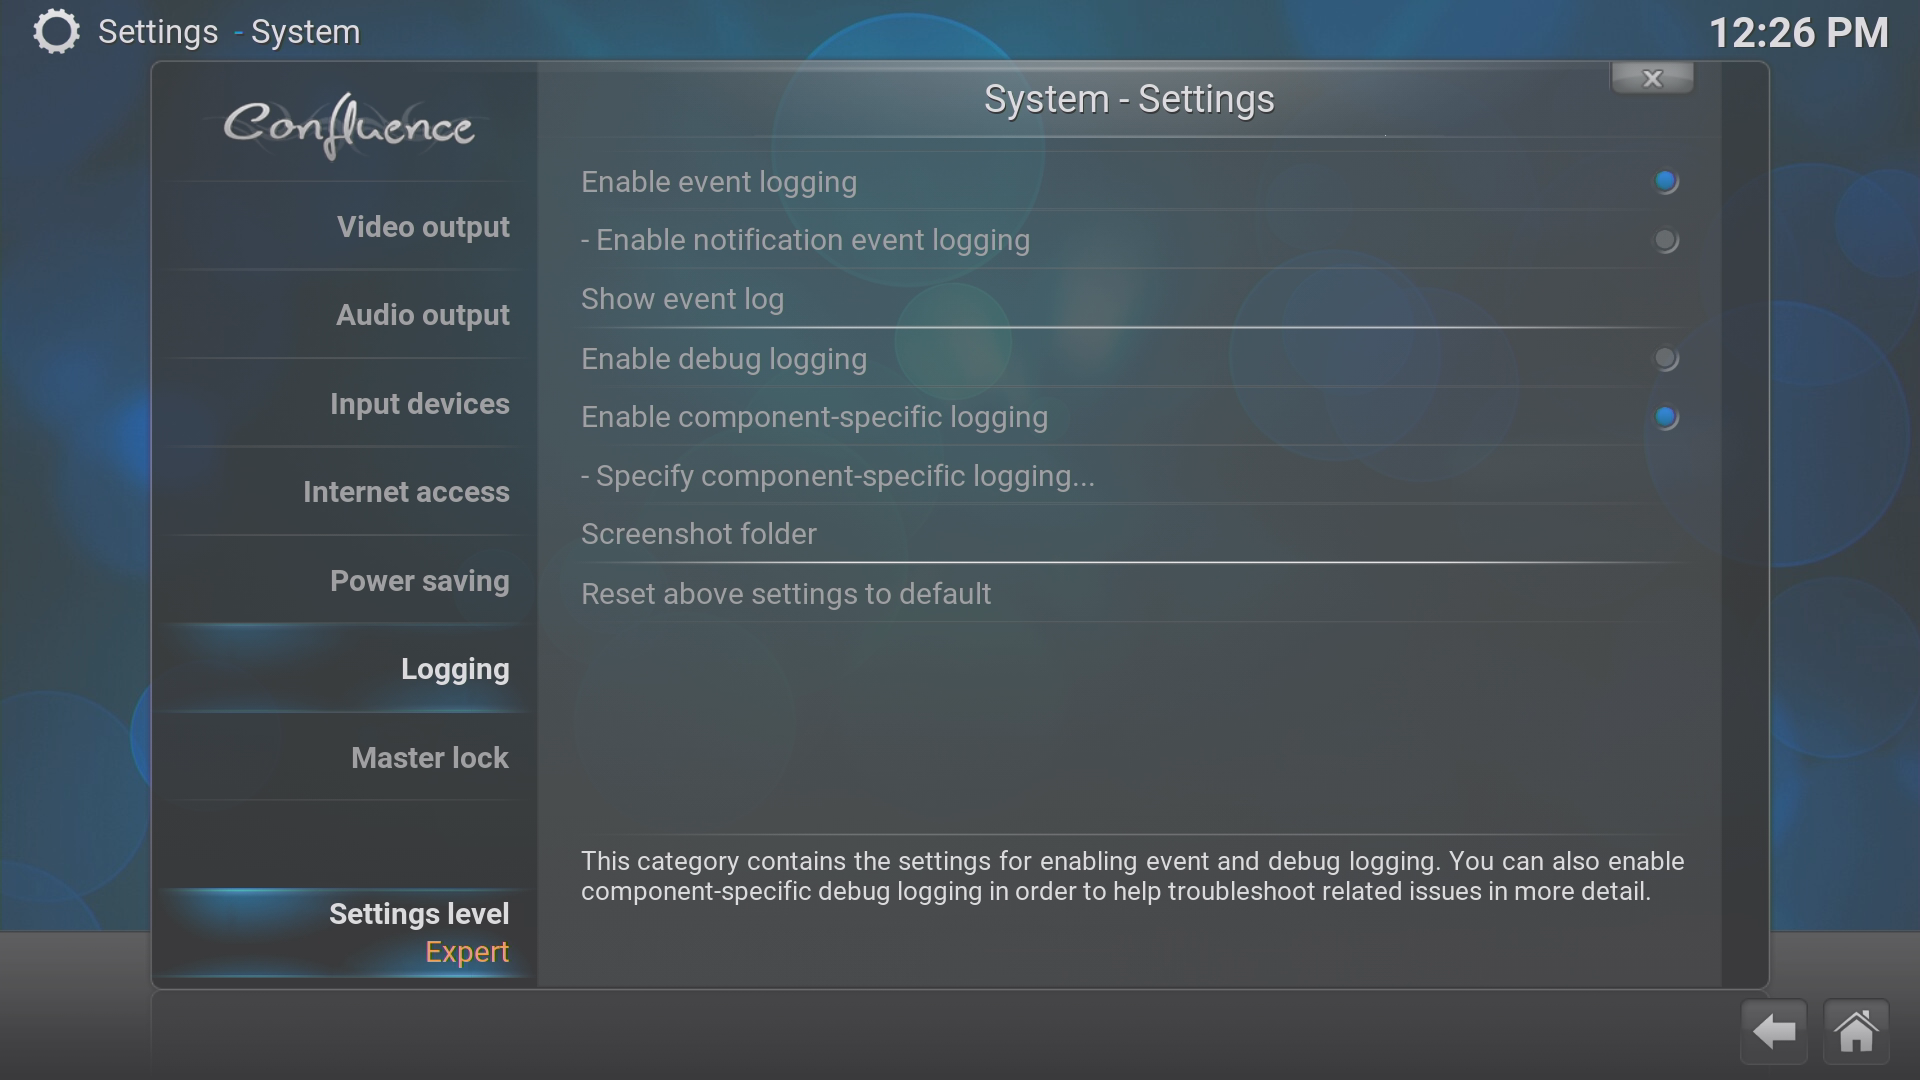
Click on the Settings Level until EXPERT is selected
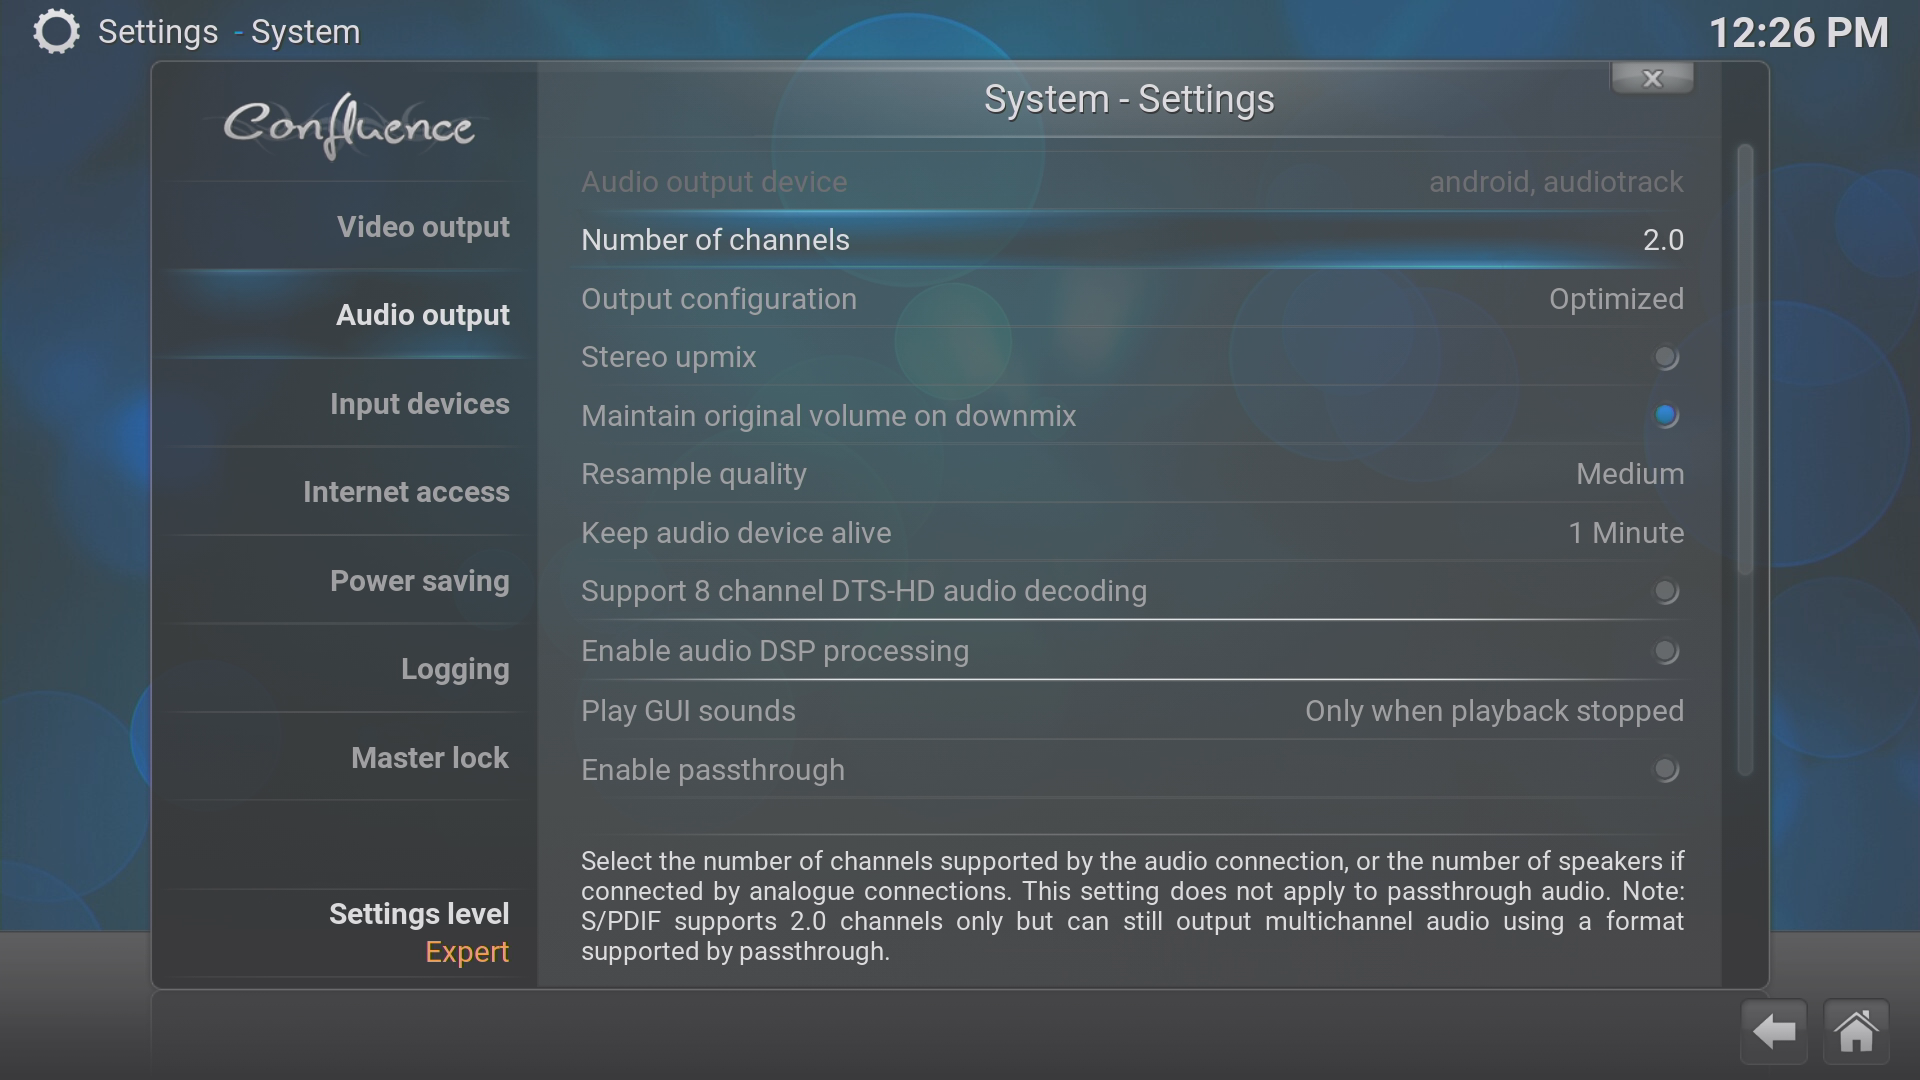
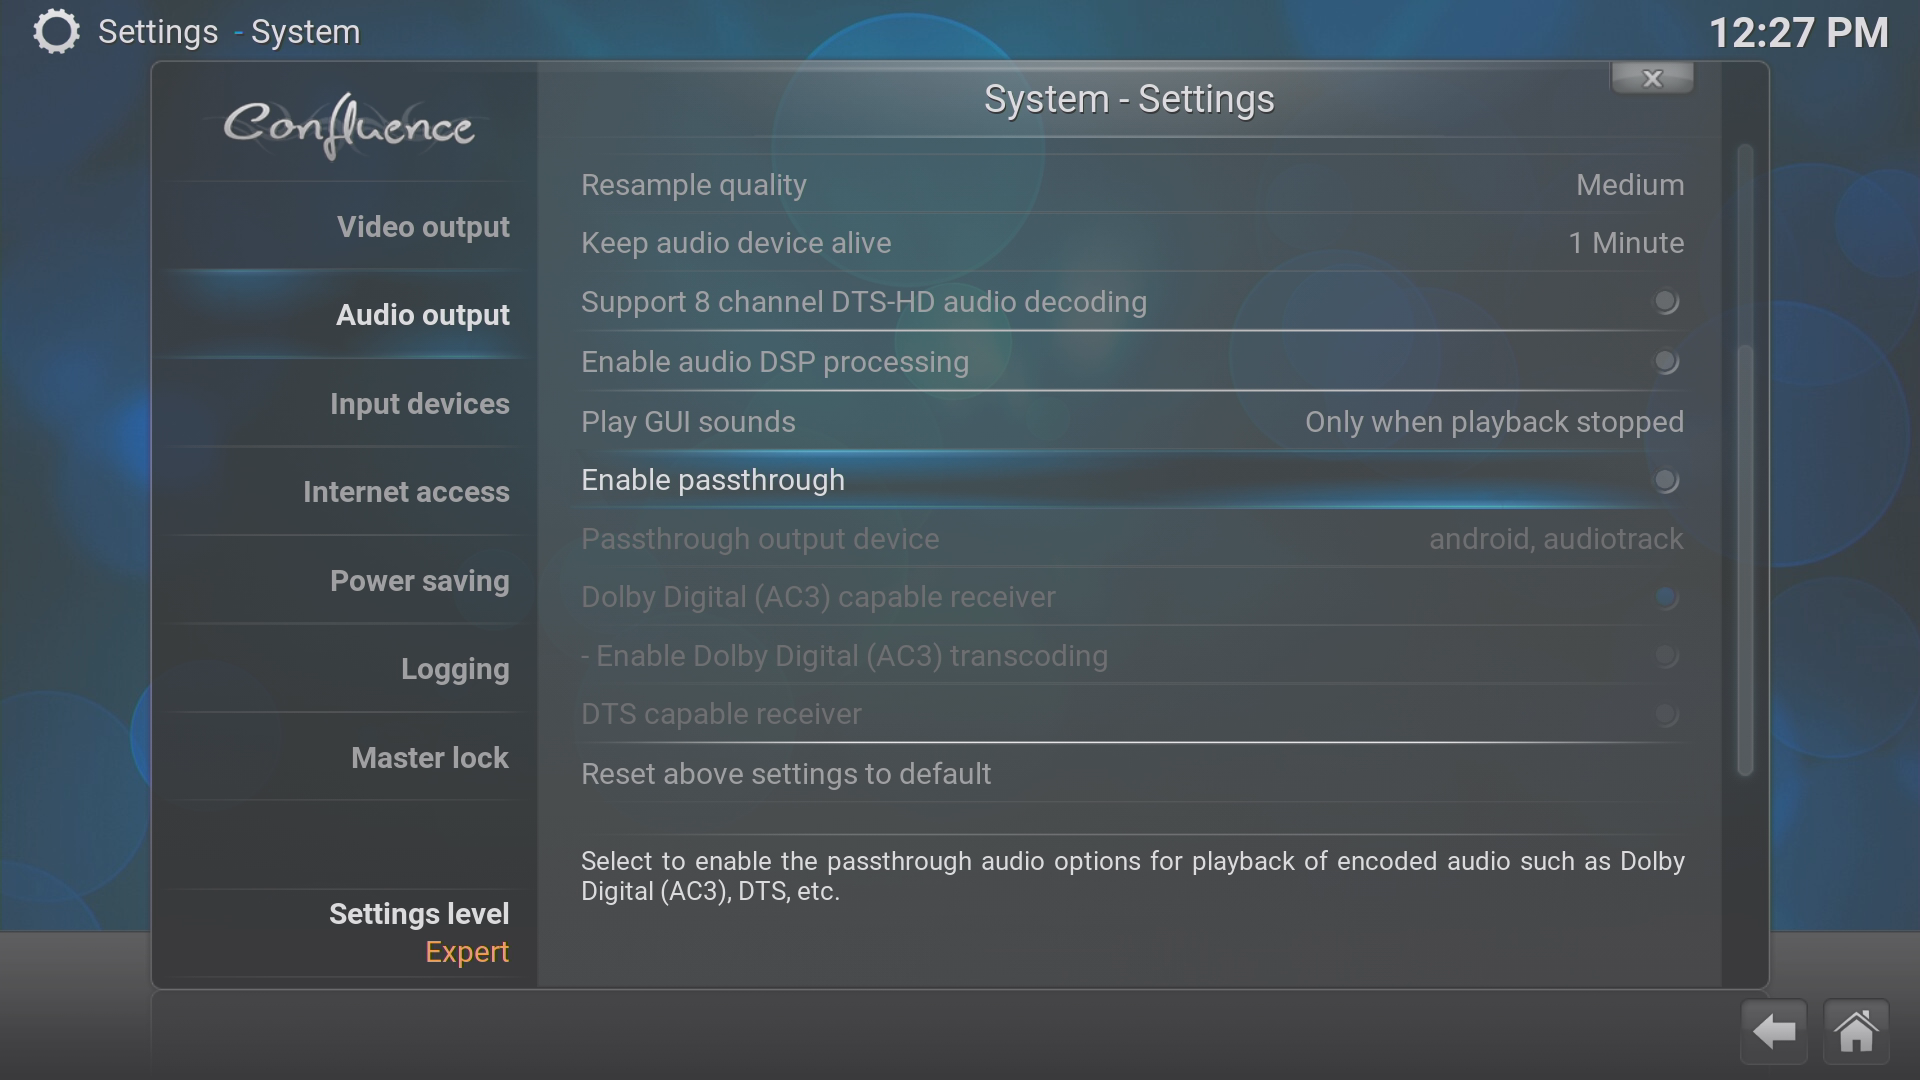
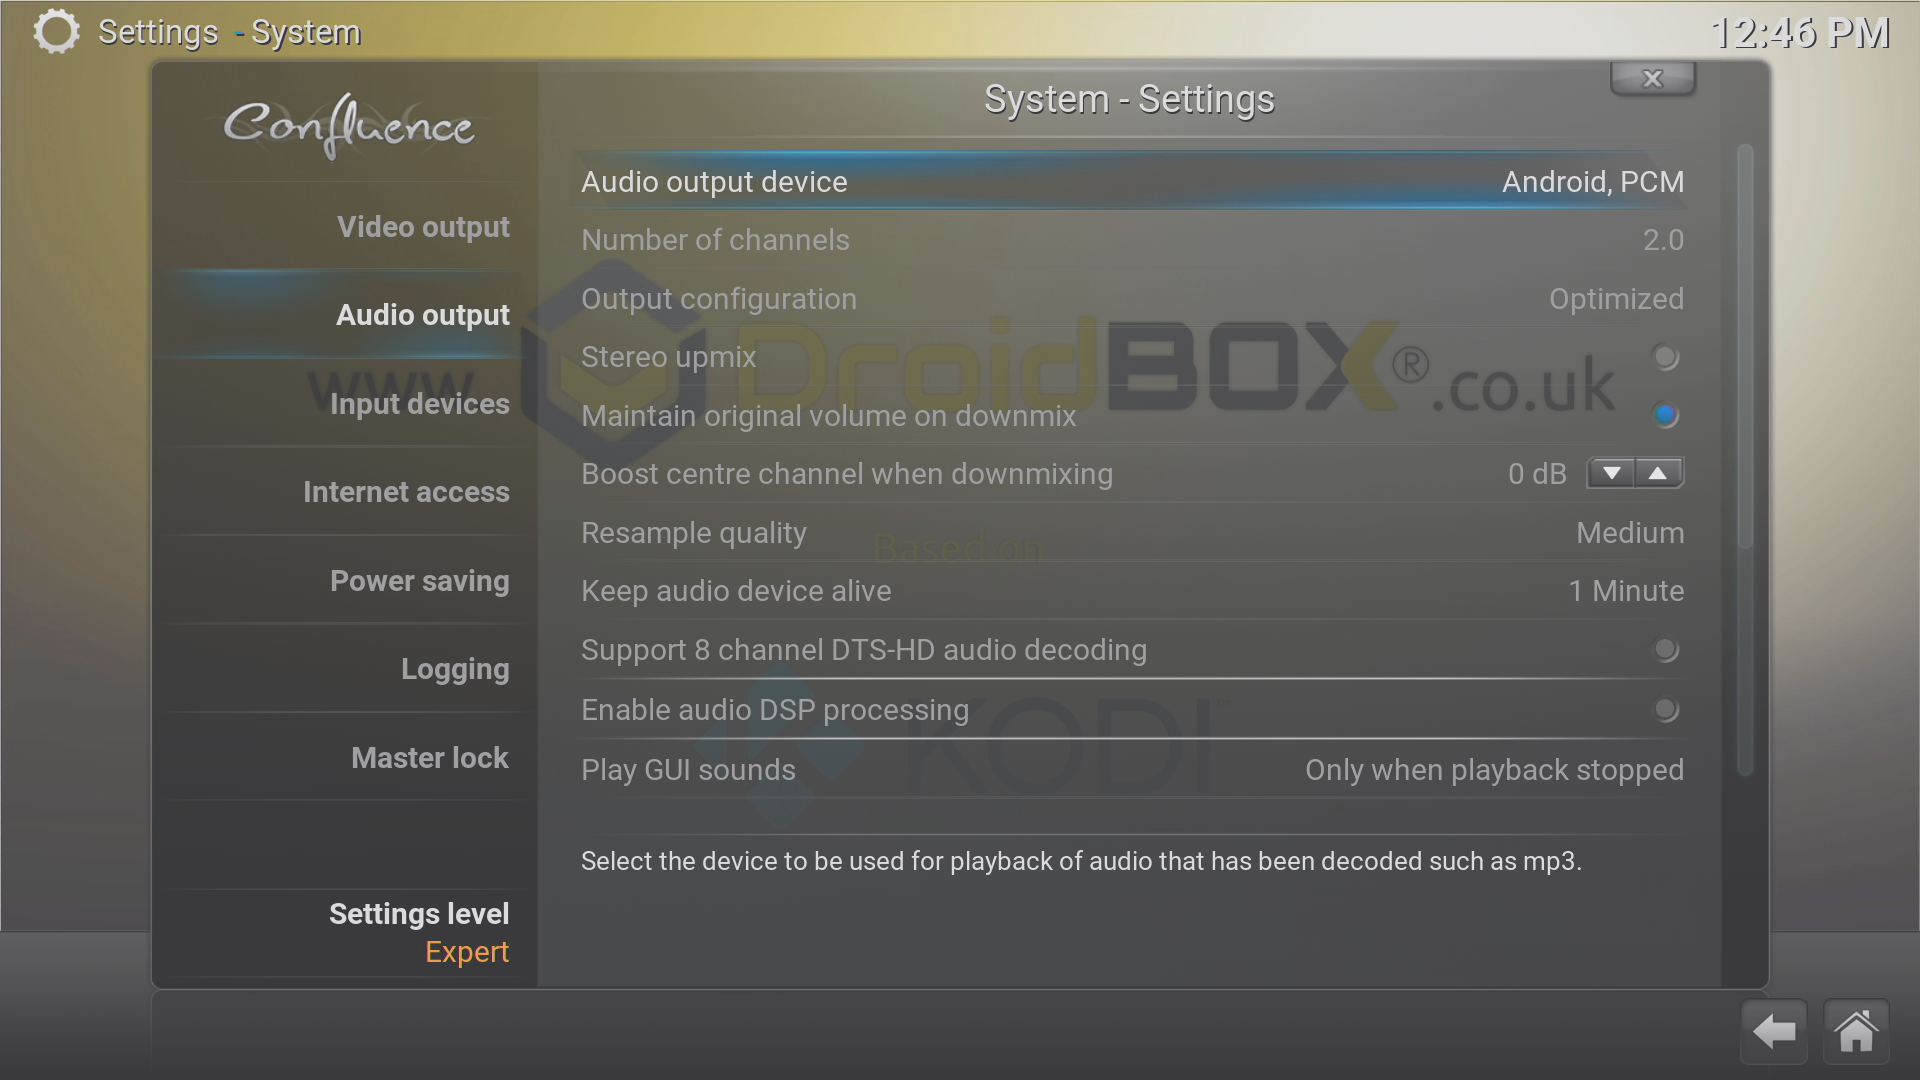
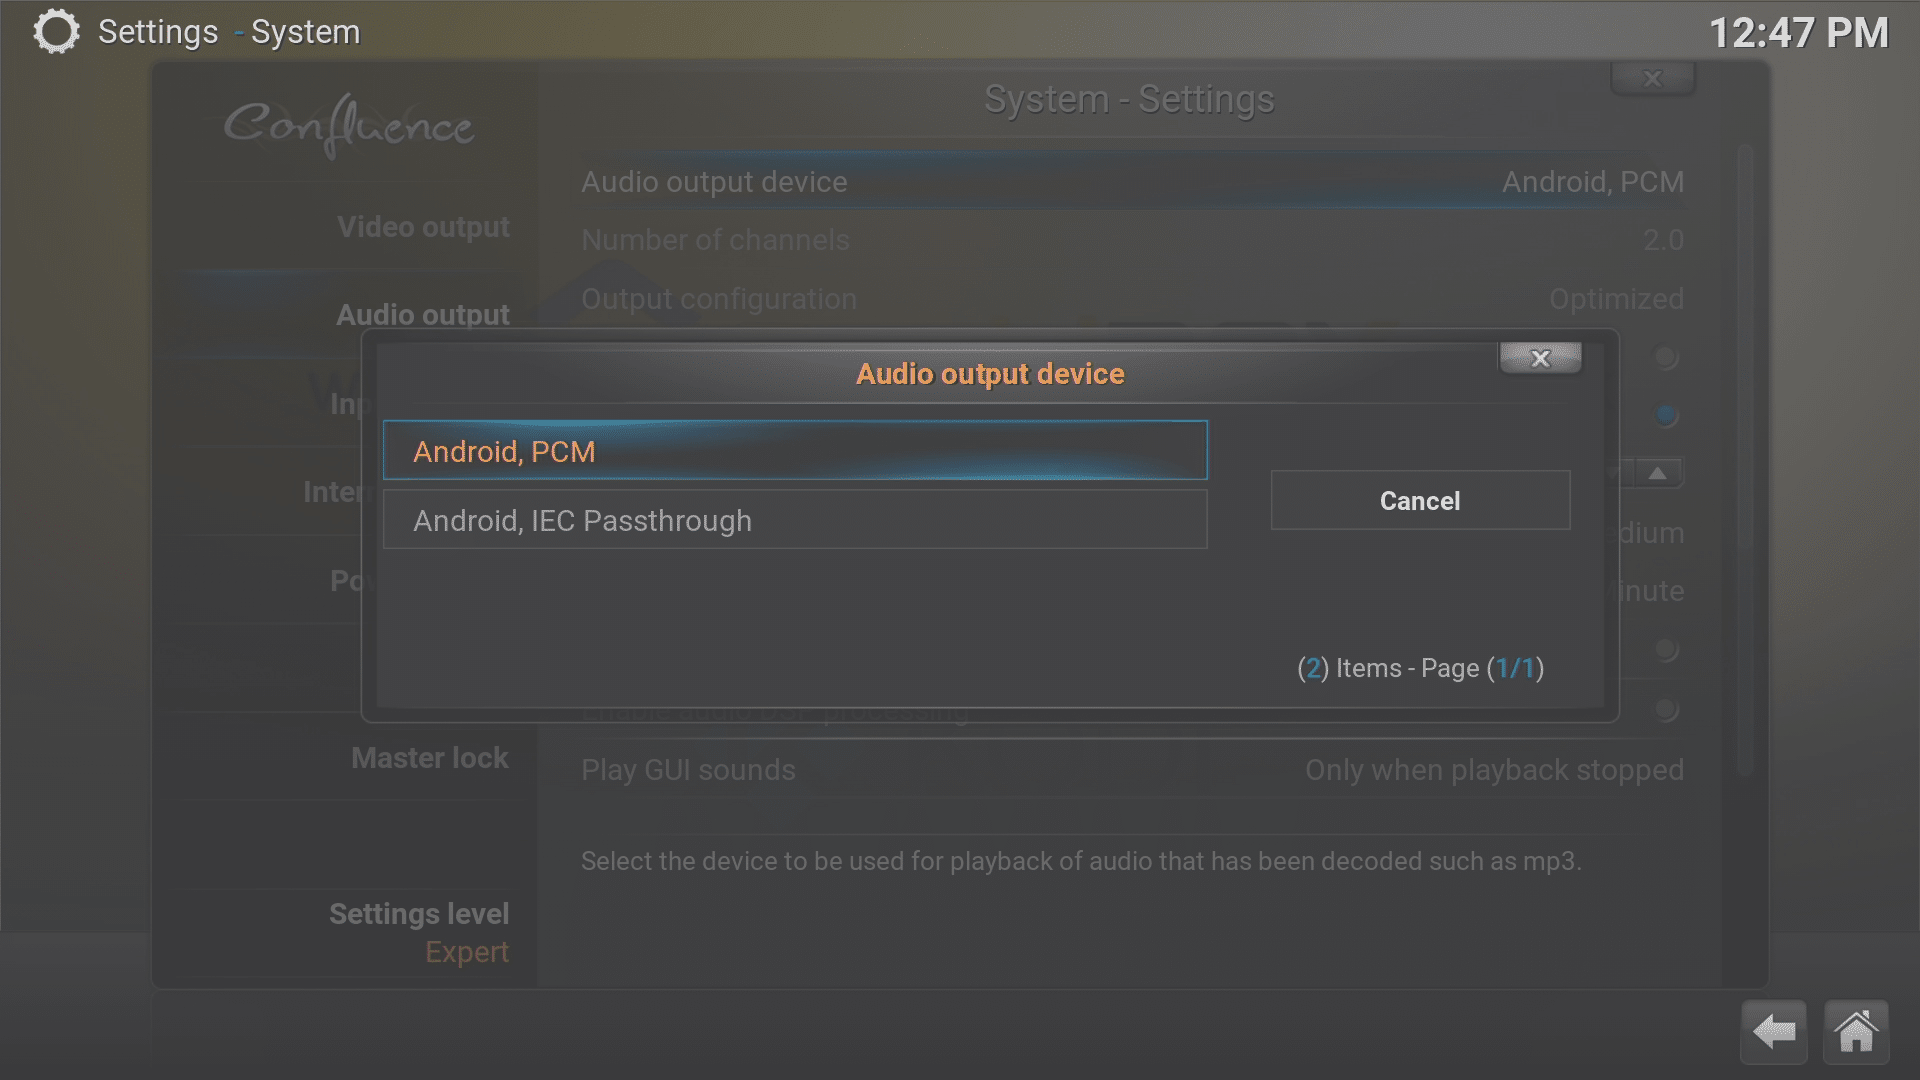
Select the Audio Output area
Ensure the Number of Channels is set to 2.0
If your amp can handle the audio codecs used by your media files natively, you can enable passthrough.
If unsure, please leave this setting alone. Check your AV equipment’s manual for information on its capabilities when it comes to Dolby Digital, DTS and AC3. In general, if you are certain your hardware can support it, turn on Audio Passthrough and then Transcoding (so they both have blue dots) then the same with DTS – if your amp can handle these formats.
DBMC and LibreELEC 7


Open DBMC and click on the SYSTEM menu
Now click on the bottom entry (again called SYSTEM)
Click on the Settings Level until EXPERT is selected
Select the Audio Output area
Ensure the Number of Channels is set to 2.0
If your amp can handle the audio codecs used by your media files natively, you can enable the Passthrough option or change the output device to IEC Passthrough. In LibreELEC the device name will be different.
If unsure, leave both these settings alone please. Check your AV equipment’s manual for information on its capabilities when it comes to Dolby Digital, DTS and AC3. In general, if you are certain your hardware can support it, turn on Audio Passthrough and then Transcoding (so they both have blue dots) then the same with DTS – if your amp can handle these formats.
Kodi Krypton in Android


Boot your device into Android and open Kodi
Click the Settings/System icon in the top left corner
Click on the System settings entry
Click on the bottom entry on the left until it shows “Expert”
Number of channels should be 2.0
If your amp can handle the audio codecs used by your media files natively, you can enable the Allow Passthrough option.
If unsure, leave both these settings alone please. Check your AV equipment’s manual for information on its capabilities when it comes to Dolby Digital, DTS and AC3. In general, if you are certain your hardware can support it, turn on Audio Passthrough and then Transcoding (so they both have blue dots) then the same with the other codecs listed – if your amp can handle these formats natively.
Kodi Krypton in LibreELEC 8

Boot your device into LibreELEC
Click the Settings/System icon in the top left corner
Click on the System settings entry
Click on the bottom entry on the left until it shows “Expert”
The Audio output device should start with “ALSA: Default”
Number of channels should be 2.0
If your amp can handle the audio codecs used by your media files natively, you can enable the Allow Passthrough option or change the output device to ALSA: AML-M8AUDIO, HDMI.
If unsure, leave both these settings alone please. Check your AV equipment’s manual for information on its capabilities when it comes to Dolby Digital, DTS and AC3. In general, if you are certain your hardware can support it, turn on Audio Passthrough and then Transcoding (so they both have blue dots) then the same with the other codecs listed – if your amp can handle these formats natively.
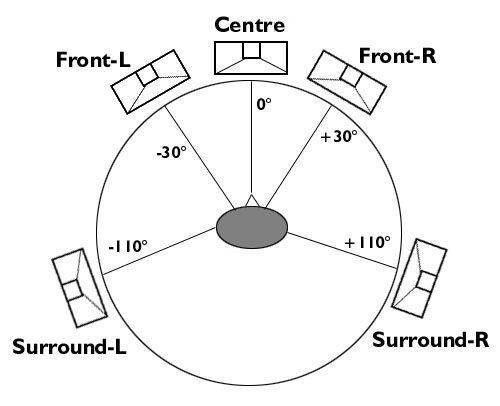
Speaker Placement
For optimal surround sound staging/recreation you may want to check the placement of your speakers, relative to where you will be sat. Exact positioning may require you to take your room’s acoustics and actual dimensions into account.
We hope this guide has helped you configure your DroiX device for surround sound. Please note that DroiX are unable to support 3rd party hardware such as AV equipment.
Some videos may only be recorded in 2 channel stereo. In these situations you may find your amplifier has a setting to “fill” the surround channels with audio from the stereo audio information.
For further information or assistance on using Surround Sound with DroiX and Kodi/DBMC please visit https://DroidBOXForums.com where our community discusses these topics.
