

You may have come across references to the (Android) Recovery Menu in some of our other How To articles.
We explain what it is, and what the various entries found within do.
The screenshots shown below were taken from an Android 6 powered device. Earlier models will have very similar menus, though LibreELEC is only shown on recent dual boot devices.
How to access – https://droix.net/accessing-your-droidboxs-recovery-menu
When navigating the menus, you can use the Up, Down, Left, Right and OK buttons on your infrared remote control. If you use a controller with Air Mouse mode, first turn it upside down/disable the Air Mouse, as small movements will otherwise be interpreted as wanting to scroll up or down the list very quickly.
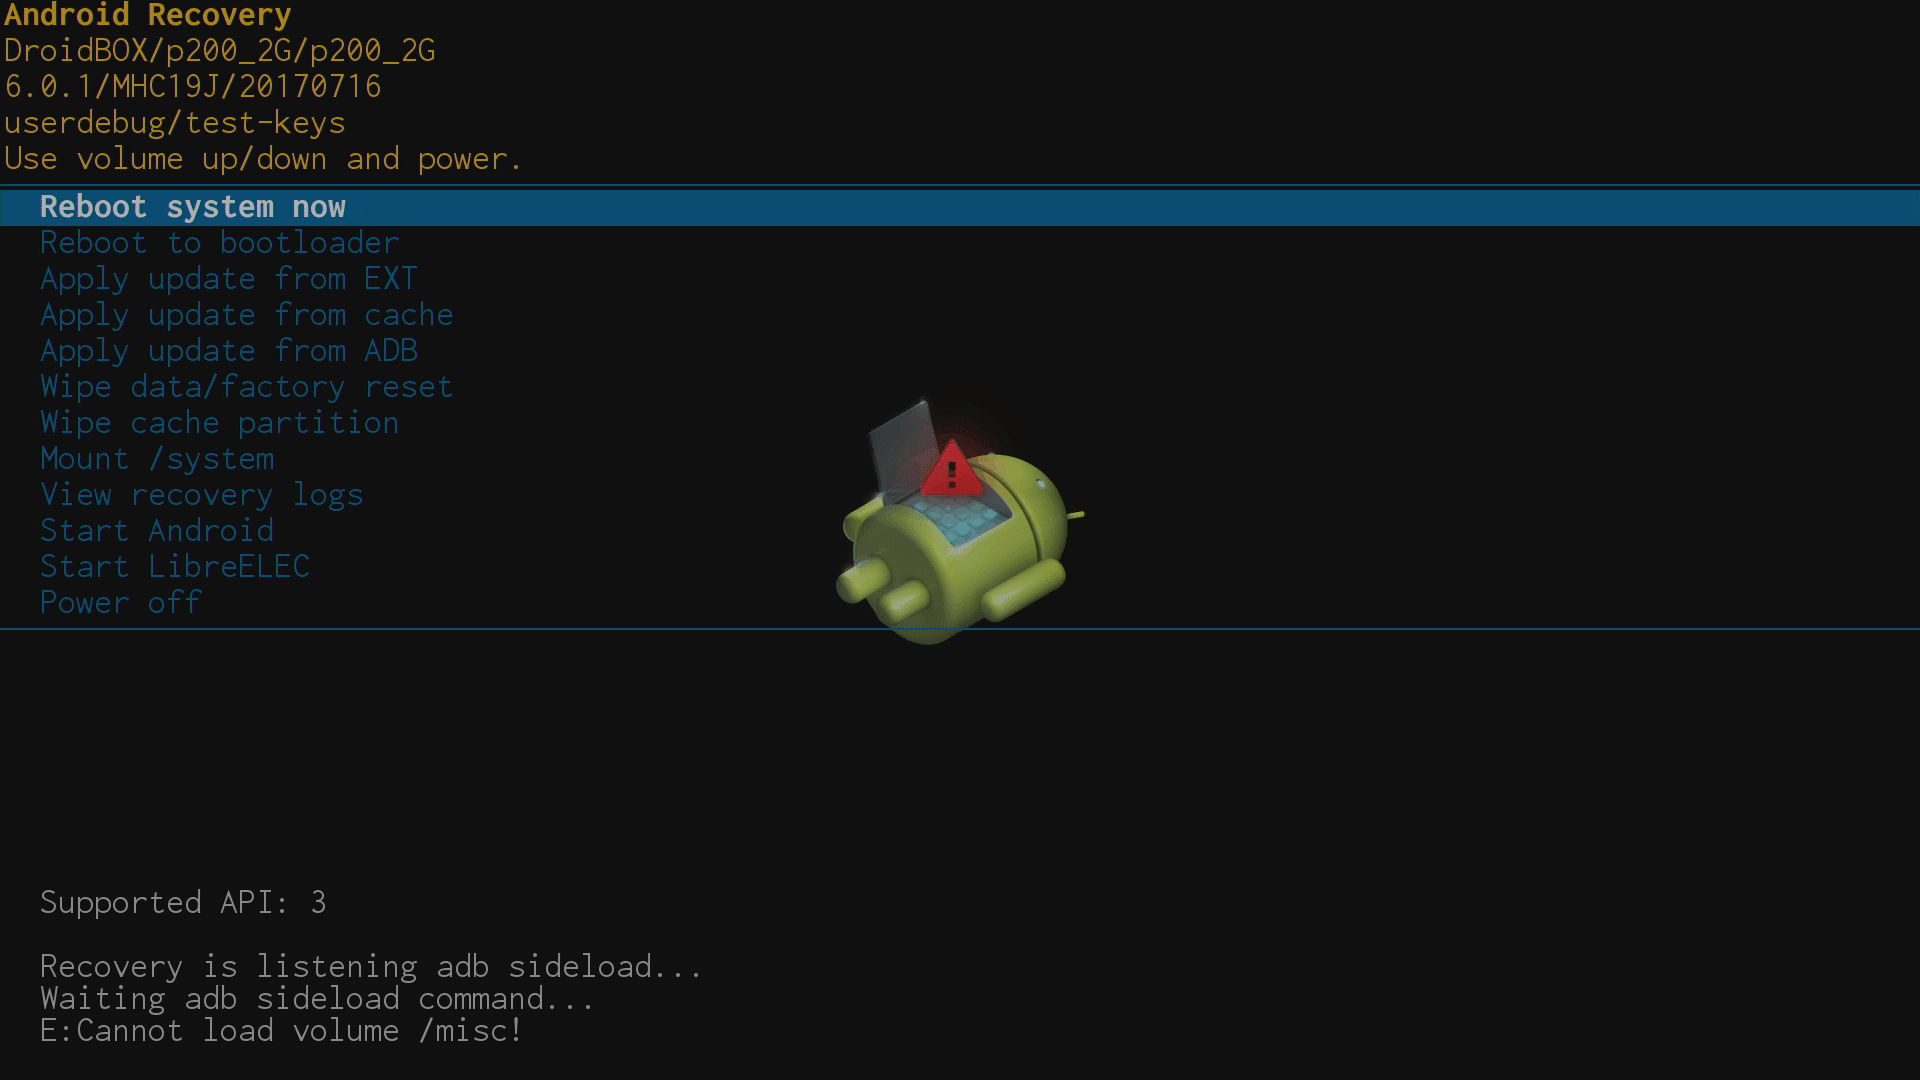
-Reboot system now
Selecting this will exit the Recovery menu and boot into the operating system you last used.
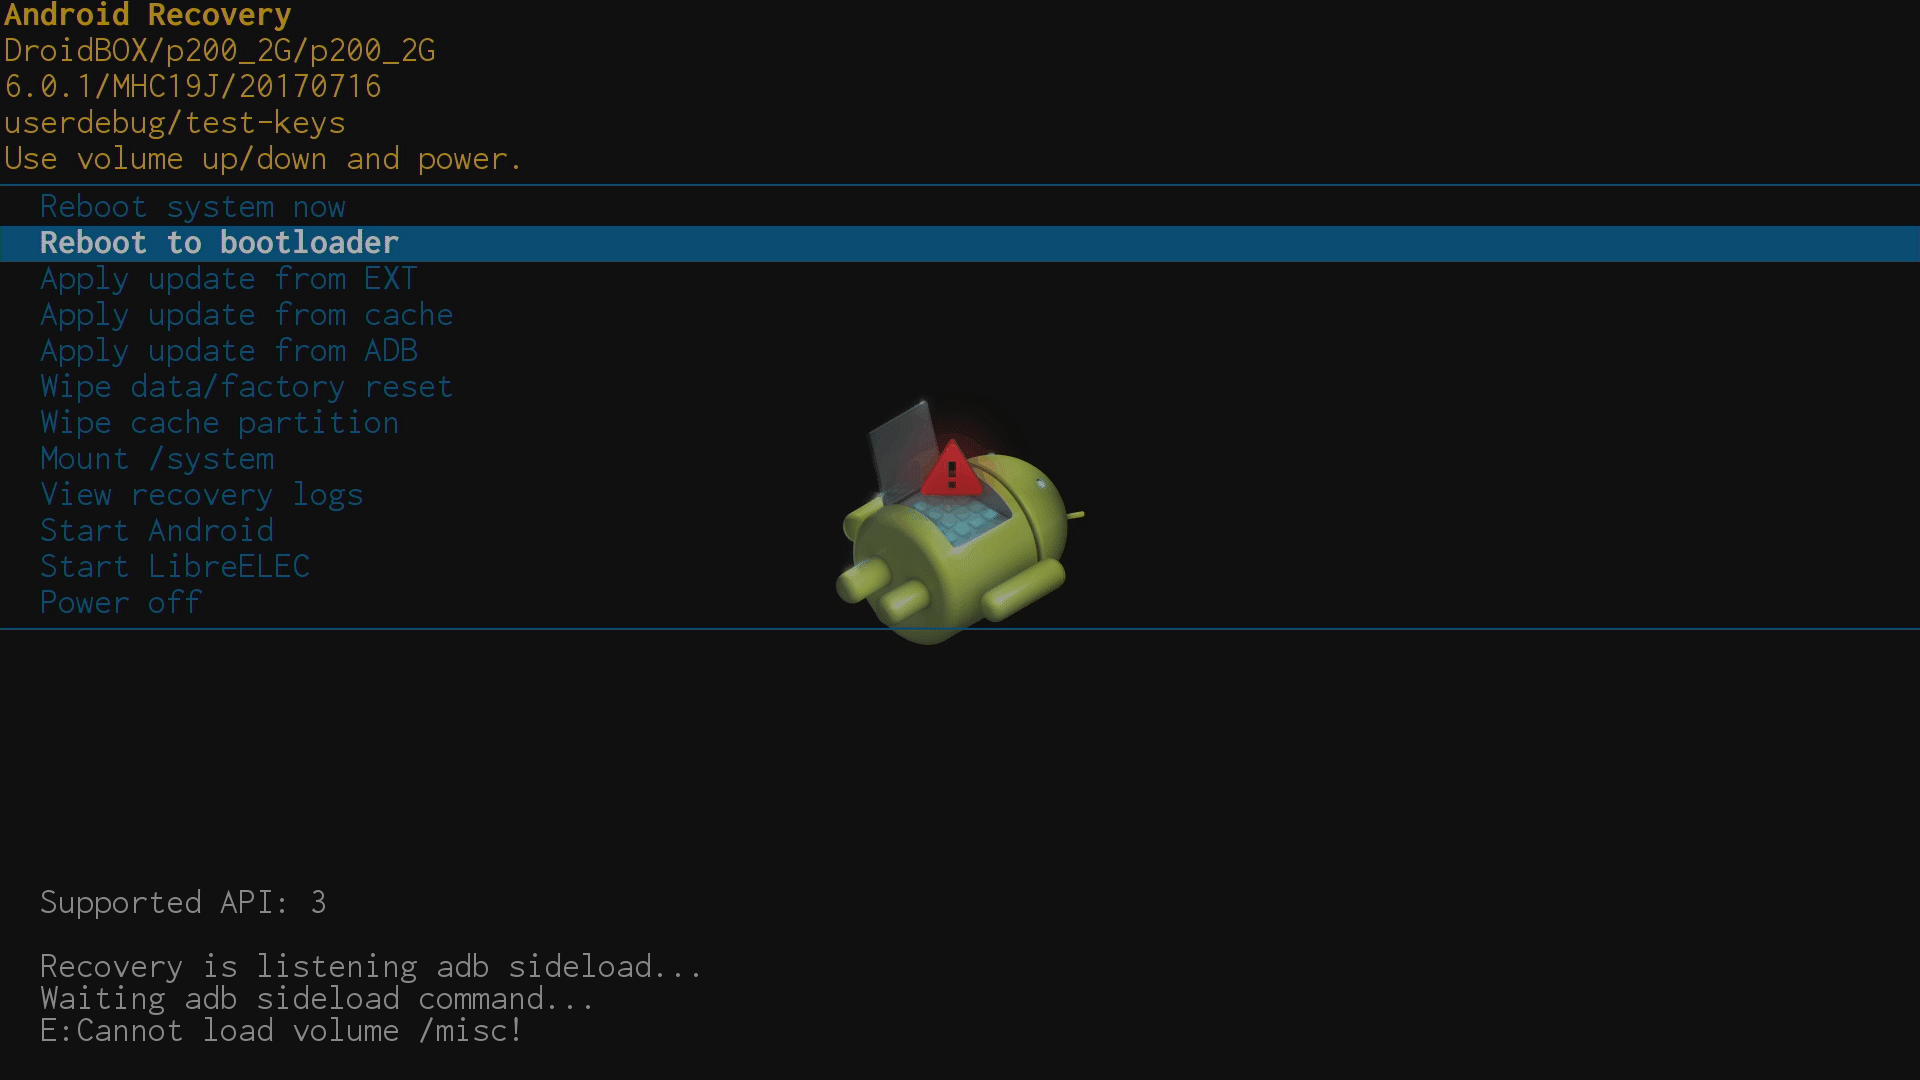
-Reboot to bootloader
Ignore this one entirely.
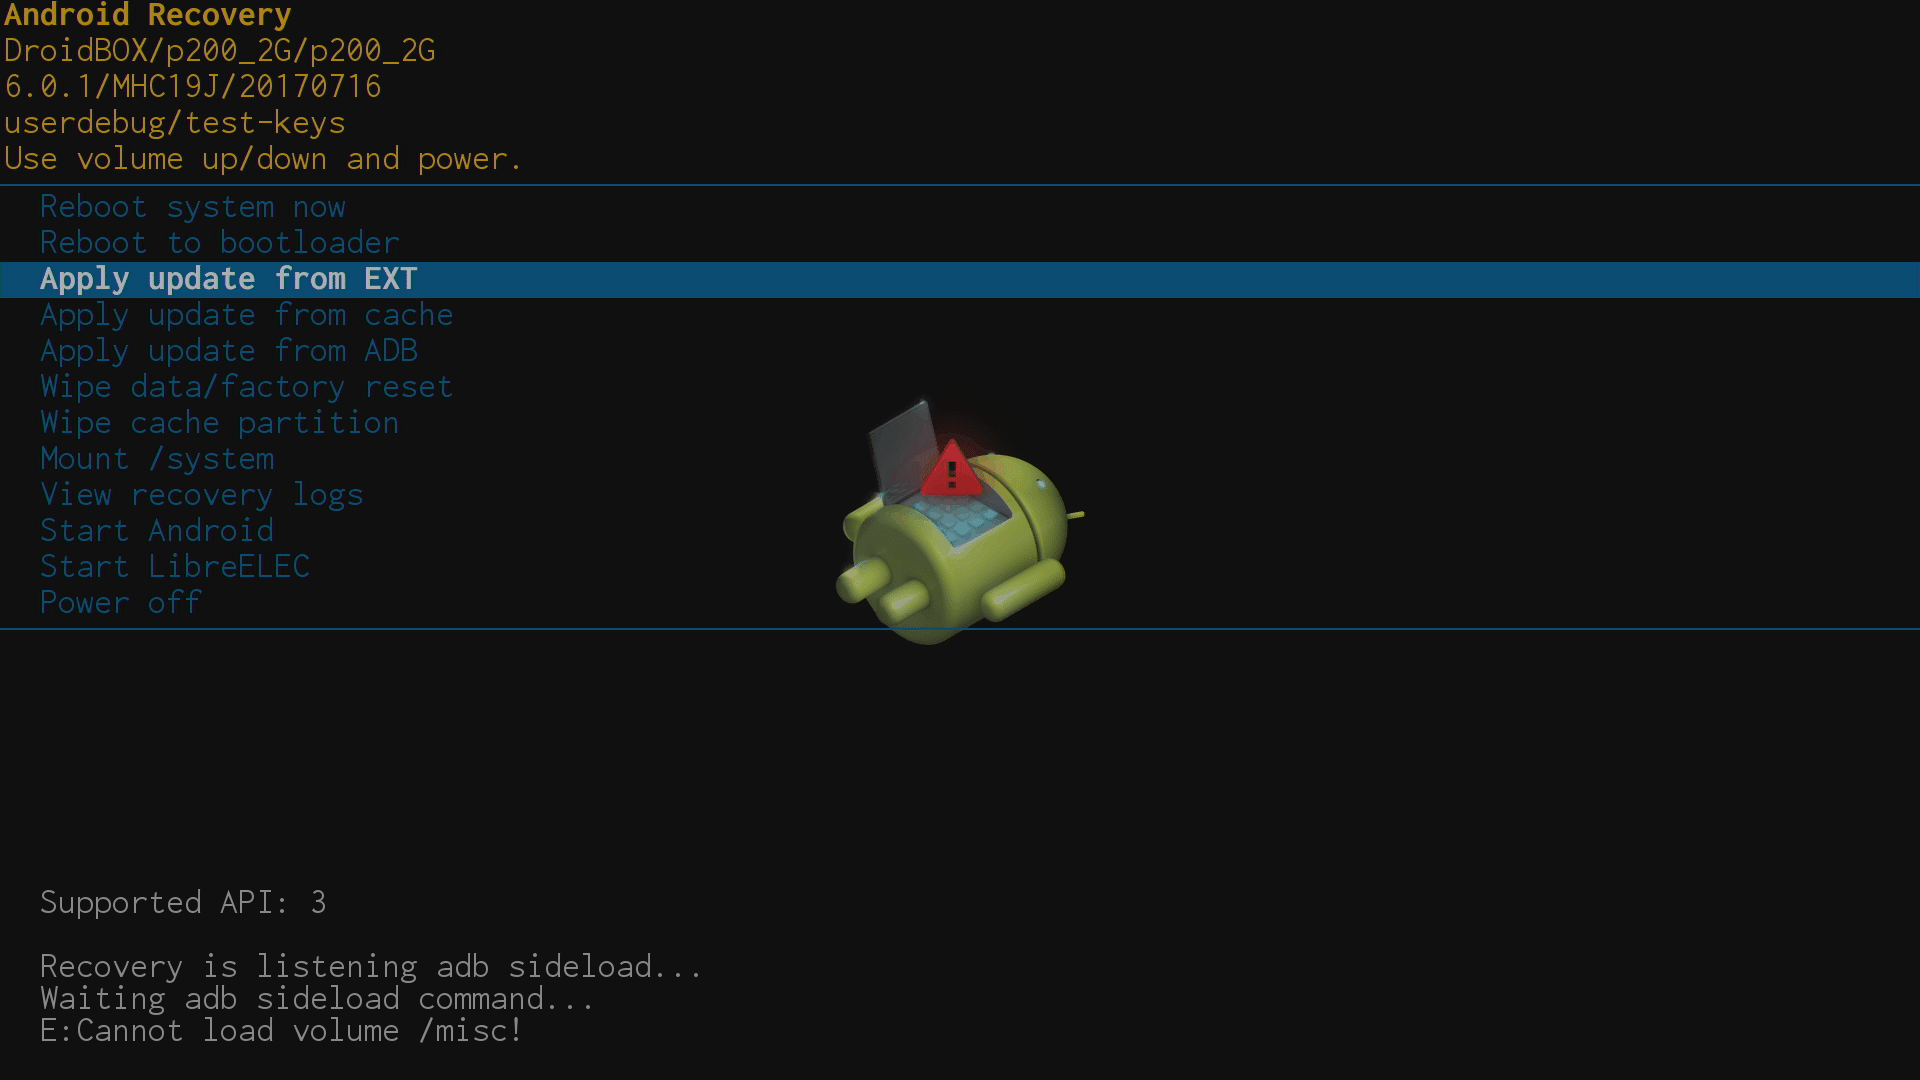
– Apply update from EXT
If you want to flash a firmware from a ZIP file you have been provided, this is the entry to click. It leads to two further choices:
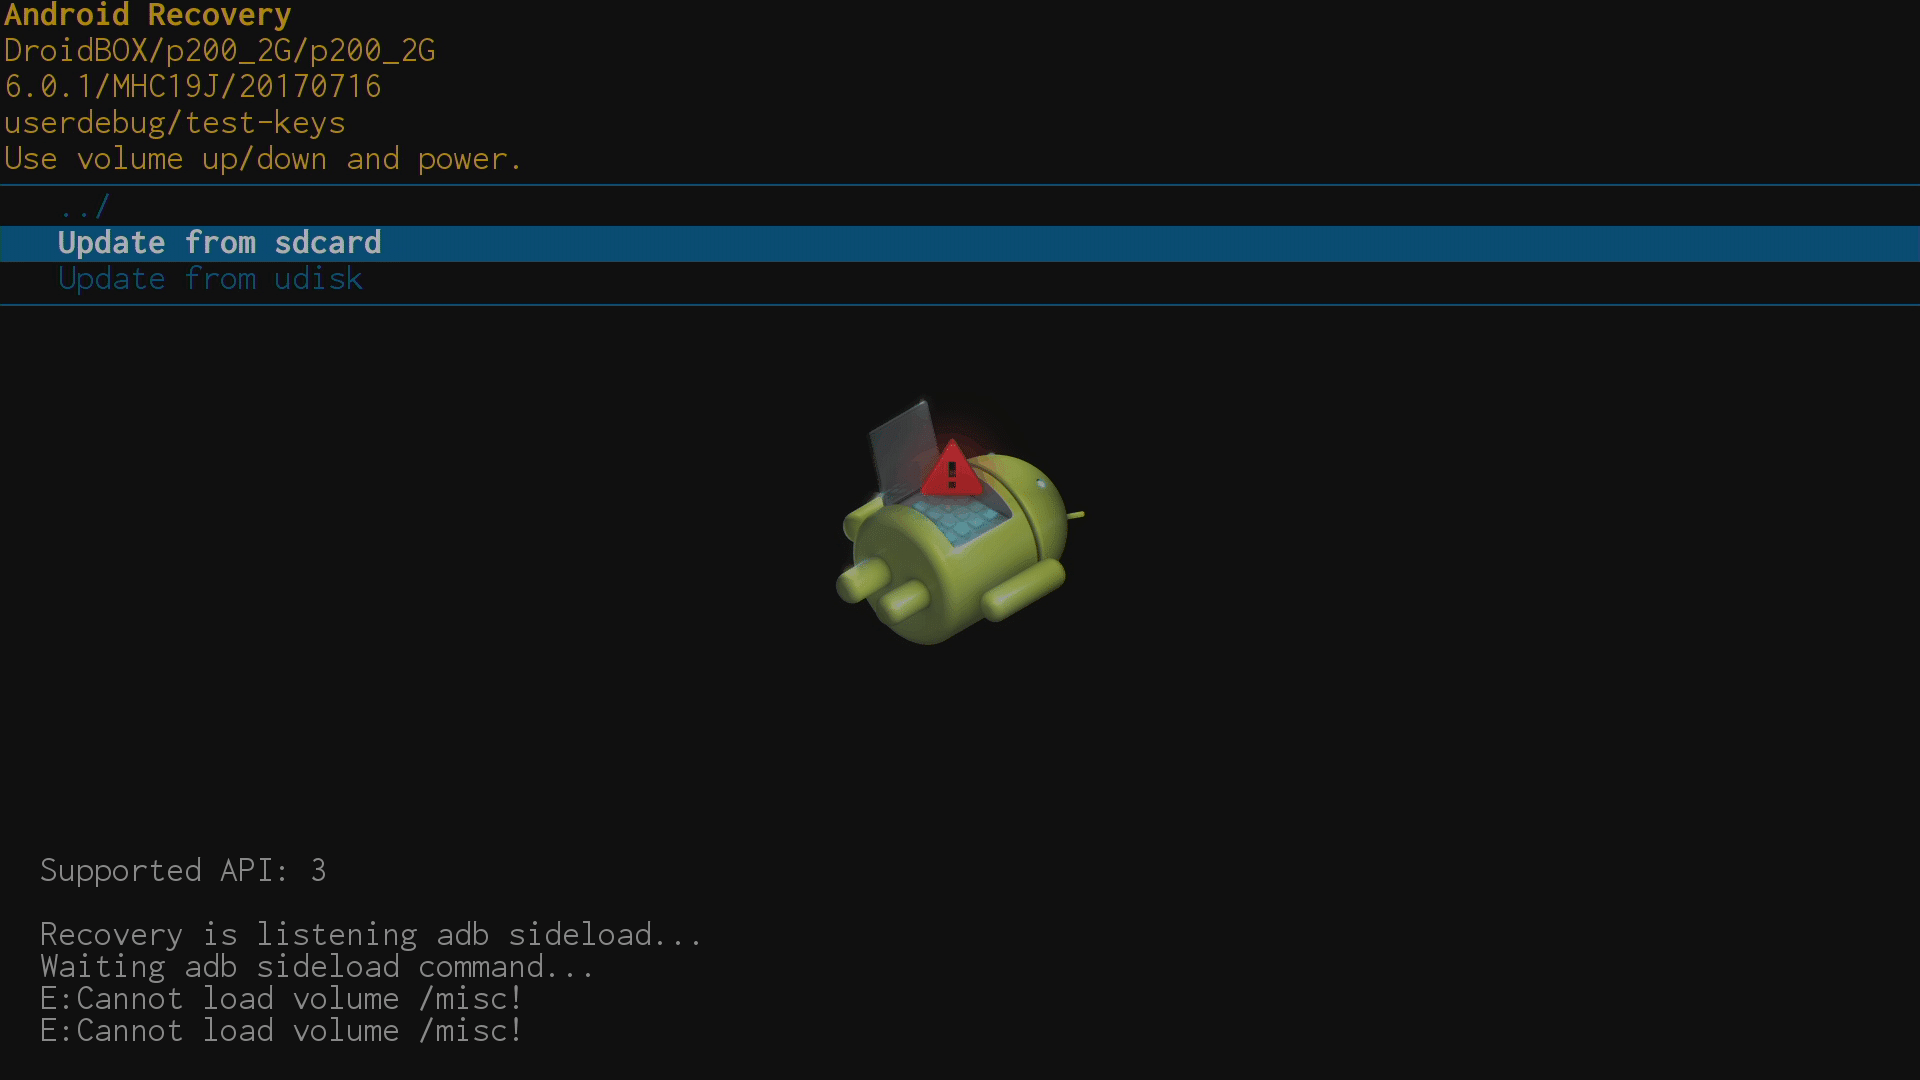
— Update from sdcard
This is the preferred method, instructions will be included with your firmware link, but copying the ZIP file downloaded to an SD memory card works the best.
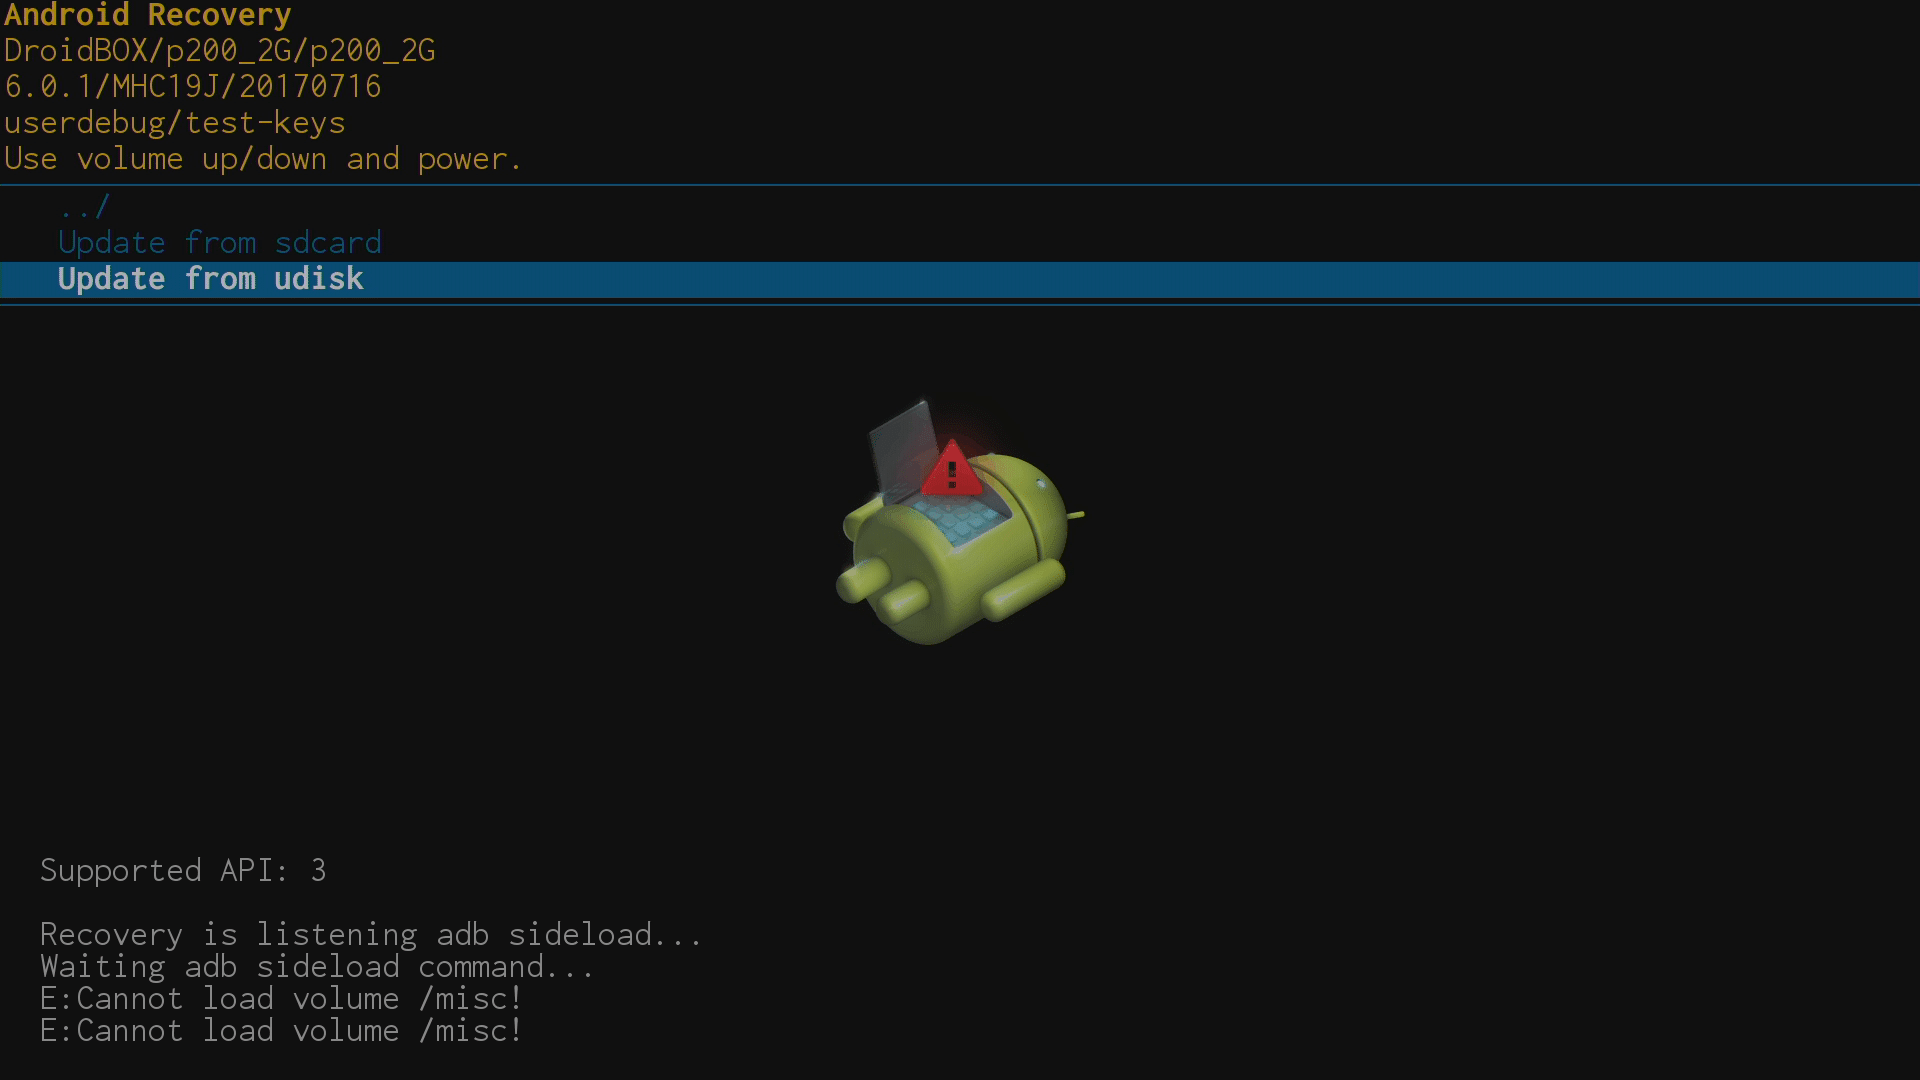
— Update from udisk
Some devices can also update their firmware via a ZIP file stored on a USB storage device. If this approach fails, use a memory card instead.
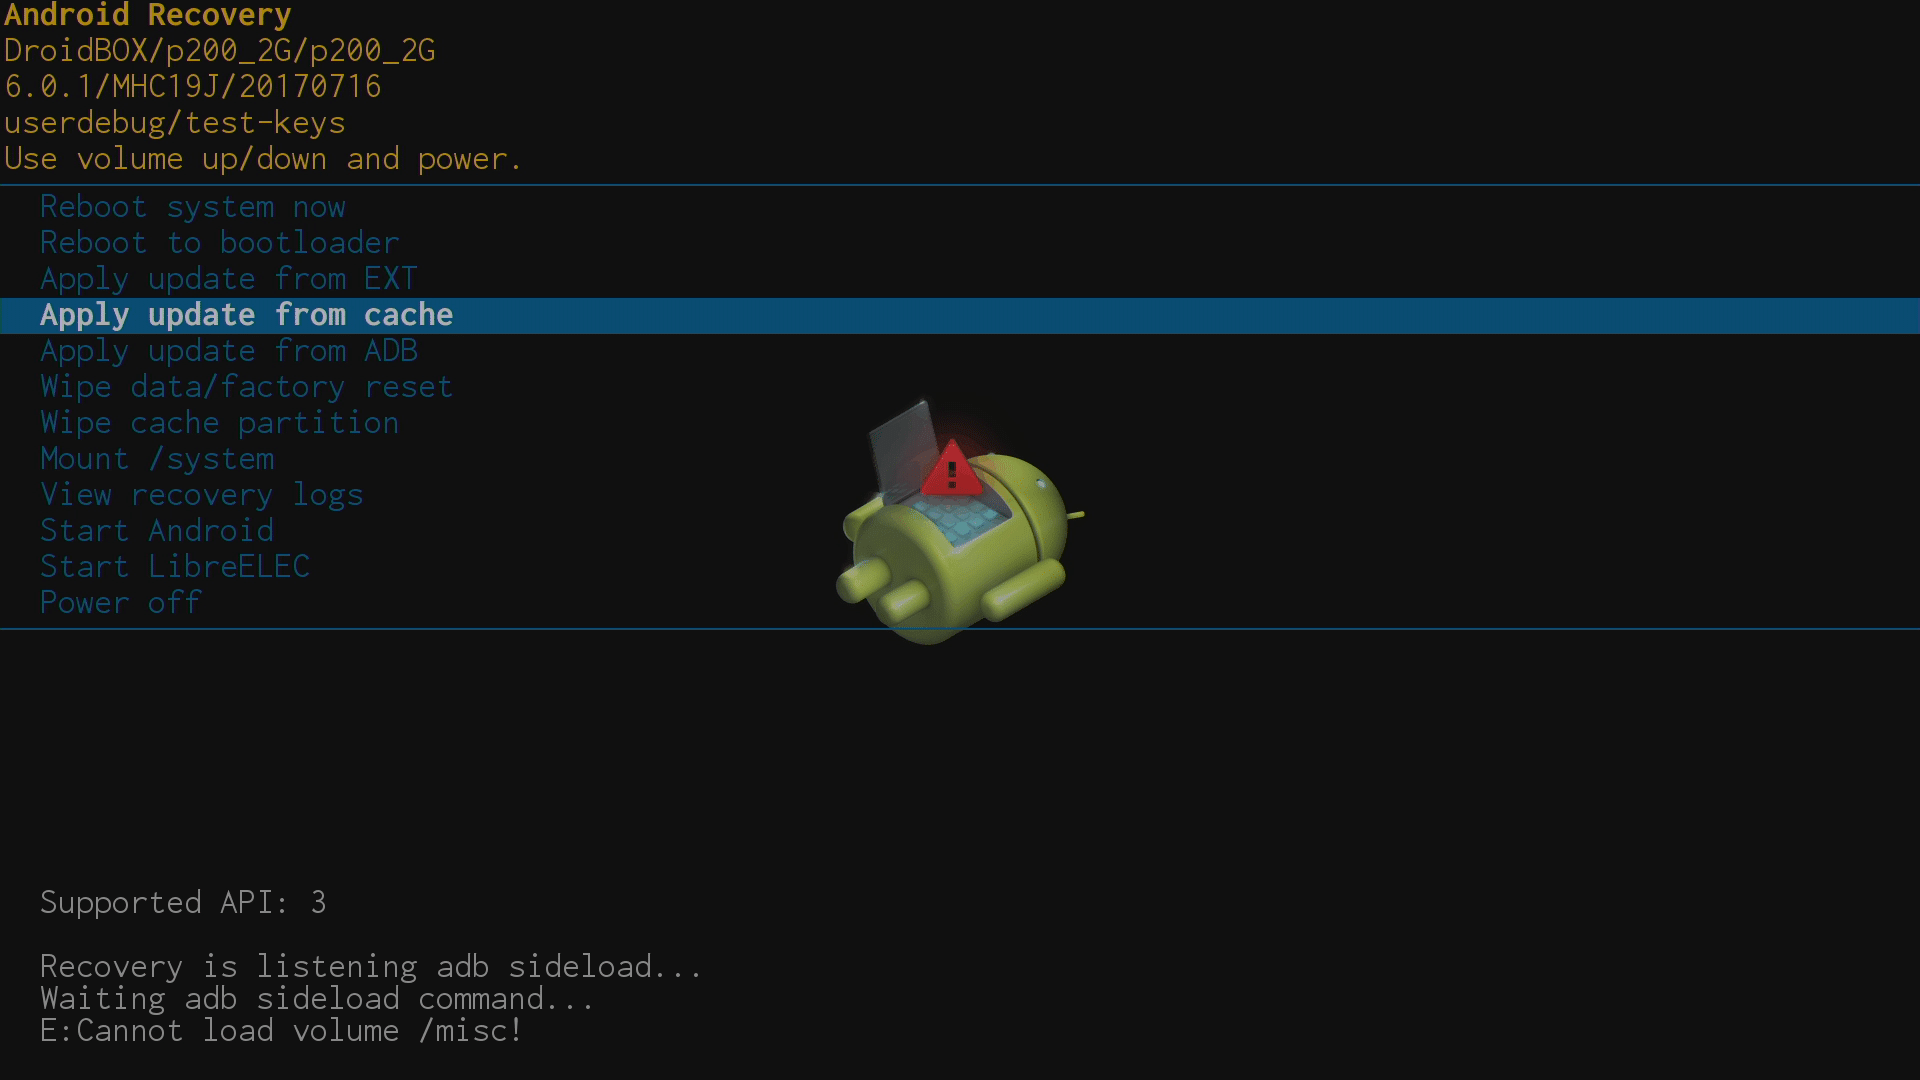
– Apply update from cache
Ignore this one entirely.
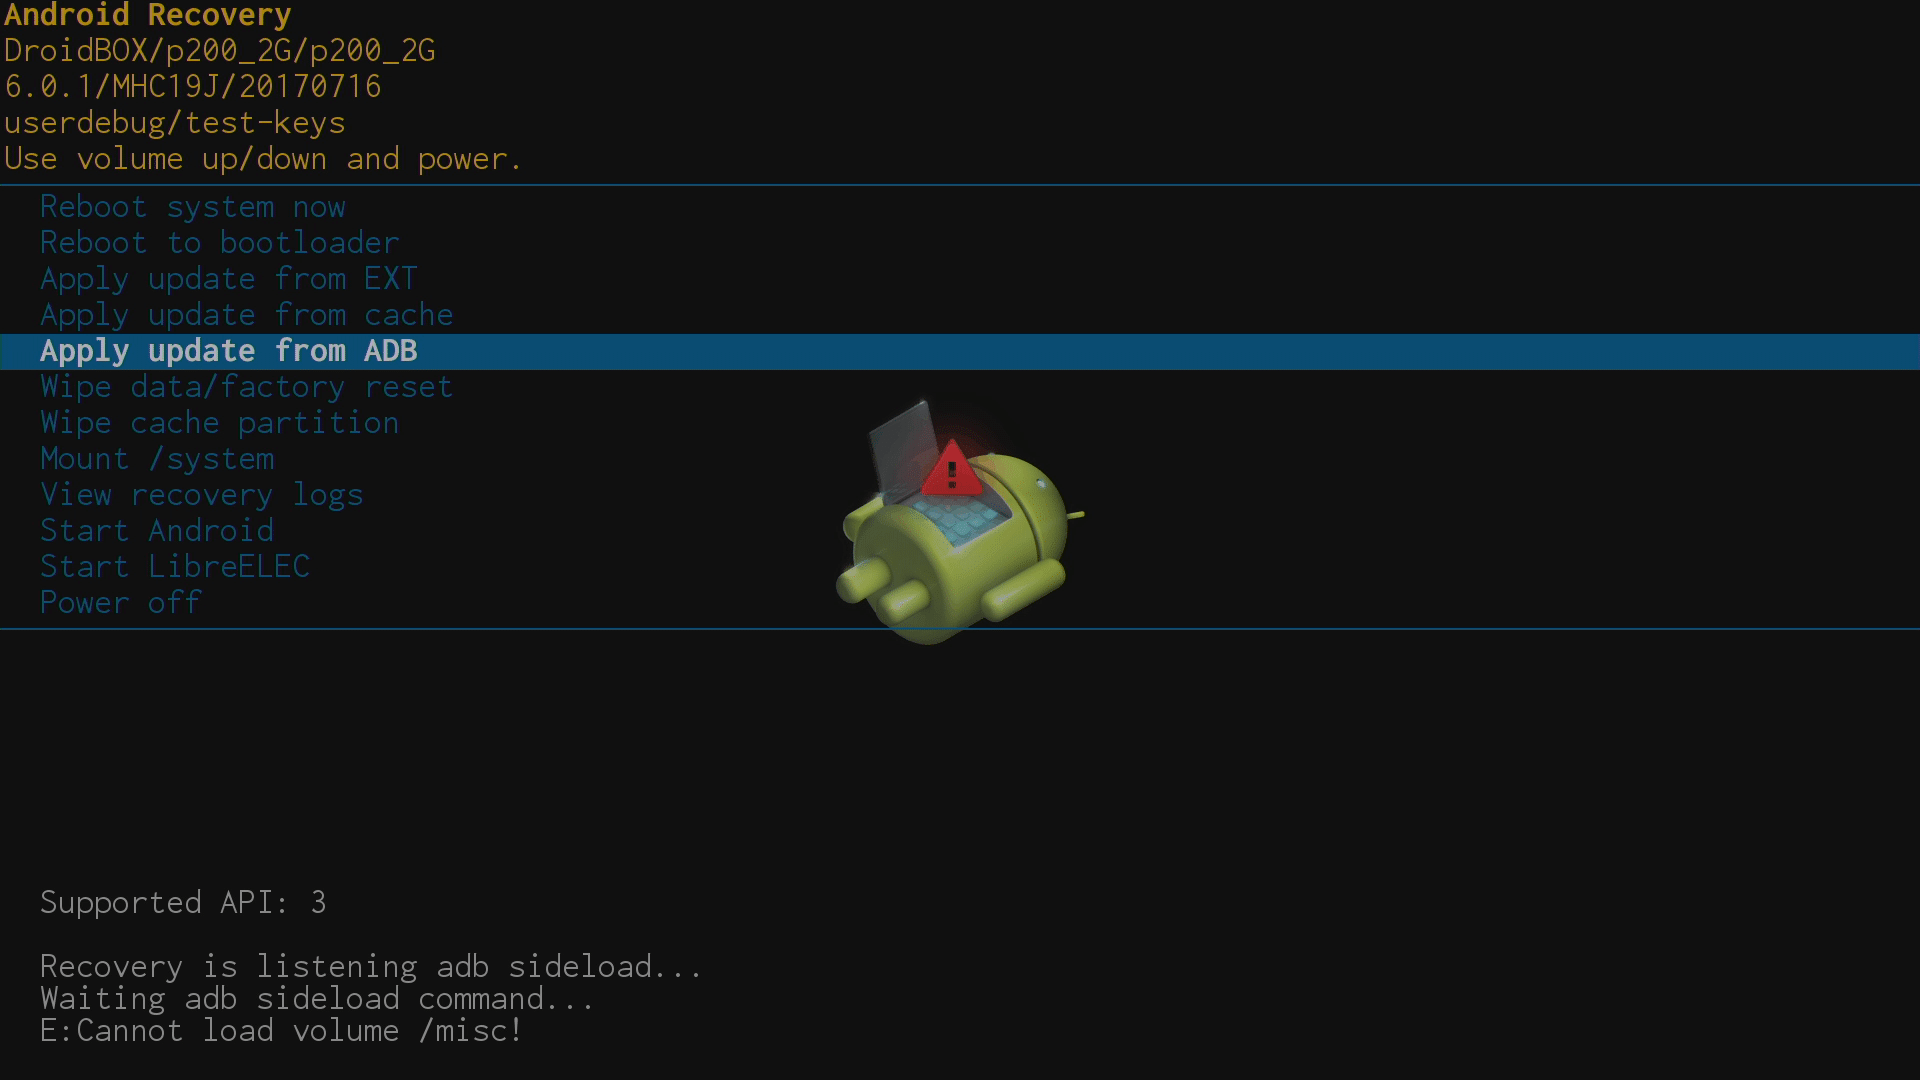
– Apply update from ADB
This option is used when you want to flash a file via an ADB connection between two devices. Safe to ignore entirely.
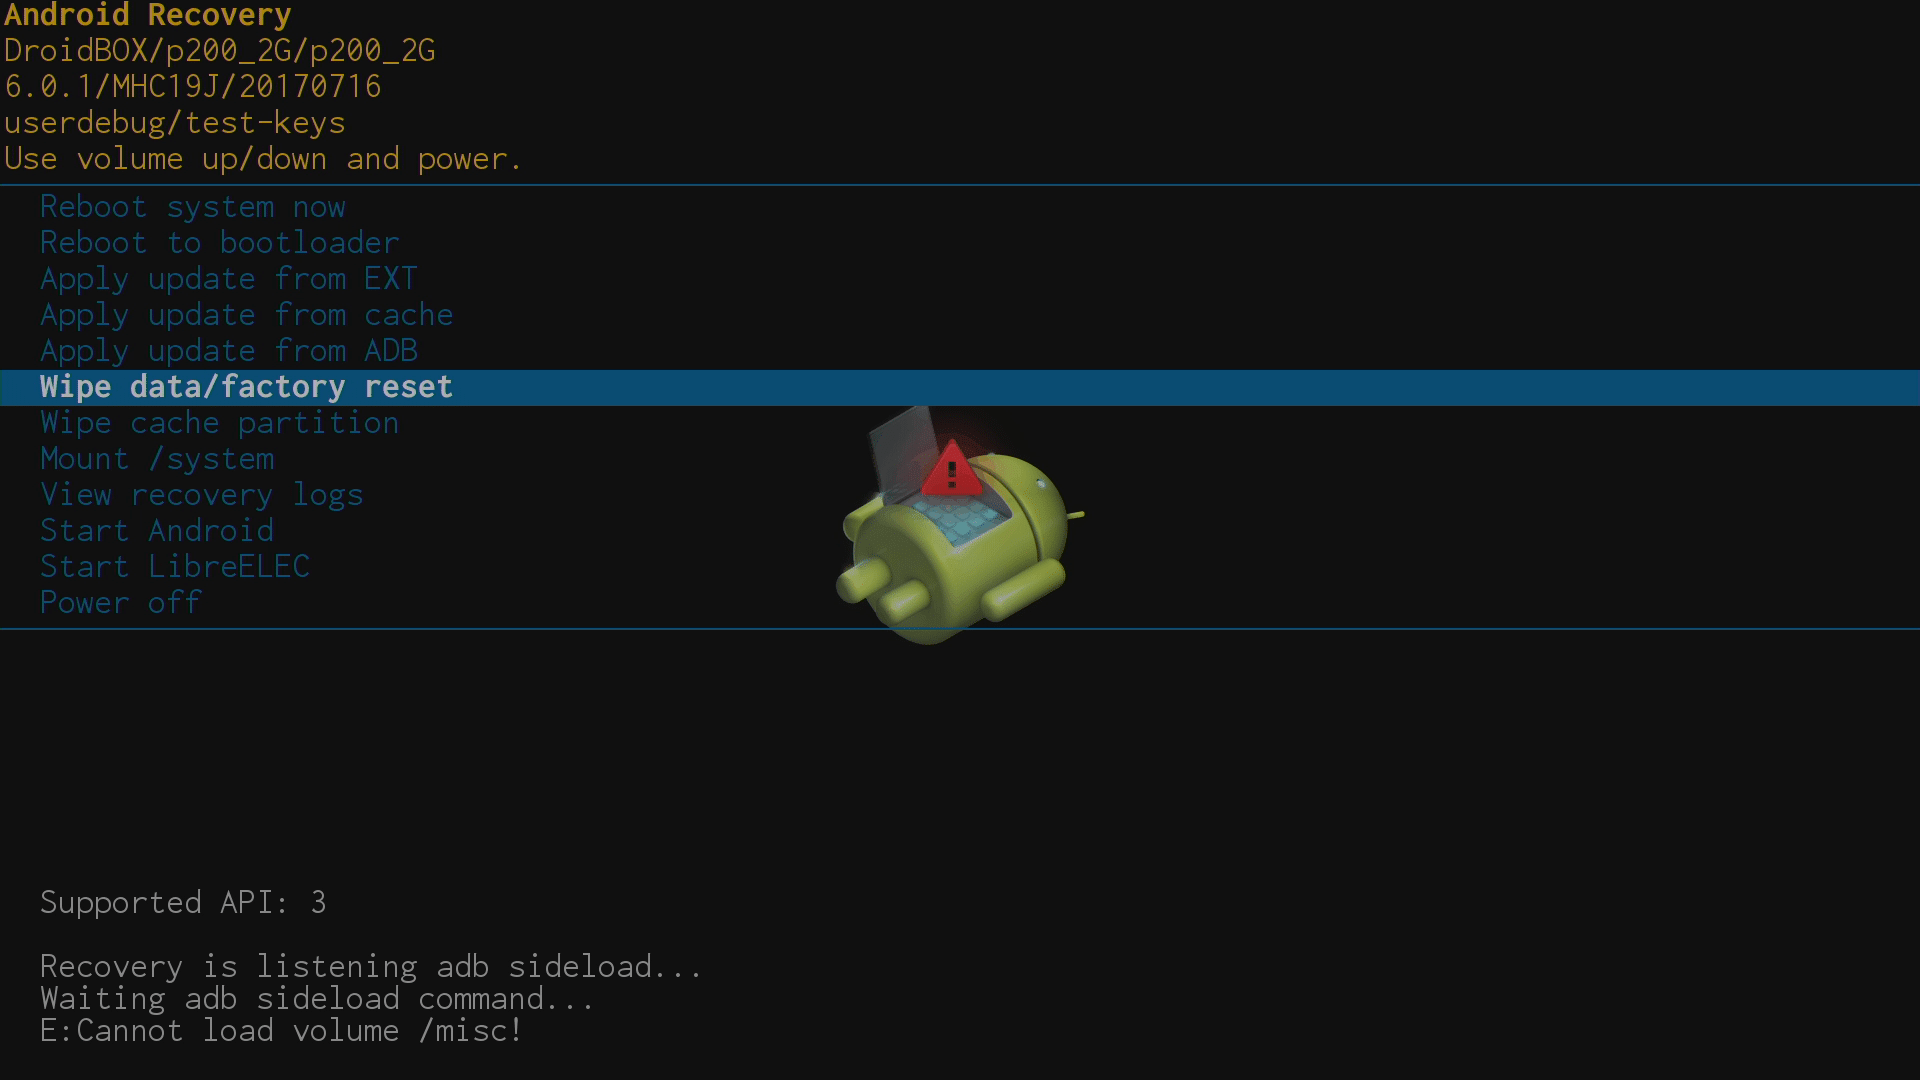
– Wipe data/factory reset
If you want to wipe all data from your device, leaving just the operating system and applications in place, this is the entry to use. Anything you have configured, downloaded or moved will be lost, so back up first. See the link regarding how to access the menu for more information.
You will be asked to confirm you are certain that you want to wipe everything.
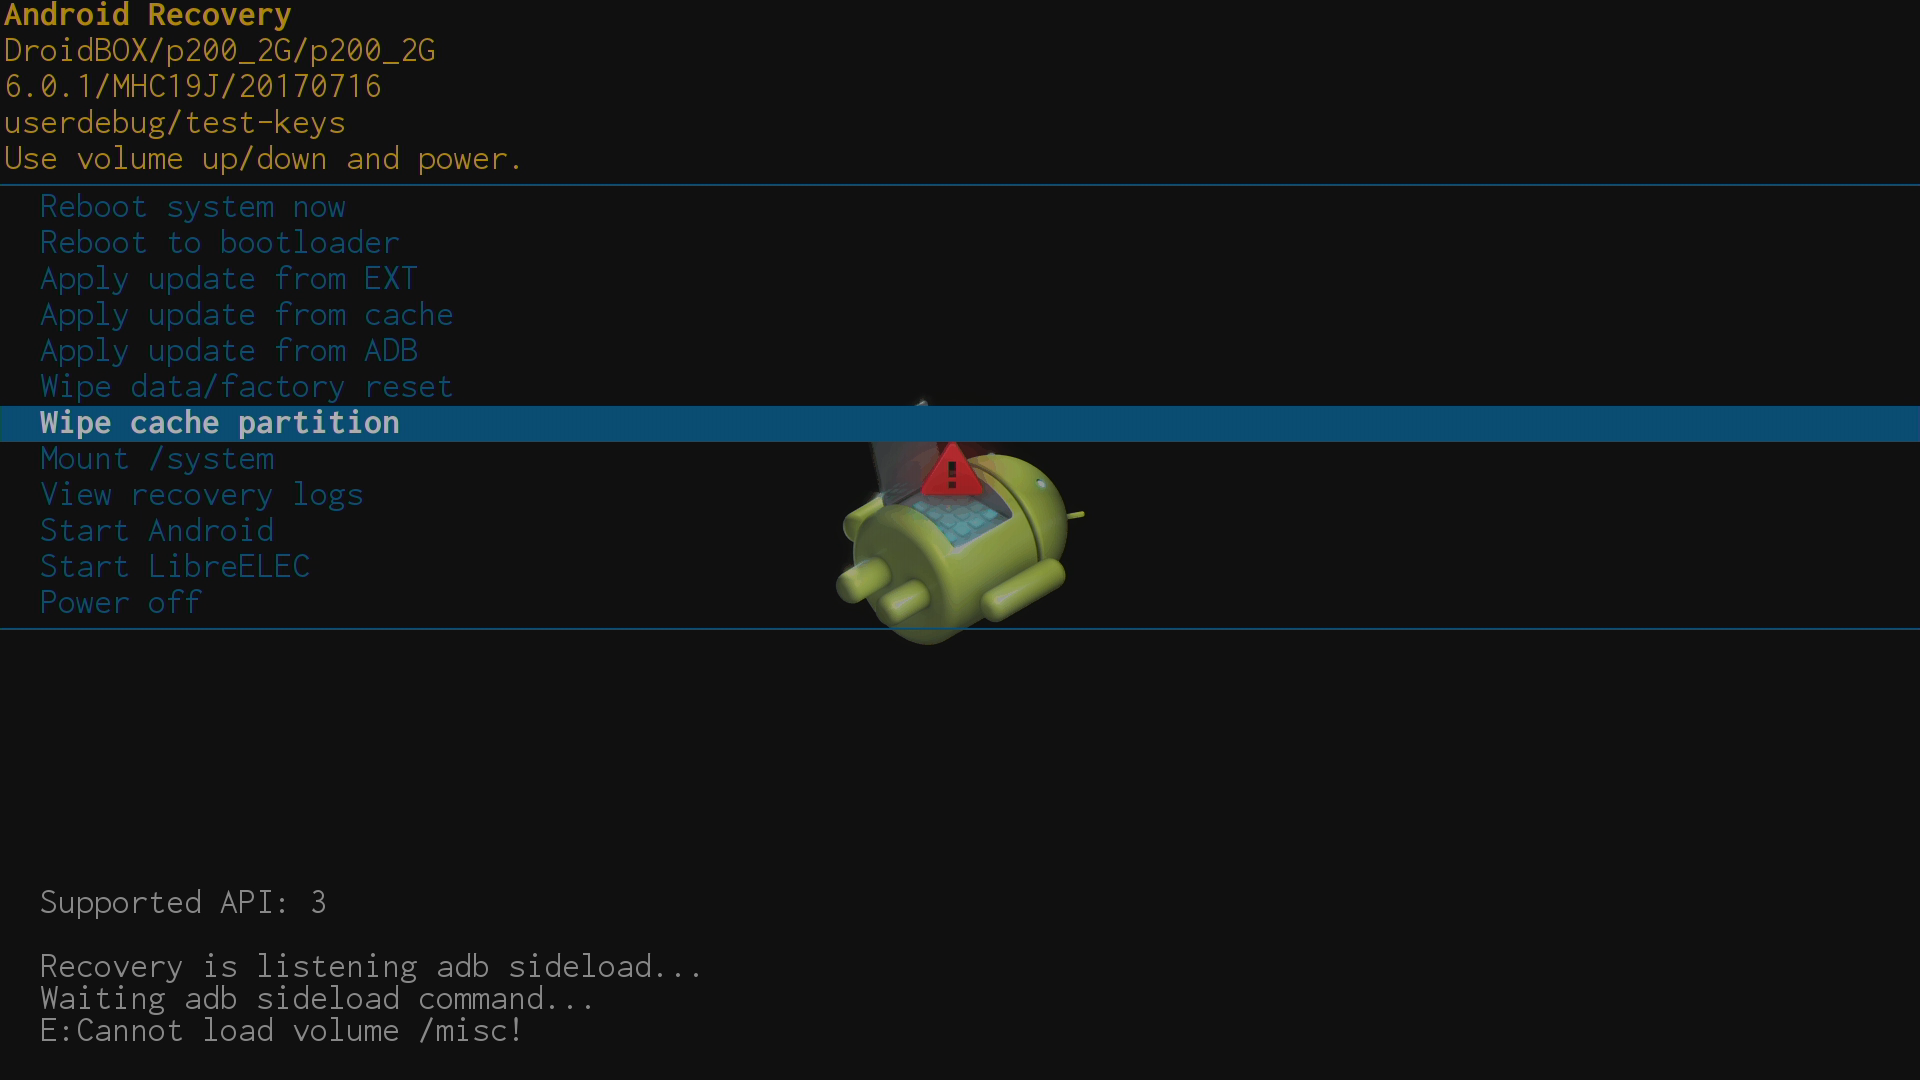
– Wipe cache partition
If you need to wipe the device’s cache, this is the entry to use. Again, you’ll be asked if you are certain.
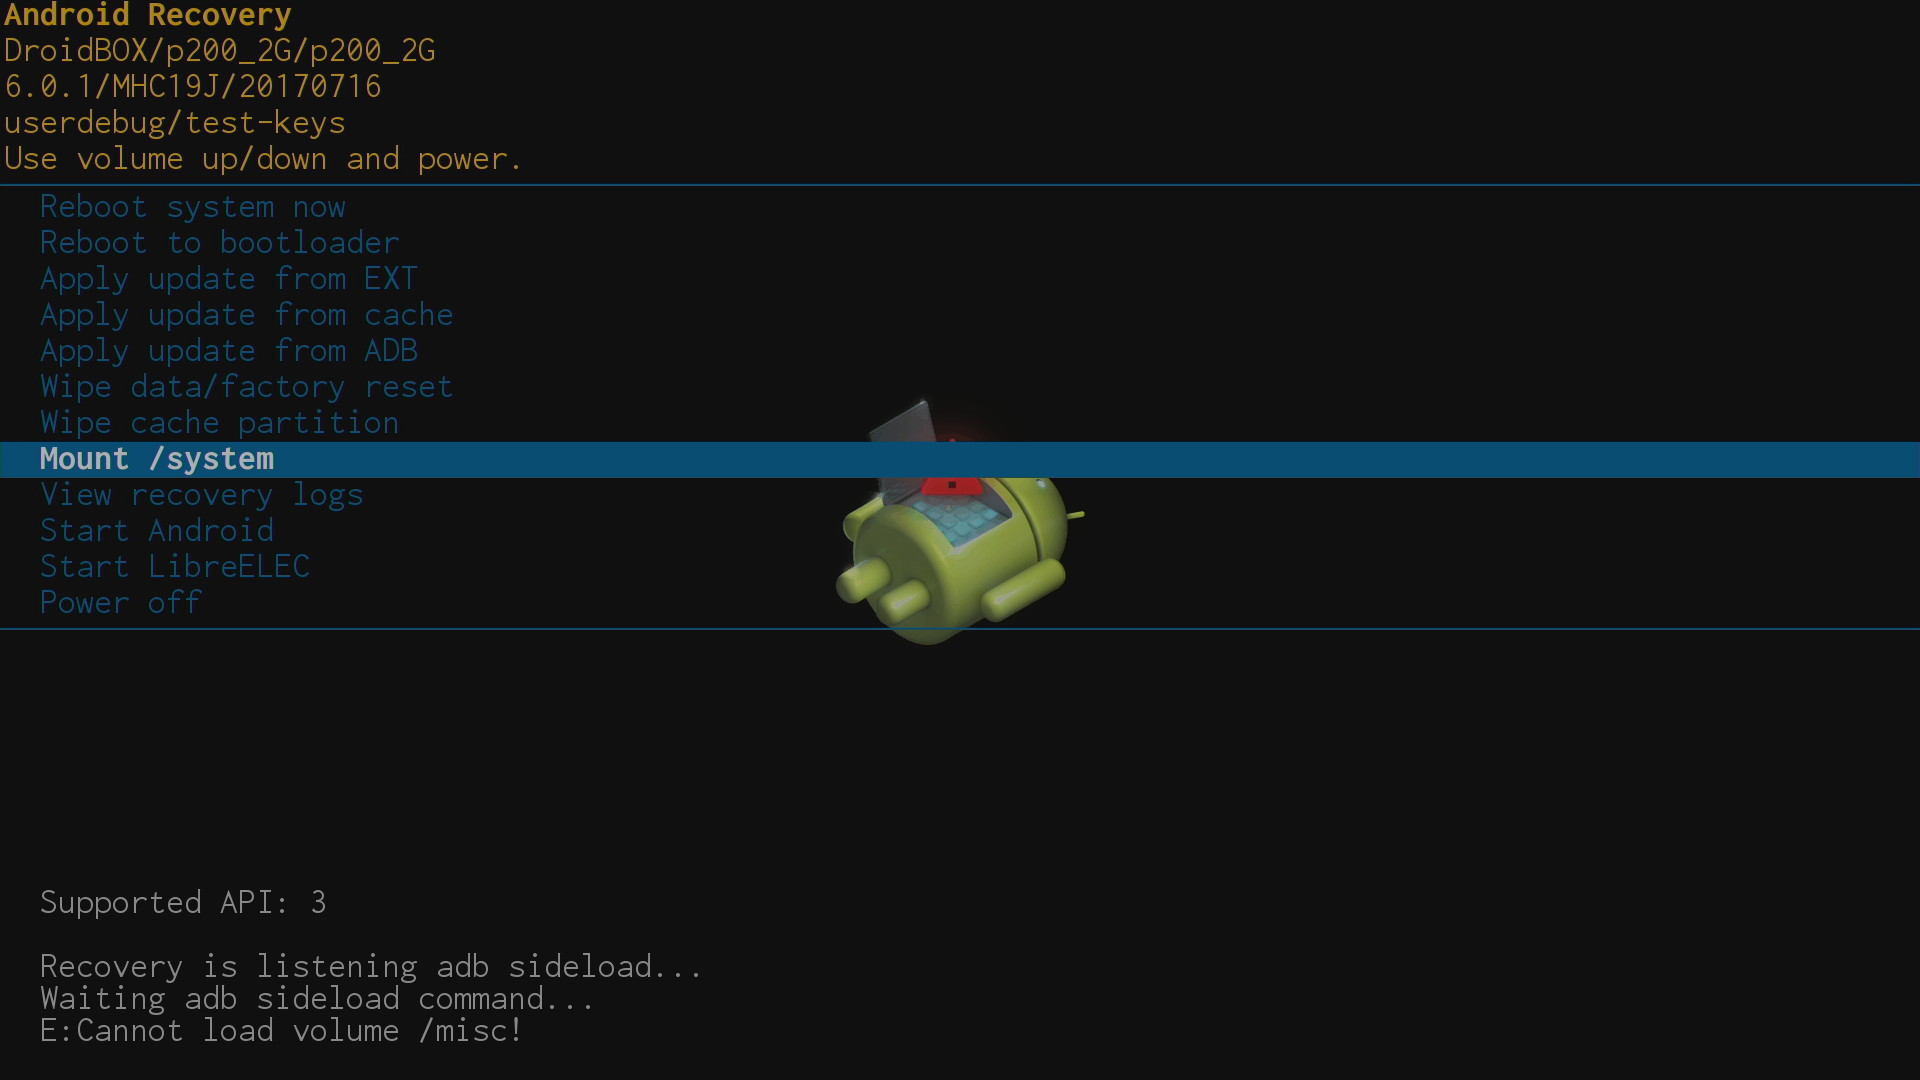
– Mount /system
Ignore this one entirely.
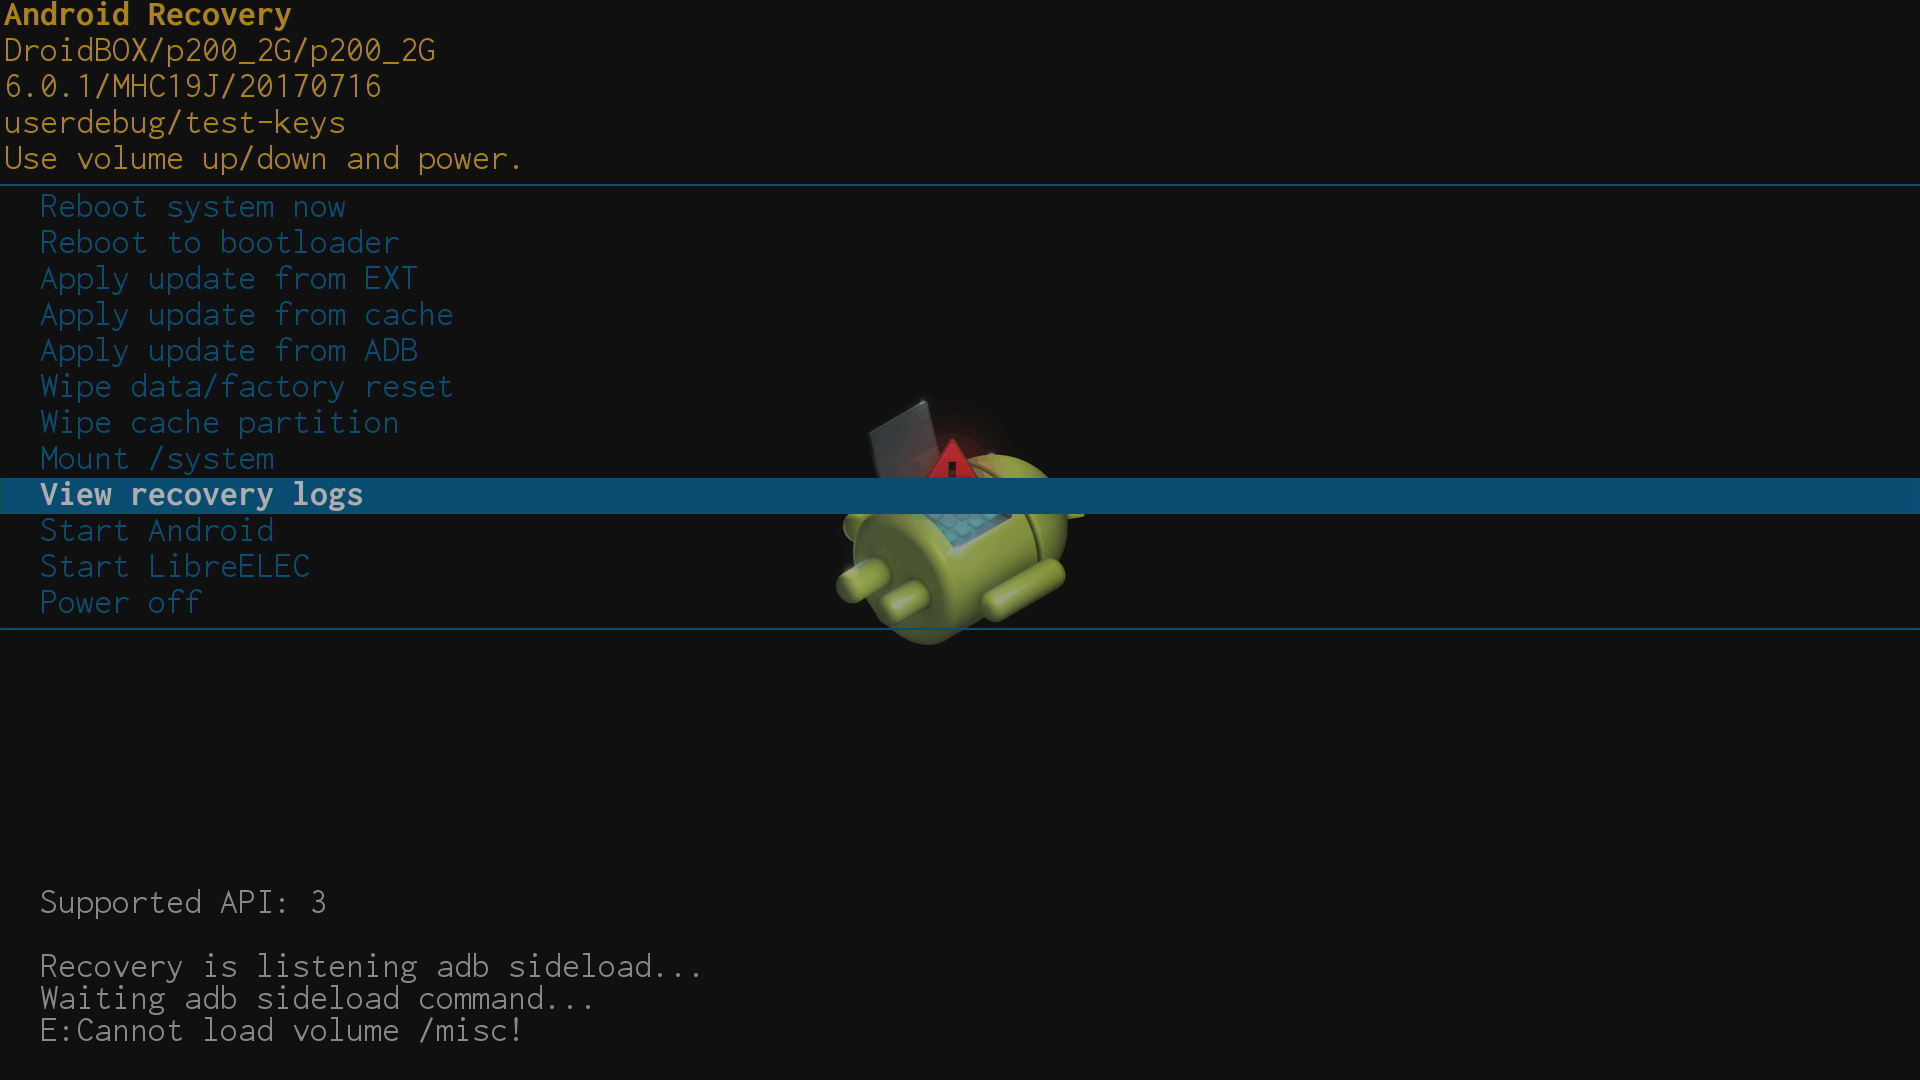
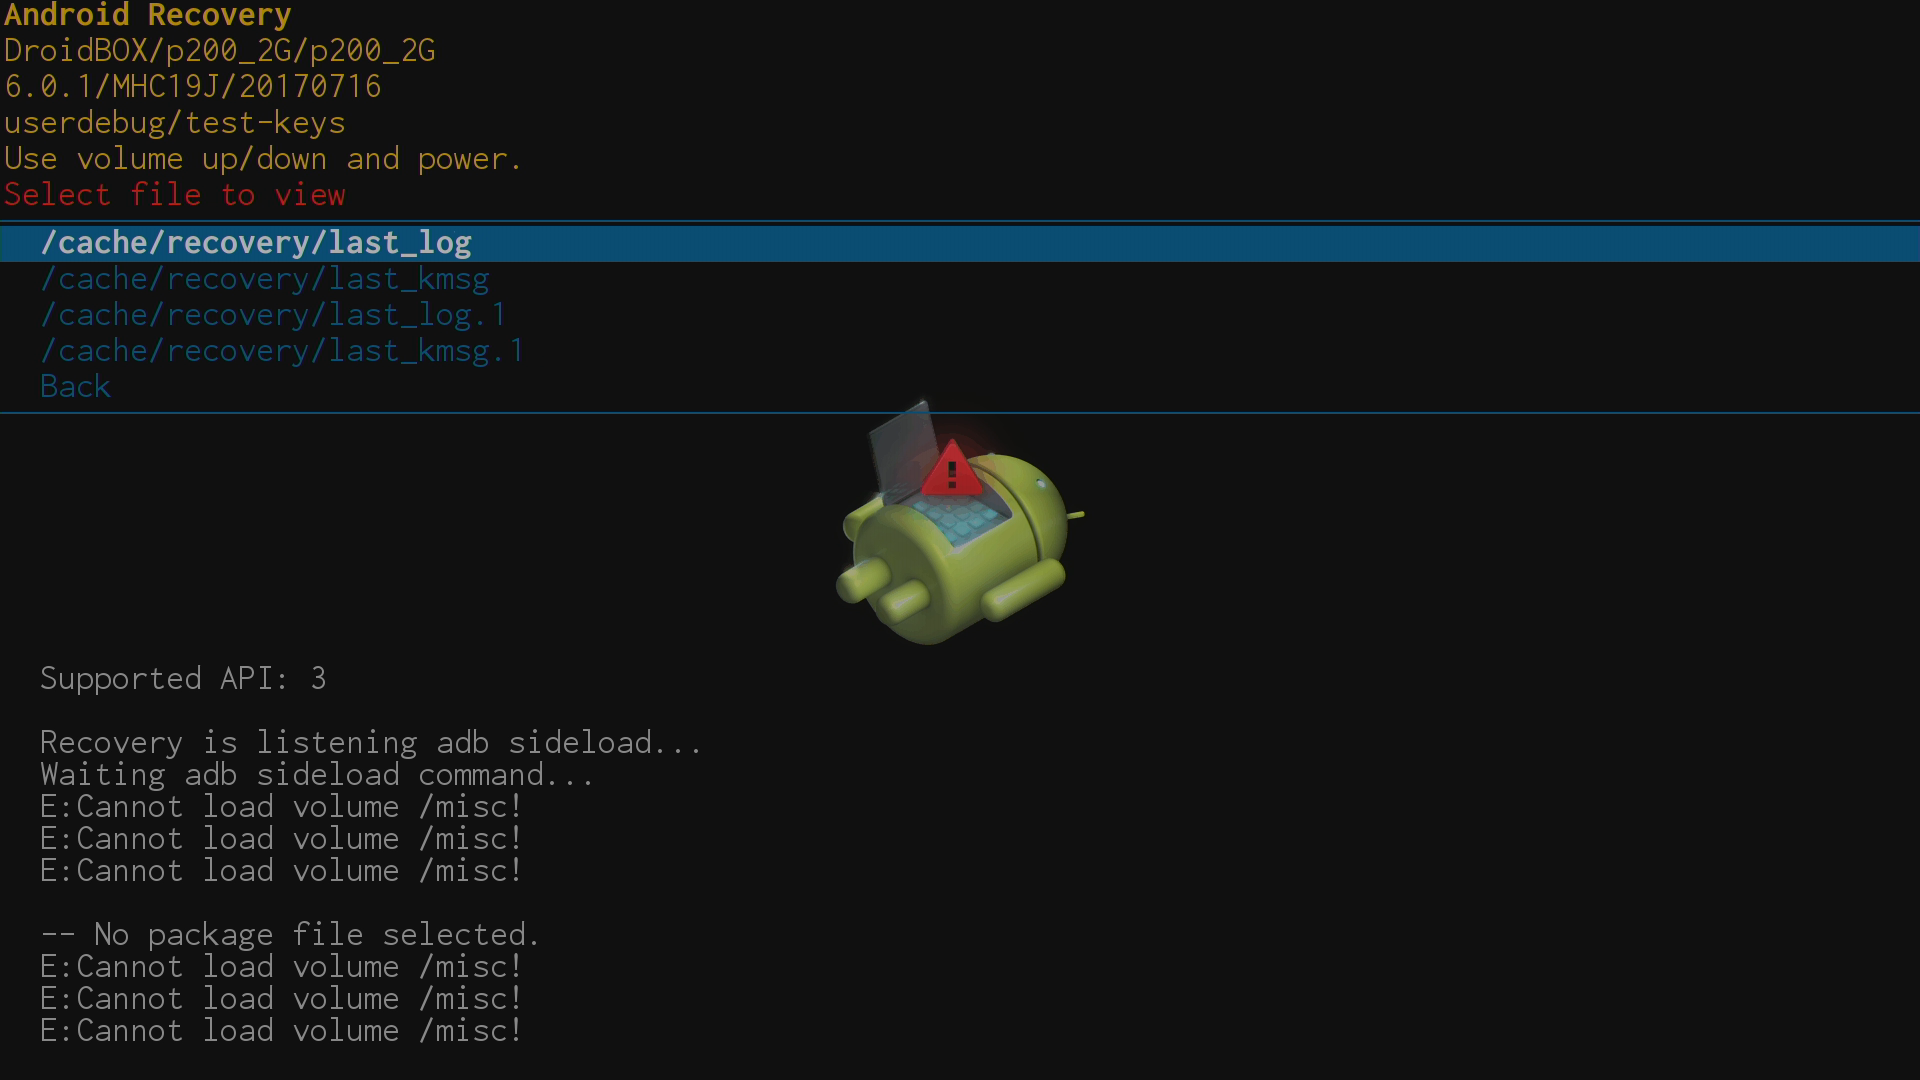
– View recovery logs
If something went wrong, you can find out more information here.
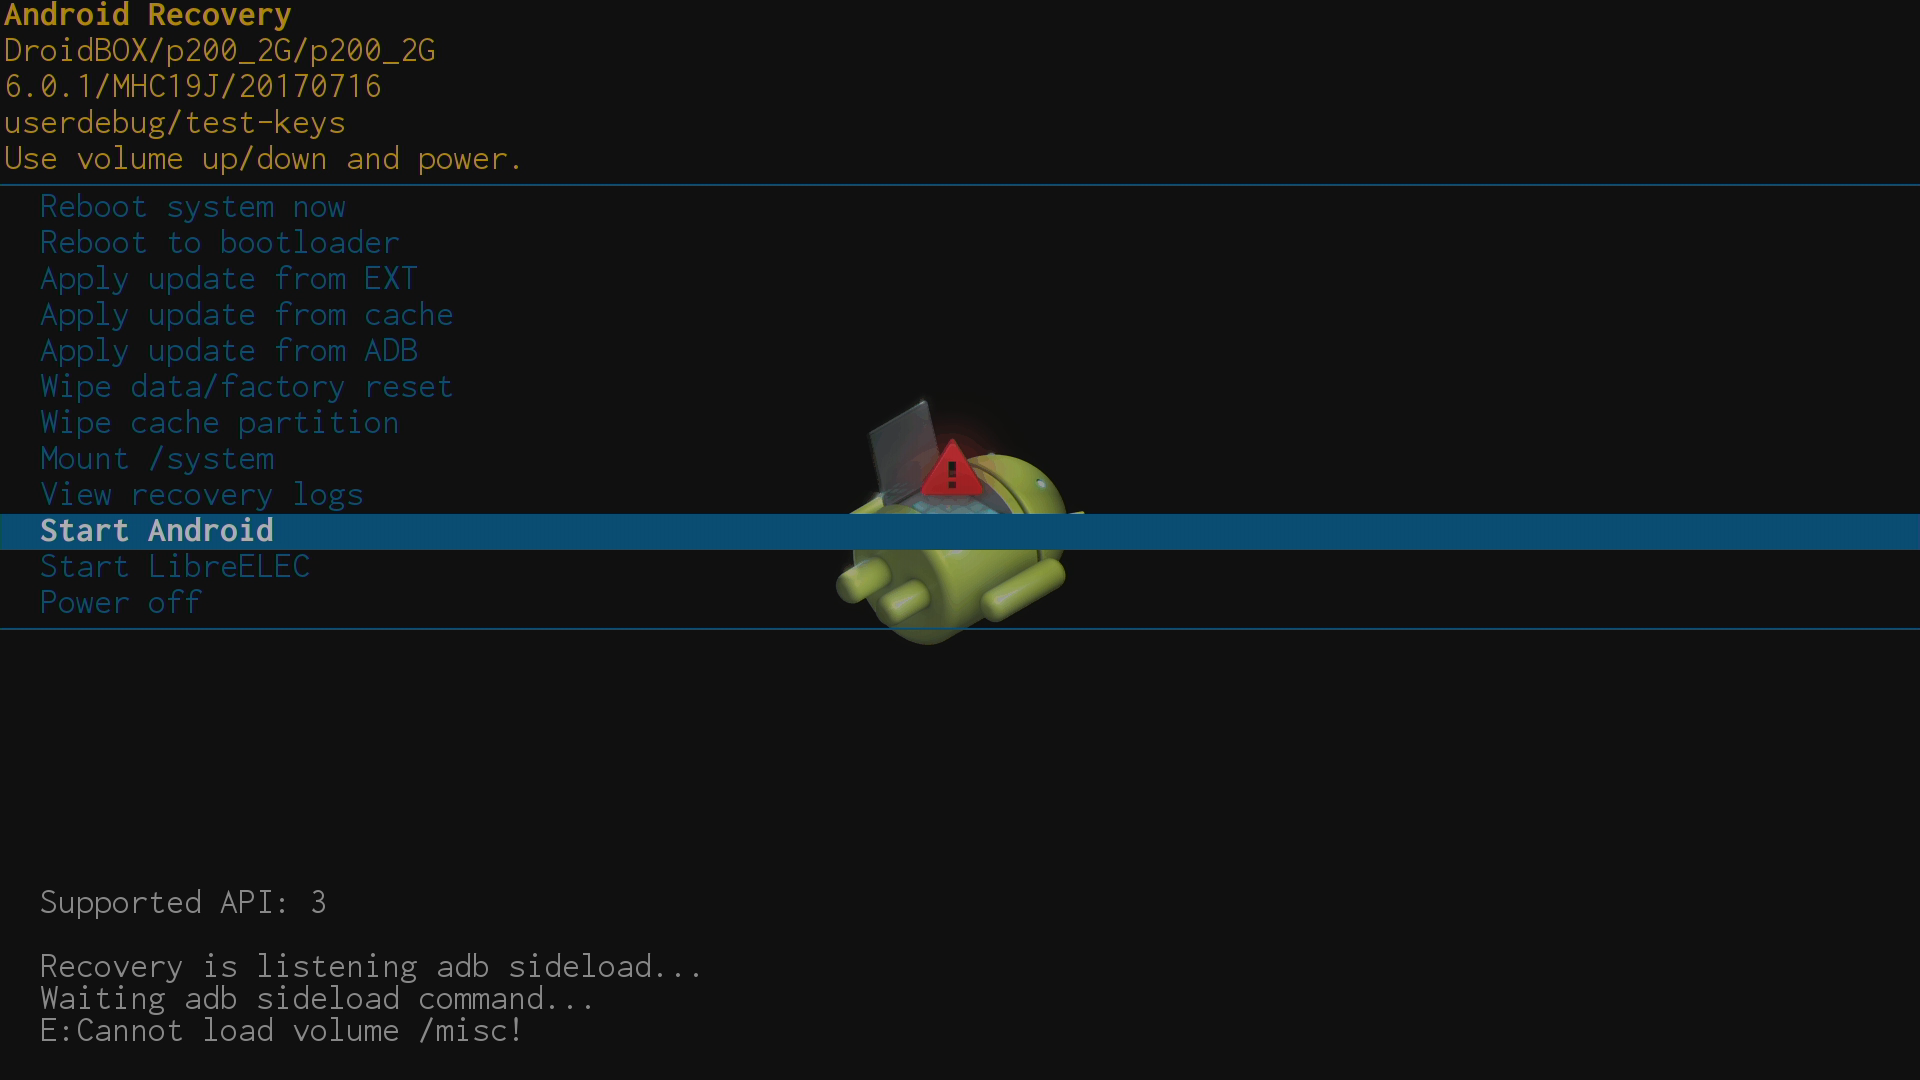
– Start Android
Exit the Recovery menu and specifically start the Android operating system.
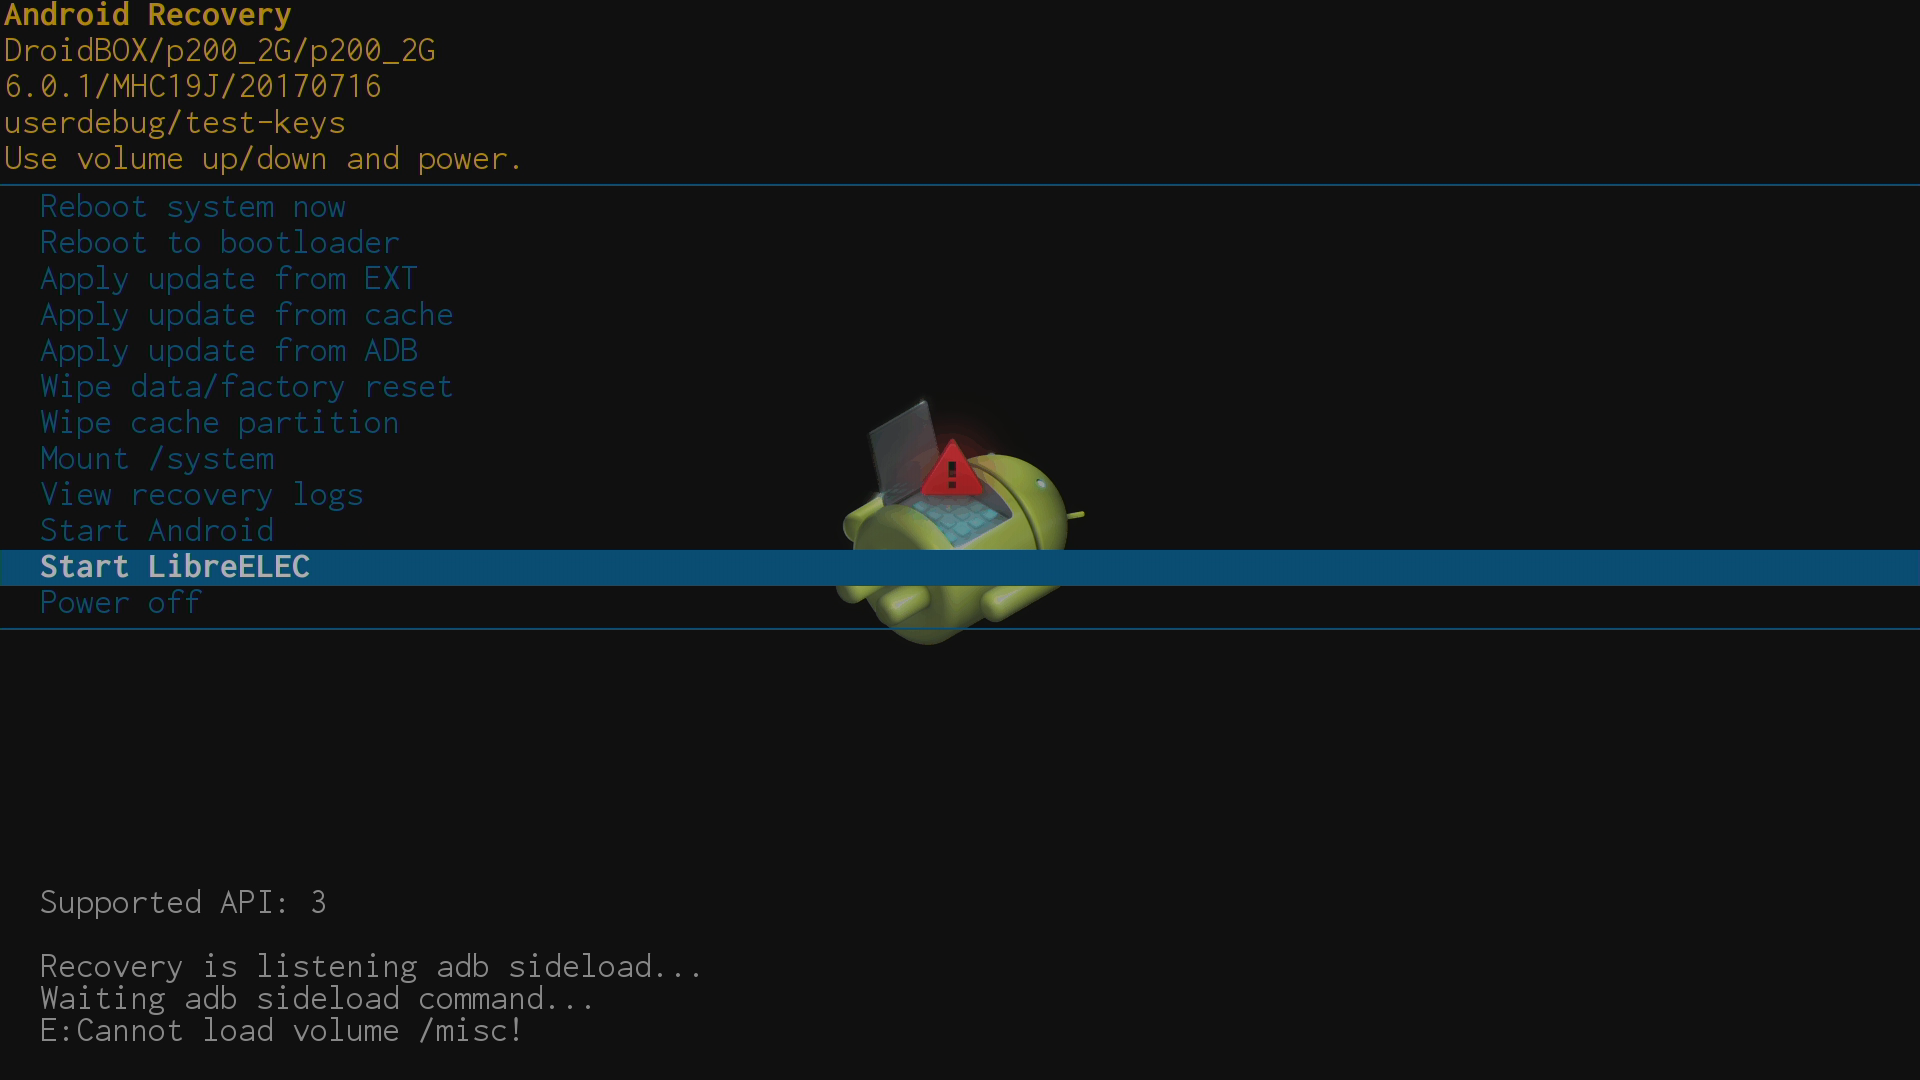
– Start LibreELEC
Exit the Recovery menu and specifically start the second operating system (if present).
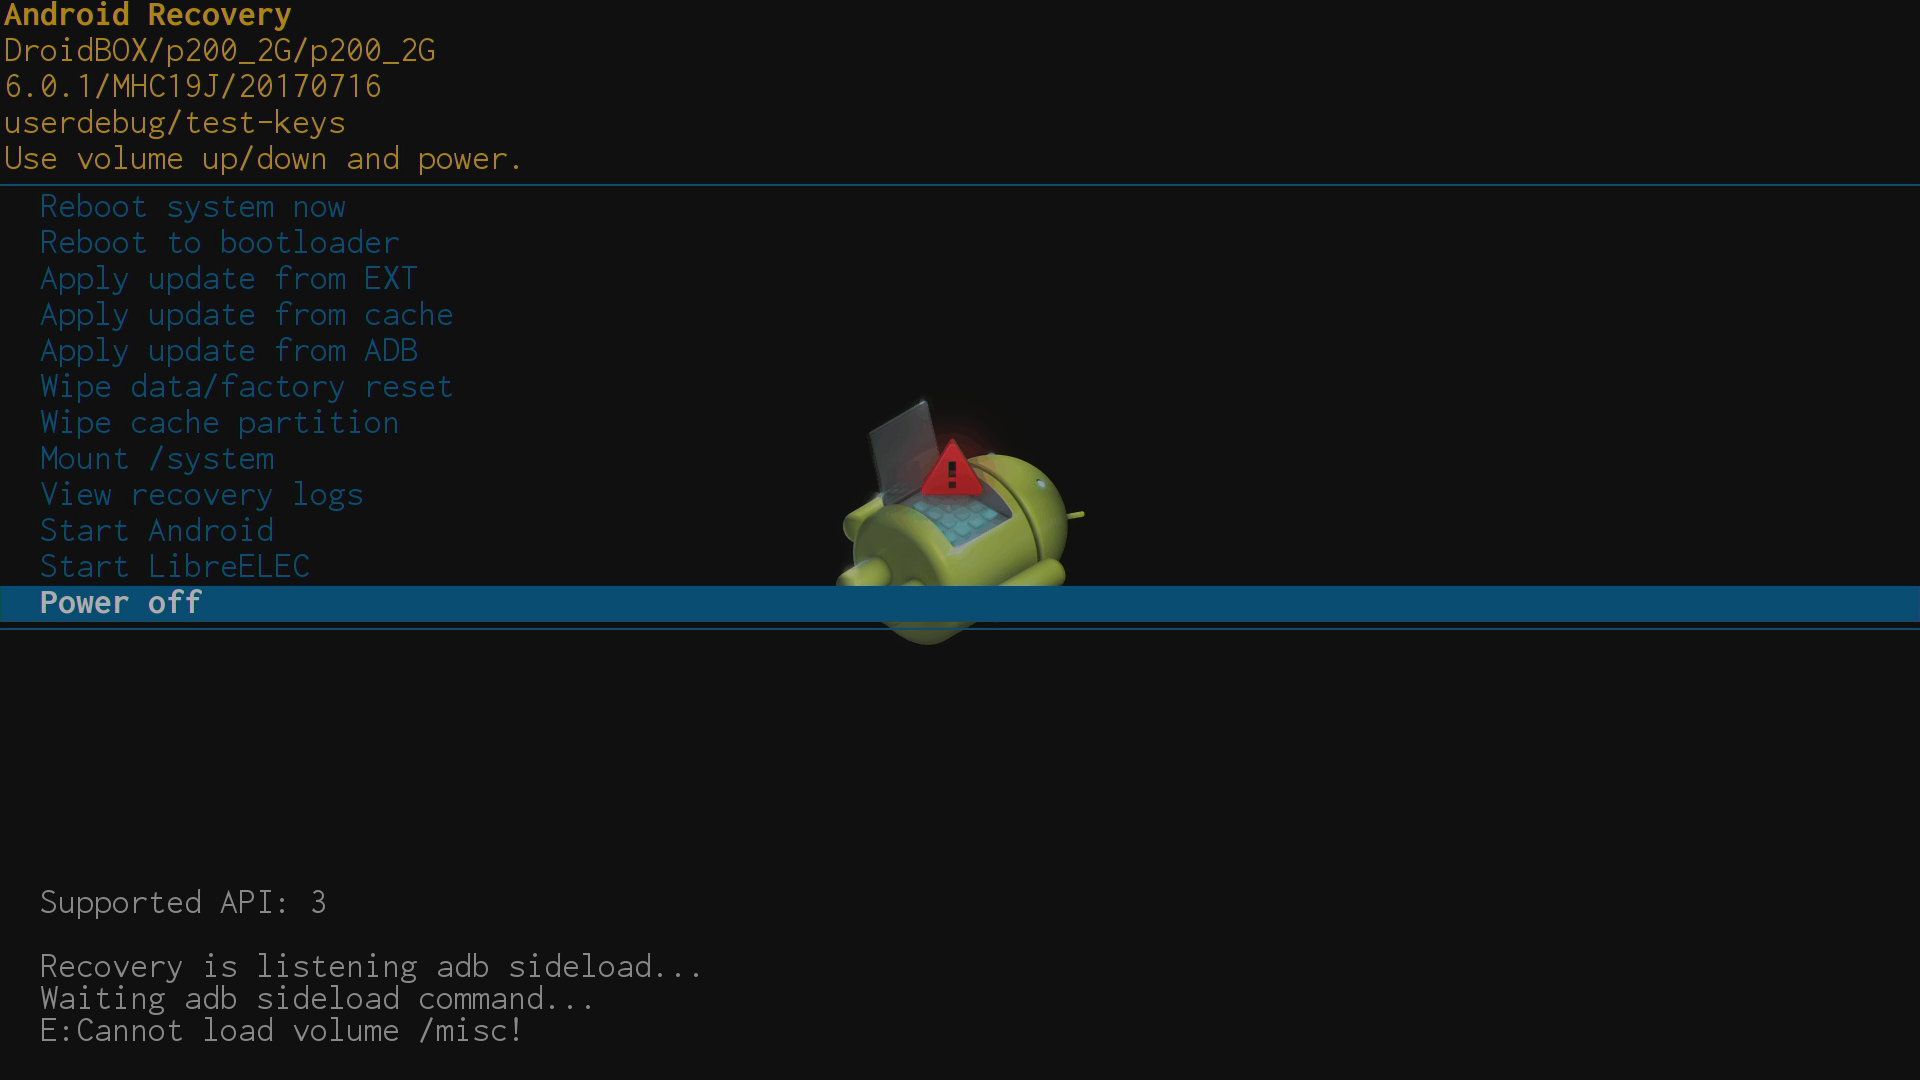
– Power off
Ignore this one entirely.
You will see an error message related to “/misc” – these appear on all devices and are safe to disregard entirely.
