
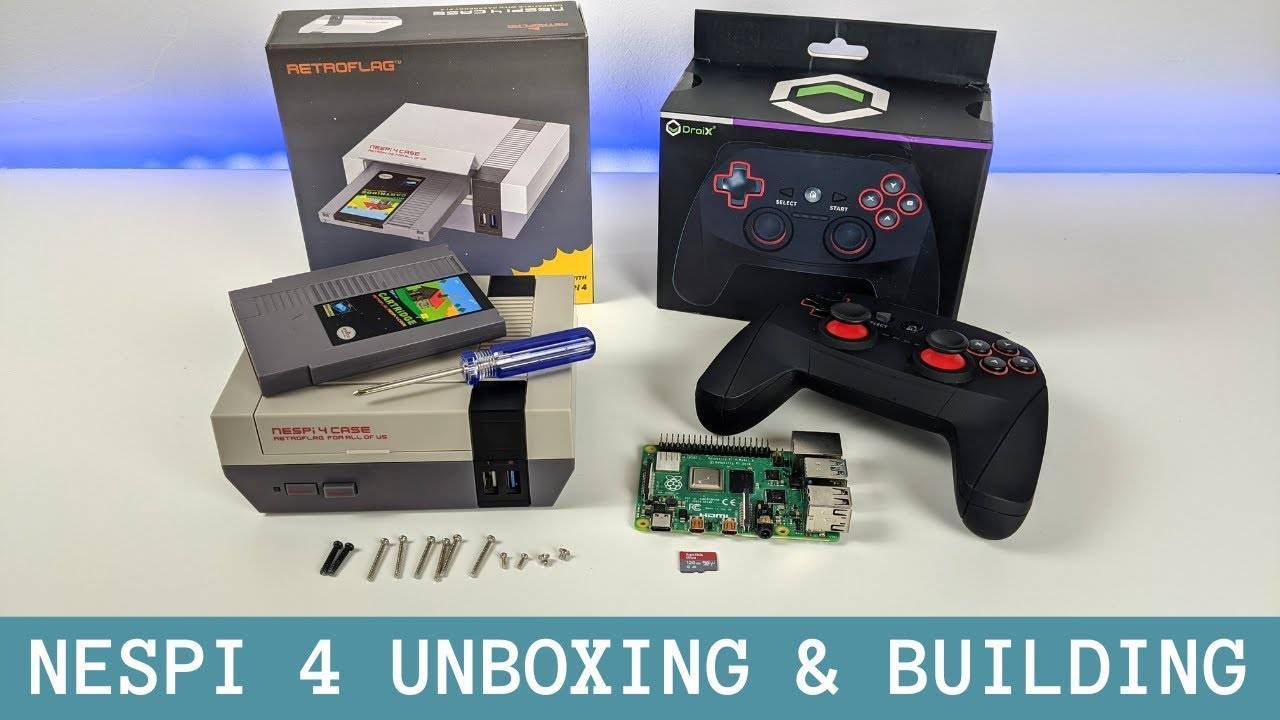
Hi there! We at DroiX are delighted to bring you an update to our ever-popular RetroPie-related devices and offerings, this time, in the form of the latest Raspberry Pi case from RetroFlag themselves, dubbed the NESPi 4 Case.
This NES-styled case is similar to RetroFlag’s past offerings – however, this one is designed exclusively for use with the new Raspberry Pi 4, which brings with it increased performance across the board – making it even more suited for use as an emulation device.
The NESPi 4 case comes with a neat feature in the form of a plastic, SNES-styled cartridge, which can be used to house a 2.5 inch SSD or HDD, which can then be easily inserted into the device. You can use this to store new games, or even an alternative operating system! (If you had multiple cartridges, you could easily swap out different RetroPie builds for example!)
You can view the full video here:
…but we also figured we’d create a written guide as a kind of transcript of the video for those who prefer it, so read on to find out how to get started with your device!
Step 1: Open The Case
Easier done than said! The case doesn’t come screwed together, so it can be easily pulled apart with minimal force.
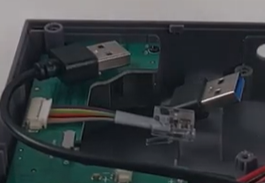
When you open the case you’ll be met with a couple of connectors. One USB 2.0, one USB 3.0, an RJ45 (Ethernet) connector, and a 9-pin connector intended to connect to the golden pins on the Raspberry Pi 4. This is what powers the device.
(Pictured: The USB 2.0, 3.0 and RJ45 connectors)
Now that we’ve opened the device, the next step is hooking the Raspberry Pi 4 up.
Step 2: Connecting The Pieces
Plug in the USB/RJ45 connectors
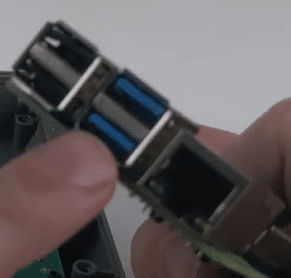
The USB 2.0 connector will plug into the topmost USB 2.0 port (on the left side), the USB 3.0 connector will plug into the bottom USB 3.0 port (in the middle).
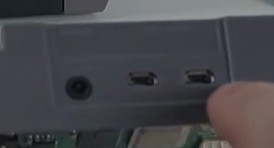
Once connected, lay down the Raspberry Pi 4 in the case, and make sure that the HDMI and audio jack outputs line up with the holes on the case, like so.
Connect the power cable
To connect the power cable to the device, pay attention to the small slip of paper near the connector itself – this indicates what way the plug should be connected, starting from the right-most pins on the Raspberry Pi 4.
If incorrectly done, your device may not power on correctly. So try to get it right the first time to save yourself the annoyance of opening the unit a second time!
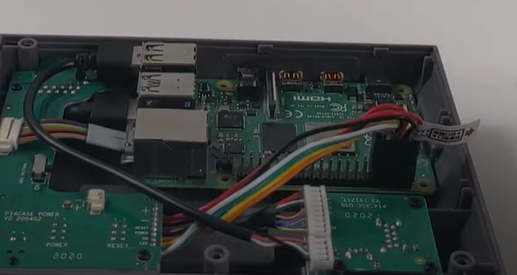
Once the main components are hooked up, your raspberry pi should look something like this.
Enabling Safe-Shutdown
Most of the RetroFlag cases have a safe-shutdown script available for them. What this does is cause the power/reset buttons located on the device to safely shutdown the device when pressed. First, closing whatever programs are running (Emulationstation, RetroArch, etc.), then finally powering off the device.
Without these, the power buttons may not work at all. Or if they do, they’ll immediately cut power akin to disconnecting the device from the mains. This can cause a cascade of issues such as corrupted files should it be done frequently, or at inopportune momenets.
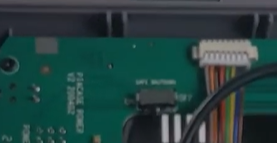
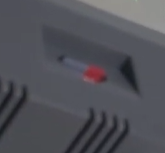
You can find the safe-shutdown switch here, next to the RJ45 connector.
If you purchased this unit pre-assembled from us, it will already be switched on. However, keep it in mind if you’re just buying the case on its own!
The safe-shutdown script can be found on Retroflag’s GitHub here: https://github.com/RetroFlag/retroflag-picase
Fitting the Fan
Unlike our previous offering in the Snes/NES-styled cases for the Raspberry Pi 3, the NESPi 4 case comes with a cooling solution in the form of a fan and heatsink combination. While it is optional to attach this, we highly, highly suggest you do so. Without cooling, the device may struggle when (if) you overclock it to improve performance on platforms such as N64, (upscaled) PSP, and so on.
(As an aside, the fan comes with a couple of cooling pads. These are optional to attach, but recommended to use to improve heat dispersion.)
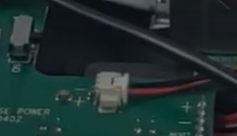
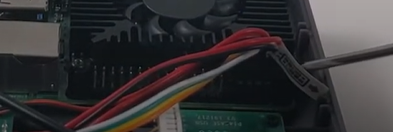
To connect the fan, insert the 2-pin connector into the 2-pin socket on the circuit-board section of the case. The red pin should be facing towards the front, while the black pin should be facing towards the back. This is a little finicky, but should not cause too much issue.
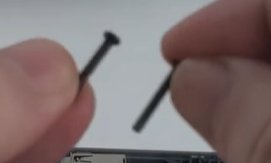
You’ll also need to screw the heatsink. There will be two black screws which will attach to the bottom left and bottom right corners of the heatsink respectively. This leaves the other two screw holes free (which is necessary, as the case screws will use those holes).
With just about everything else connected, there’s one more thing left.
Attaching the top-half of the case
The top half of the case is where the 2.5-inch drive of your choice connects to the system as a whole.
To do this, it uses a USB 3.0 connection, which we’ll attach to the top-most USB 3.0 connector on the Raspberry Pi 4.
This is also an optional step, but one we’d recommend just so you get it out of the way (plus, you won’t be able to use the free USB 3.0 port for anything else either way).
The connector will look like this:
Plug it in to the appropriate port, then simply close the lid down. You may need to wriggle it about slightly in order to make sure the cable sits comfortably inside the unit.
Step 3: Closing the Case
Closing the case is a stSghtforward process. You can find the six screw holes in each of the four corners, plus the central top and bottom edges of the unit.
When inserting the screws, make sure to push down slightly on the case to ensure that they’re as close together as possible.
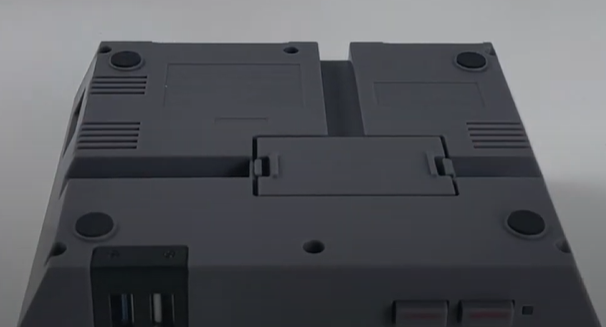
Step 4 (Optional): Connecting the cartridge
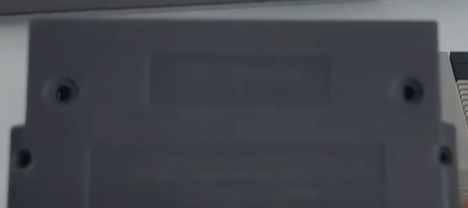
The cartridge itself is simple to put together. Just insert your 2.5 inch drive into one half, snap the other half down, then fasten the screws in the two large holes.
Then just insert it fully into the front of the unit.
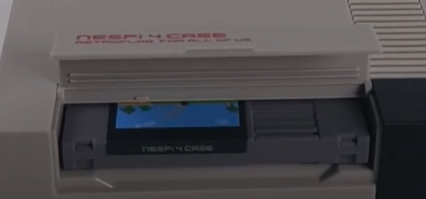
If you have multiple cartridges, you can quickly swap them out with very little hassle.
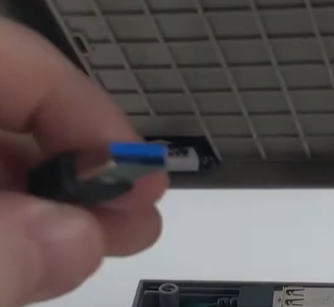
Step 5: Inserting the SD card
Easier done than said! Just place the SD card into the slot on the side of the unit. Make sure the small ridge on the device is pointing outwards.
Now your NESPi 4 case is fully assembled and ready to go!
If you’re looking to purchase your own NESPi 4 case, you can do so here: https://droix.net/products/retroflag-nespi-4-case
Until next time!
