
Hello! If you’re here, you’re probably looking to transfer your drivers from one PC to another. In this guide, we’re going to briefly go over how to extract the drivers from your mini PC!
Fortunately, this is a very simple process — and no special software is necessary!
Step 1) Open CMD/Powershell in Admin Mode
Search for Windows Powershell in the Windows search interface. Once you’ve located it, right click it and run it as administrator.

The reason you need to run Powershell as an administrator is due to the elevated permissions Powershell will need for the next step.
Step 2) Extract The Drivers
You can extract all the drivers on your system in one fell-swoop with one simple command.
Type the following command into Windows Powershell as follows:
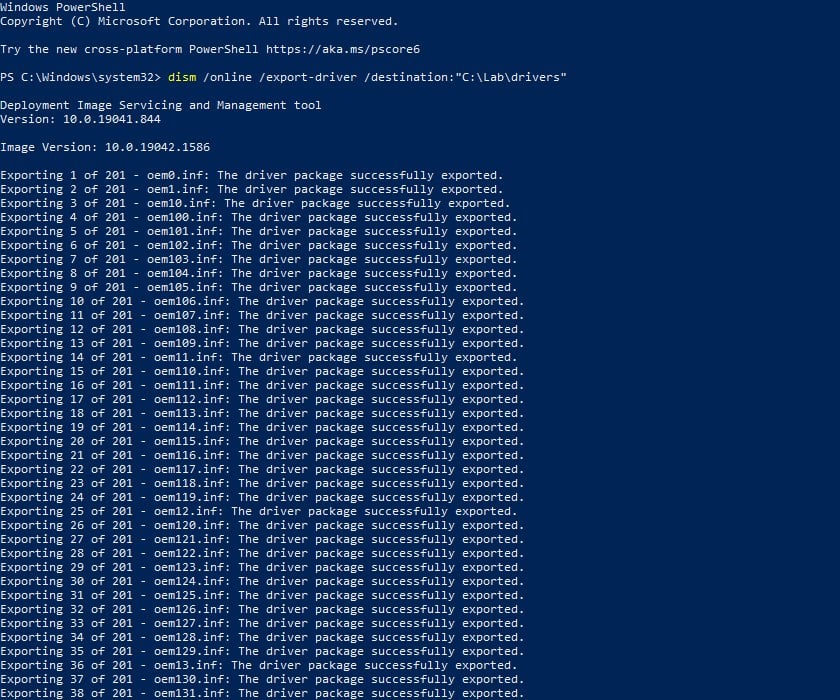
dism /online /export-driver /destination:"[DESTINATION]"
Replace [DESTINATION] with the exact location you wish for the folders to be extracted to.
For example:
- dism /online /export-driver /destination:”C:\Lab\drivers”
- dism /online /export-driver /destination:”D:\temp”
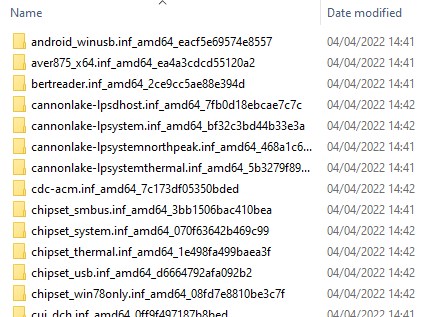
Your system will then begin exporting all the drivers currently installed on your system.
Once finished, you’ll be able to freely move the drivers around between systems.
For how to install these drivers, check out our driver installation guide.
