
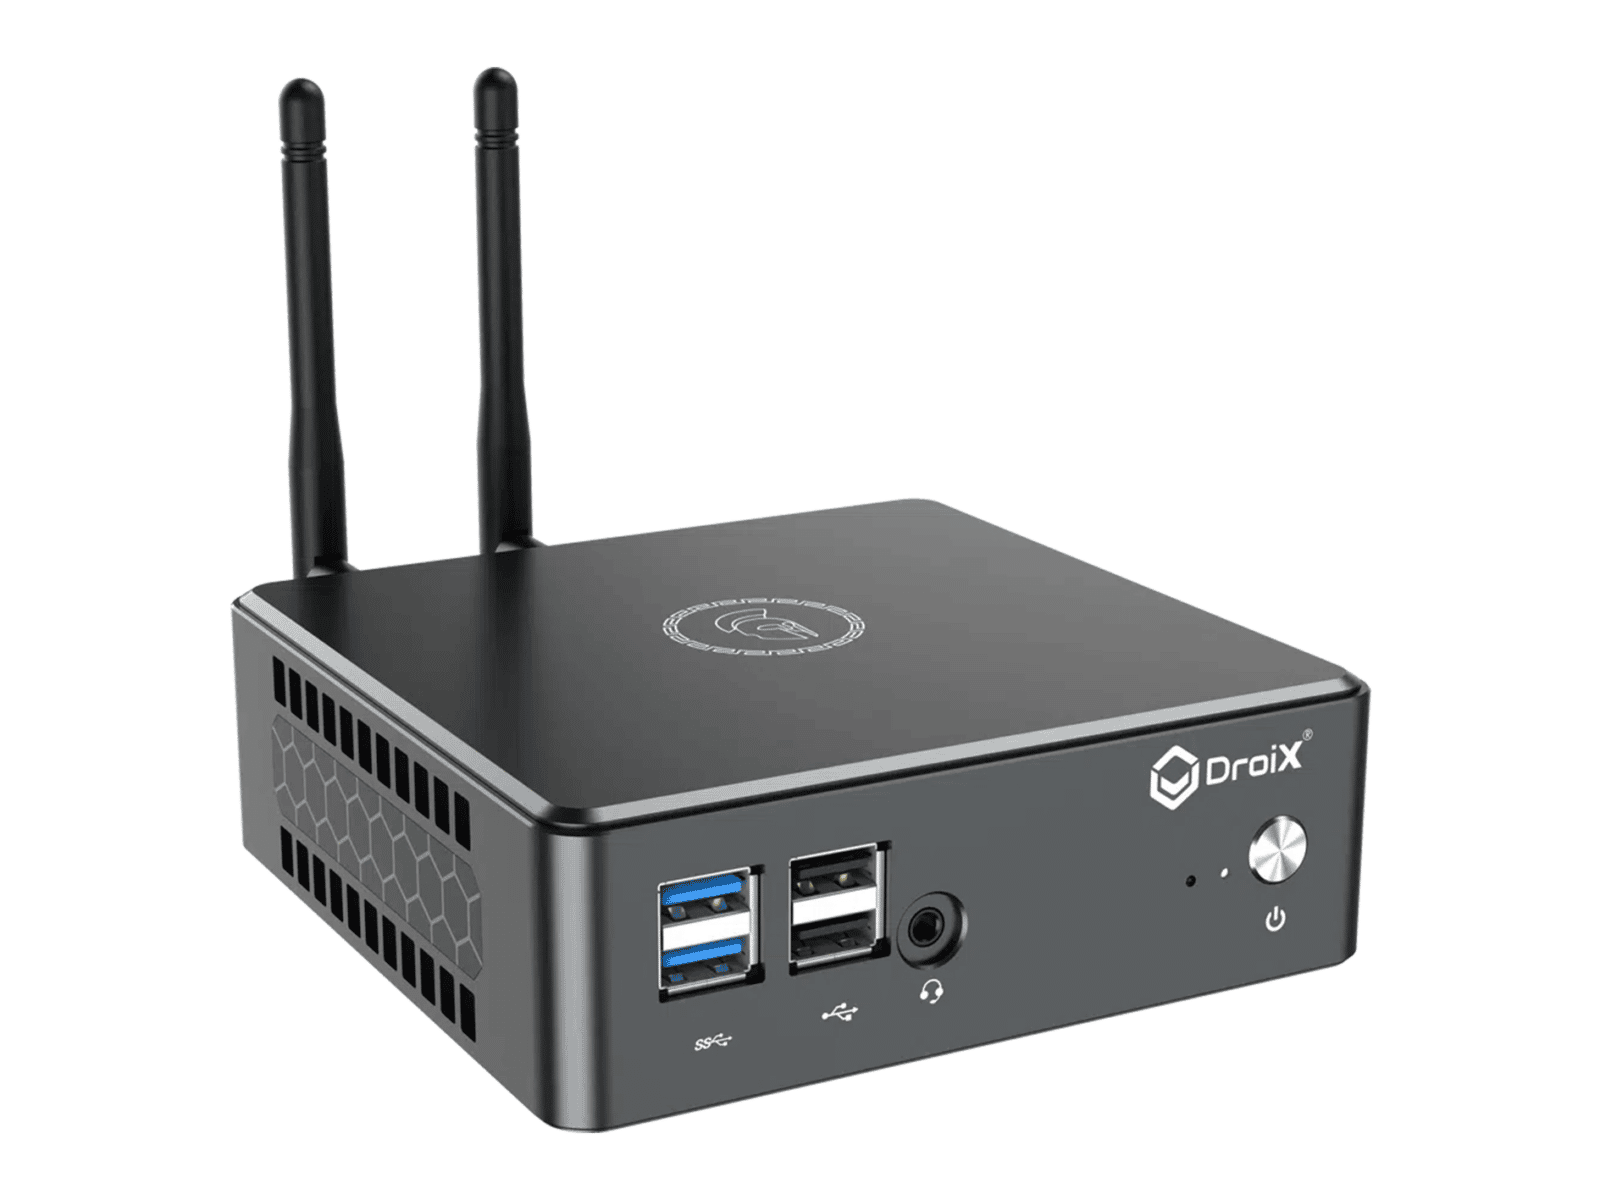
We know that some of you may like to add to your already great Proteus mini pc machines. However, some of you may not be computer geniuses like us, and that’s completely okay. Luckily for you we have come up with a simple step by step guide in how to install your hard drive into your Proteus 11 Mini PC.
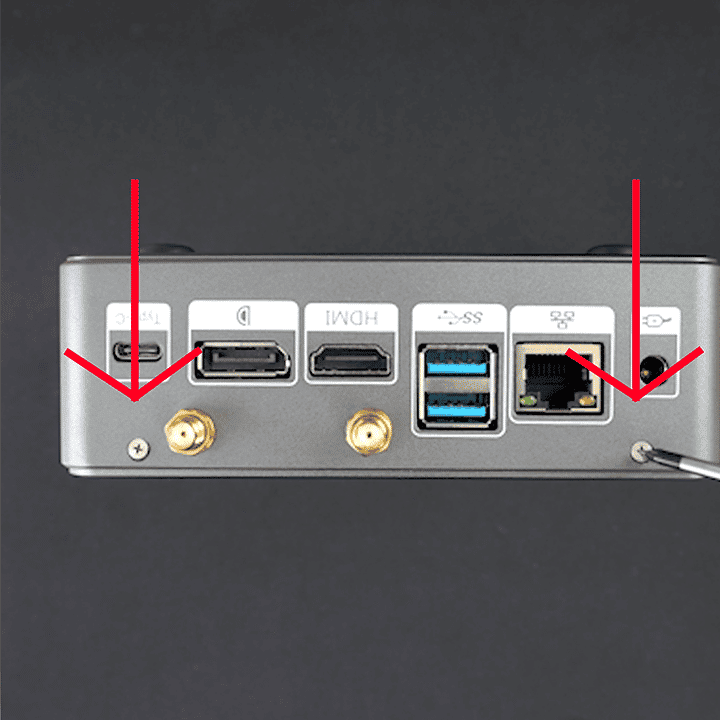
Step 1: Opening the PC
When you have taken the Proteus 11 out of the box, continue to stand it up so the two screws in the back of it are facing upright towards you. When you have done this, use a small screwdriver to take them out. You will then be able to carefully lift the cover from the PC.
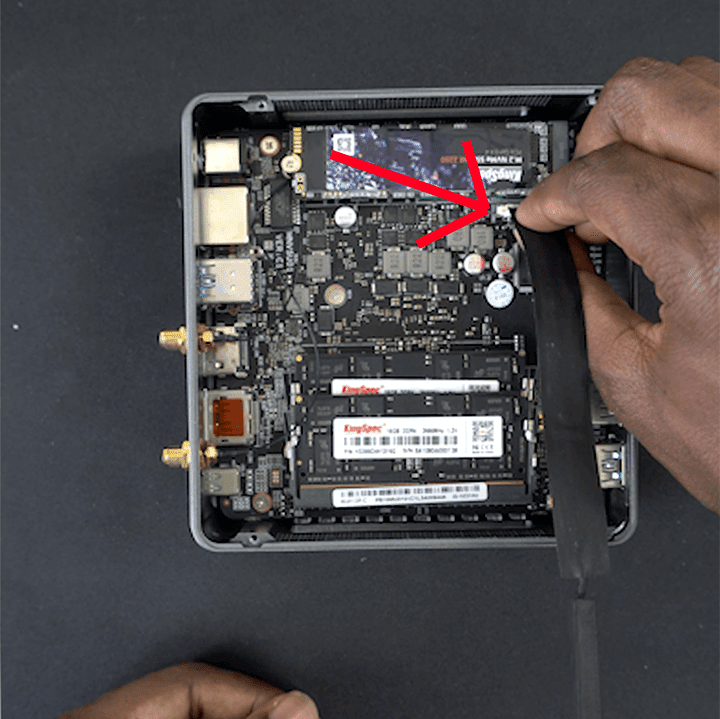
Step 2: the SATA cable
Following step 1, take the SATA cable supplied and slot it into the area highlighted, this is so you’ll be able to connect the hard drive to the PC.
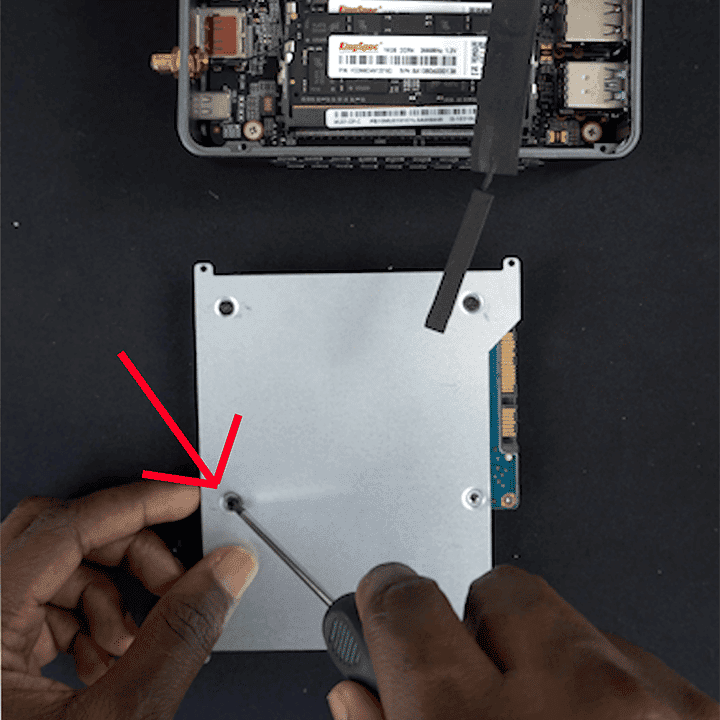
Step 3: Hard Drive and metal plate
Take the Hard Drive and screw it into the plate that has come along with it. This will keep the hard drive secure when putting it into the machine.
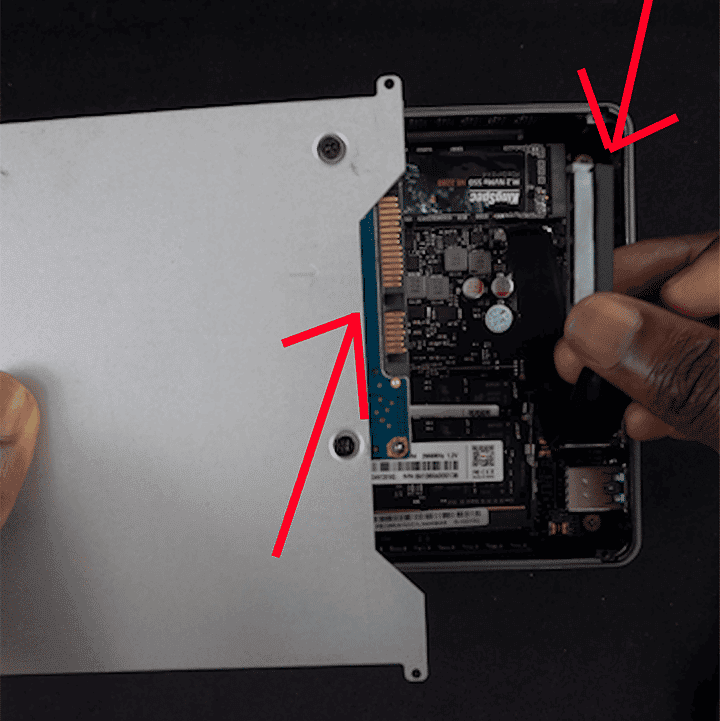
Step 4: Connecting the SATA cable and Hard drive
Connect the hard drive via the SATA Cable and then slot it in place. This is a relatively easy process so don’t overthink it!
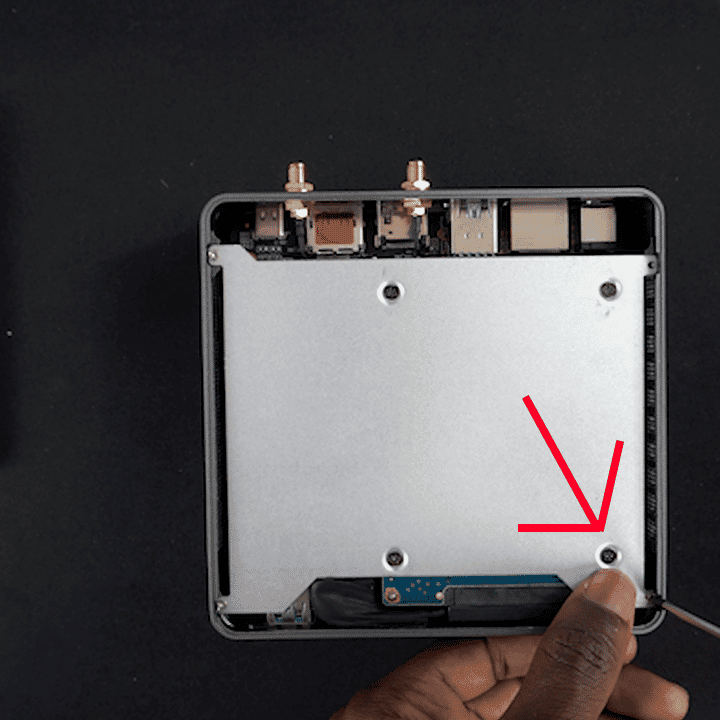
Step 5: screwing in the Hard drive
Almost finished! Now screw the Hard drive plate into the pc screw slots. This is to keep the drive in place once you have closed up the Mini PC.
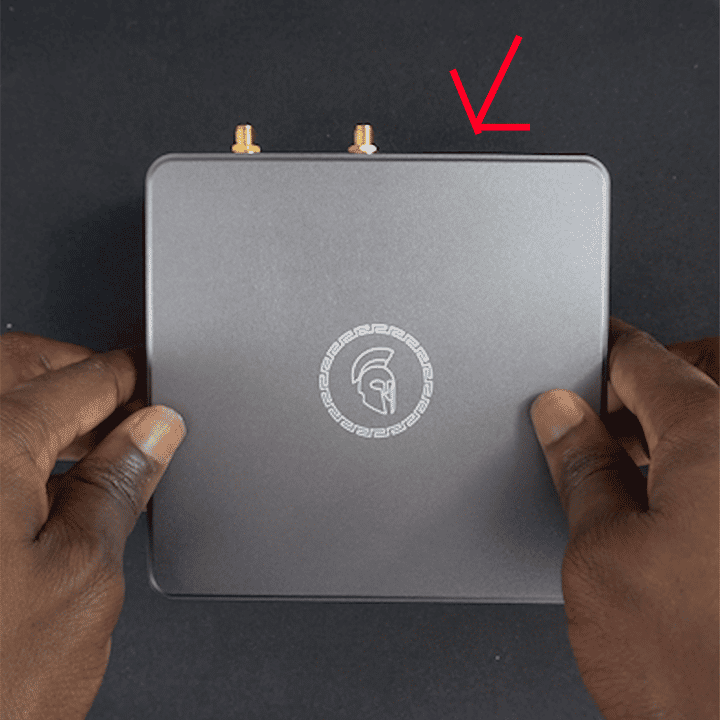
Step 6: Finishing up and closing the Proteus 11
Close everything up securely and screw the remaining screws back into the mini PC and voila, you have now properly installed your hard drive into the Proteus 11!
We hope this little step by step guide will help you add more storage to your Proteus 11, and keep an eye out for any future blogs and guides!
