
- 1. What is ArkOS?
- 2. What you will need to install ArkOS
- 3. Writing the ArkOS custom firmware image to your micro SD card
- 4. Setting up and Installing ArkOS
- 5. First boot of ArkOS
- 6. Adding games to the micro SD card
- 7. Second boot and micro SD card scan
- 8. Scraping game data on ArkOS
- 9. Where to buy a retro gaming handheld?
This guide on how to install the excellent ArkOS covers a variety of Retro Gaming Handhelds and consoles, but the process for installing the custom firmware is the same.
What is ArkOS?
ArkOS is a custom firmware for Rockchip-based handhelds such as the RG353V, it stands for Another Rockchip Operating System. ArkOS is based on Ubuntu and supports over 90 game systems ranging from Atari 2600 up to more recent handhelds such as the PlayStation Portable. It also supports over 70 game ports via PortMaster. ArkOS uses EmulationStation as the frontend, and RetroArch for the majority of the emulation.

Installing ArkOS means you get the best out of your retro gaming console. There are regular updates to the firmware which are installed via WiFi so you do not need to reformat micro SD cards etc. The initial process of installing ArkOS can be daunting for newcomers, but our below guide will walk you through step by step.
We also provide links to additional guides for how to copy games and afterwards ‘scraping’ them for preview screenshots and game info.
What you will need to install ArkOS
- A micro SD card that is 16GB or larger. Ideally, you want larger as you will be adding games to this card.
- The ArkOS custom firmware image for your handheld from https://github.com/christianhaitian/arkos/wiki (downloads are near the bottom of the page)
- Win32DiskImager – https://sourceforge.net/projects/win32diskimager/
Writing the ArkOS custom firmware image to your micro SD card
Once you have downloaded the custom firmware image, extract it to a folder on your PC. You will have a file ending in .img such as ArkOS_RG353V_v2.0_10022022.img

Insert the micro SD card into your PC and choose No for any prompts that may appear.
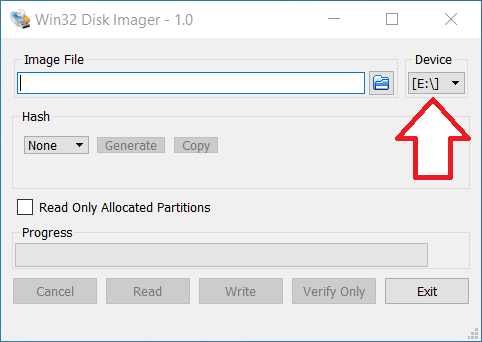
Open Win32DiskImager and select your micro SD card drive Letter from the Device drop-down menu. Please double and triple-check check it is the correct drive, otherwise, you can overwrite your PC hard drive!
Now click on the folder icon navigate to the .img file you extracted and select it.
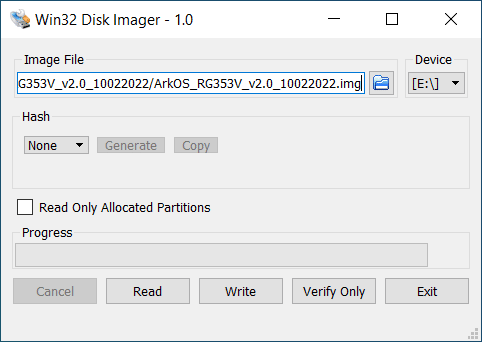
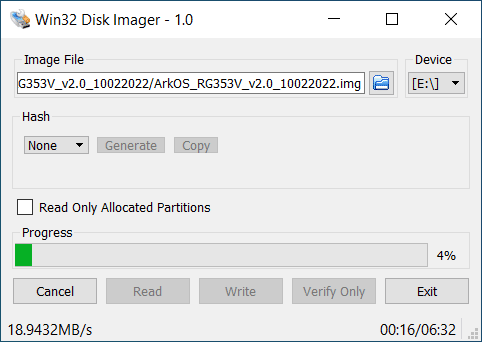
Double-check again that you have the correct Device drive letter. Press the Write button and Yes to continue and start the image file writing process. The process will take several minutes and varies on the speed of your micro SD card and PC.
Once the image has been written, you will see that new drives have been added. If you are prompted to Format any drives, choose No.
You can now safely eject the micro SD card and insert it into your handheld.
Setting up and Installing ArkOS
Switch on, and after a few moments, it will notify that the device will reboot once. Let it reboot.
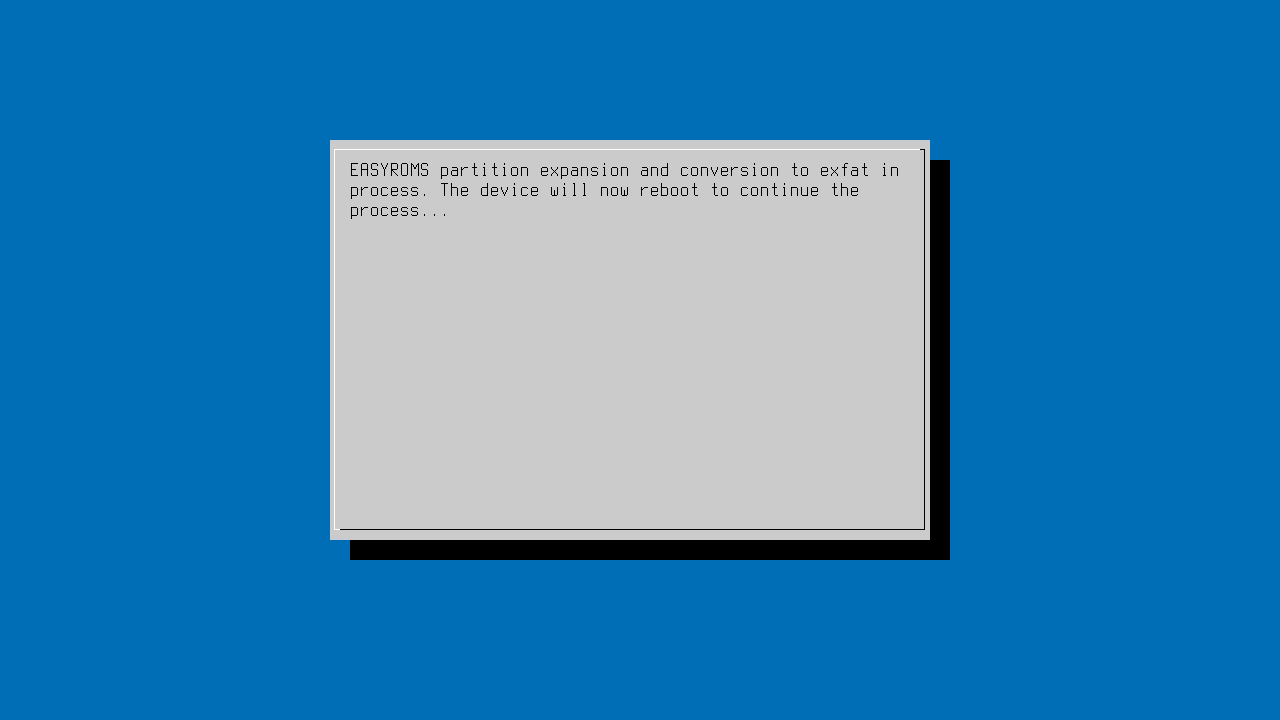
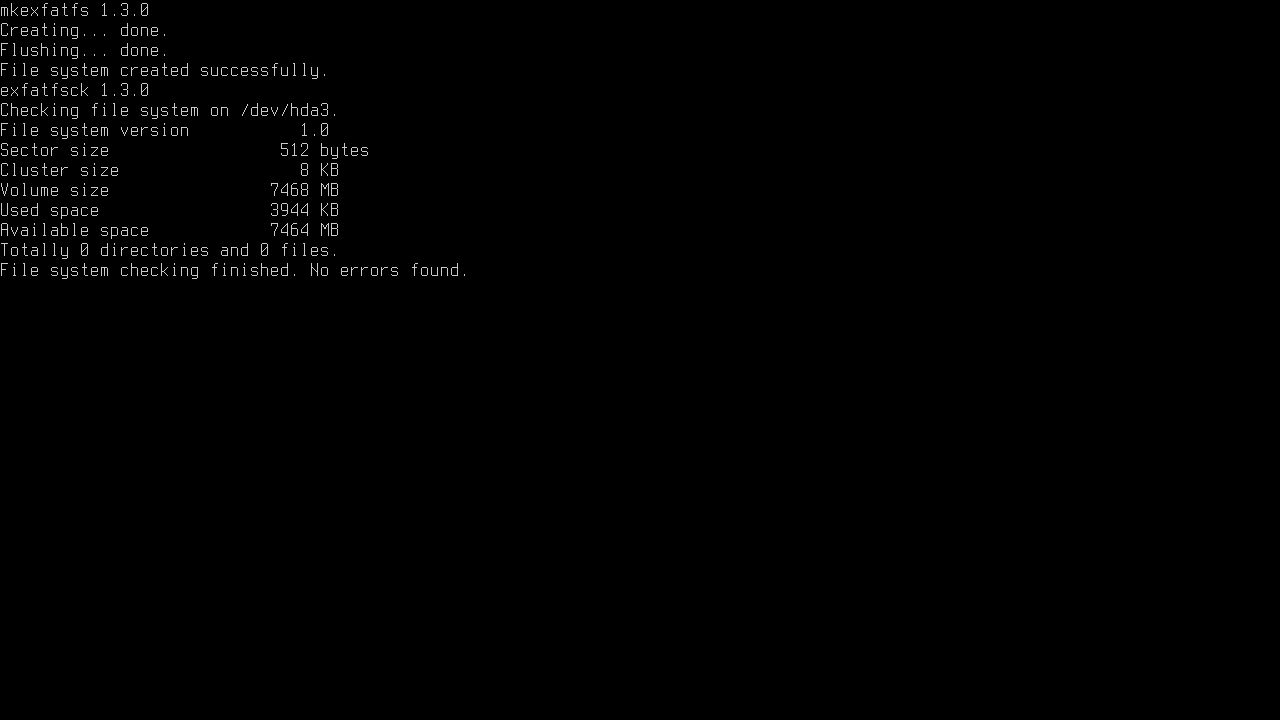
ArkOS will now proceed to set up the filesystem. Do not switch off or press any buttons during this time.
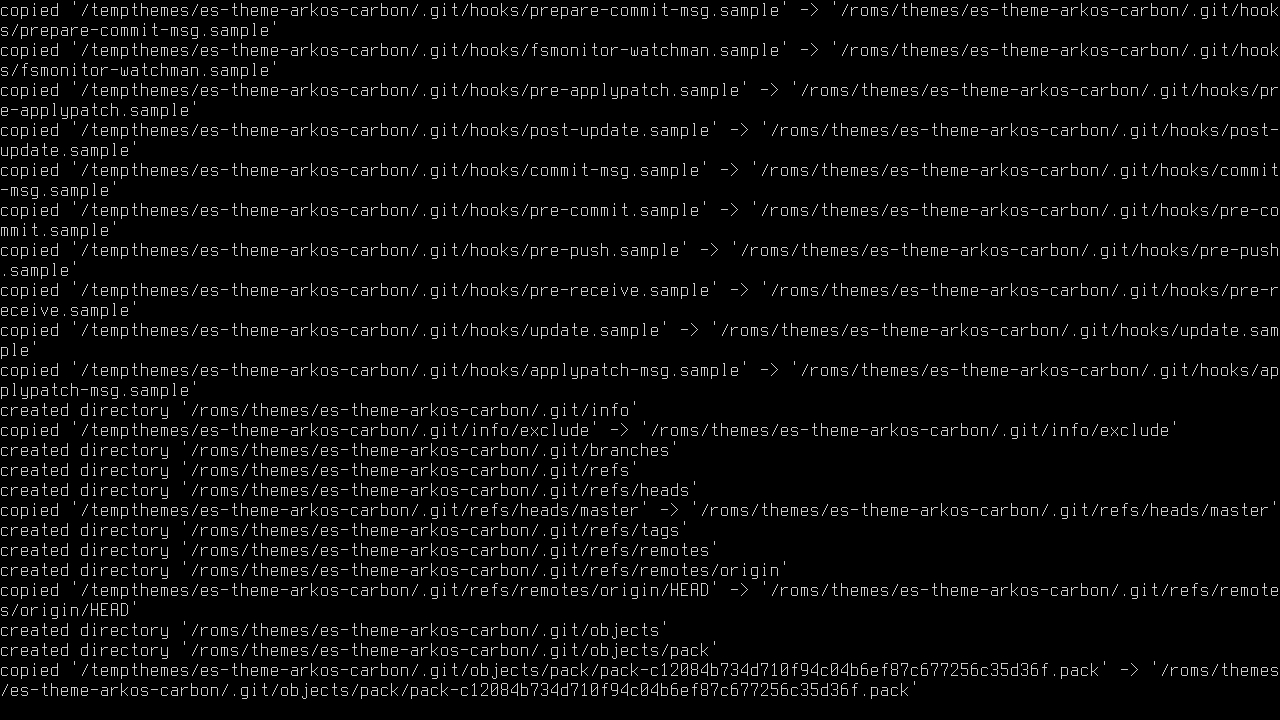
After a few moments, it will then proceed to install the necessary files for the OS. This process will take 3 to 5 minutes, let it do its thing and do not switch off or press any buttons.
Once the installation process has finished you will be notified that the device will reboot again. Let it reboot.
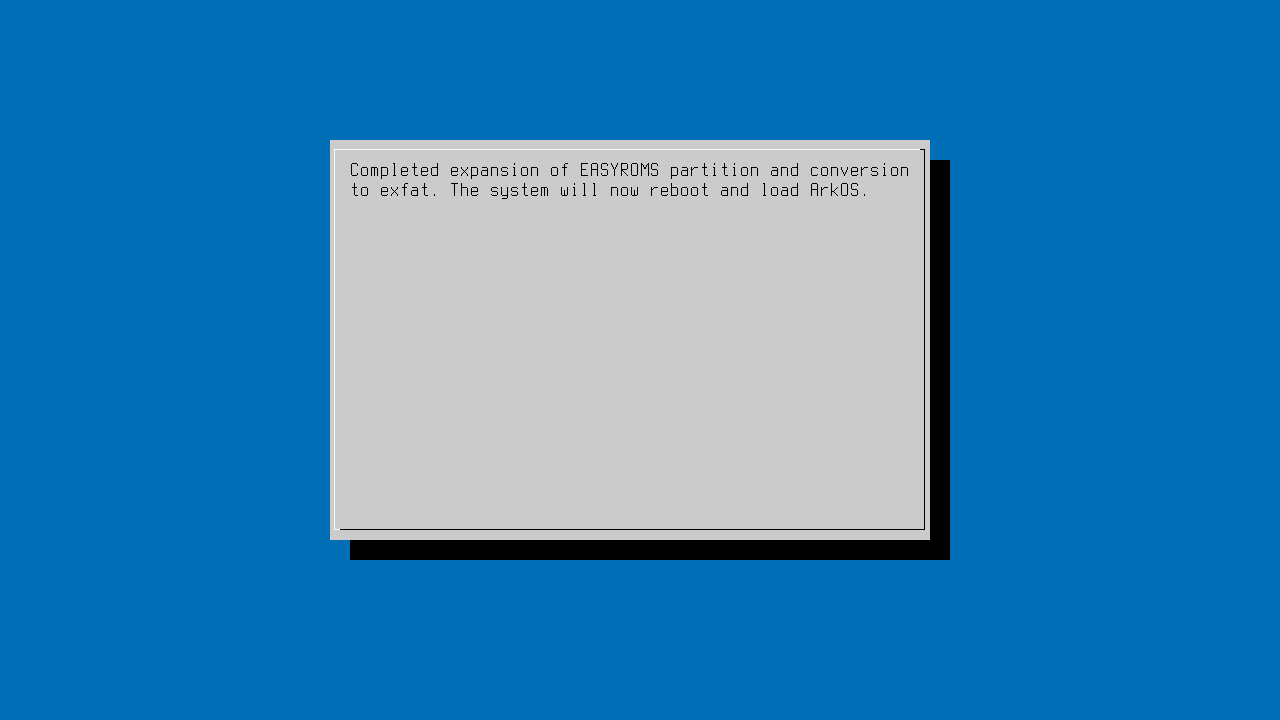
First boot of ArkOS
The ArkOS will now boot up for the first time.
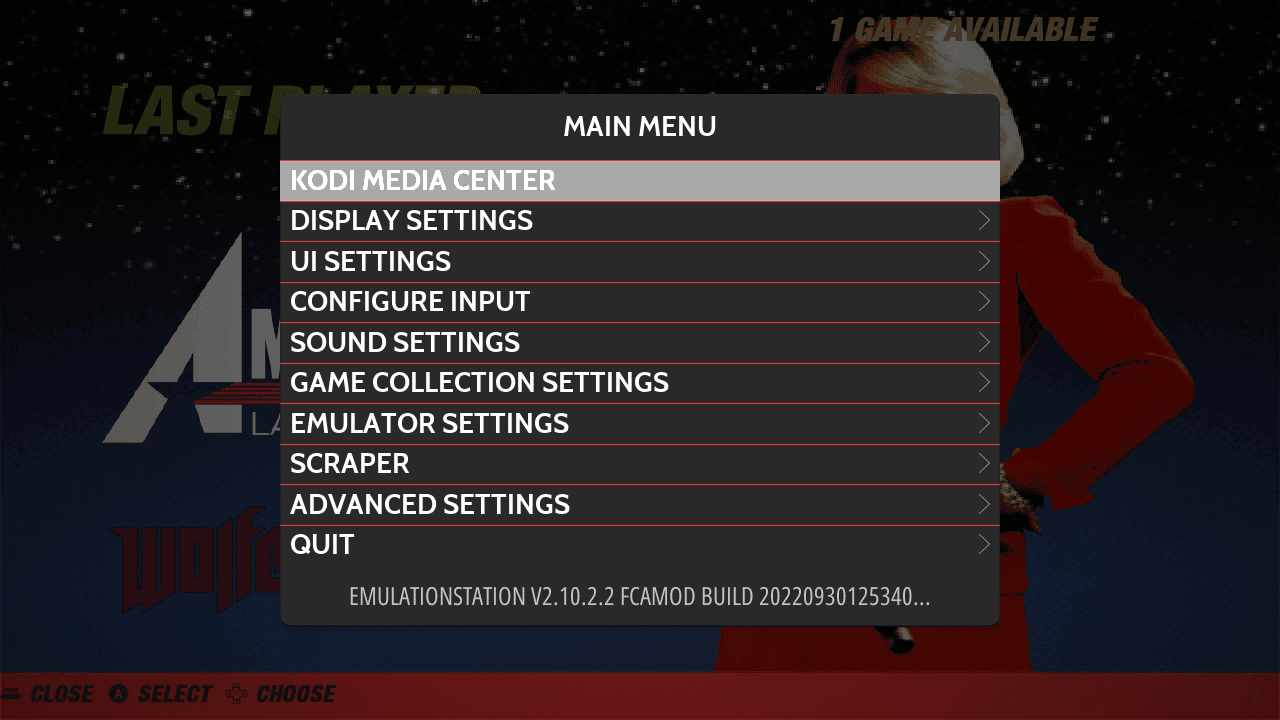
After a few moments, you will be presented with the ArkOS main menu

Now we need to install some games. To do this we first need to safely shutdown the handheld. Press the START button on your device to bring up the Settings menu.
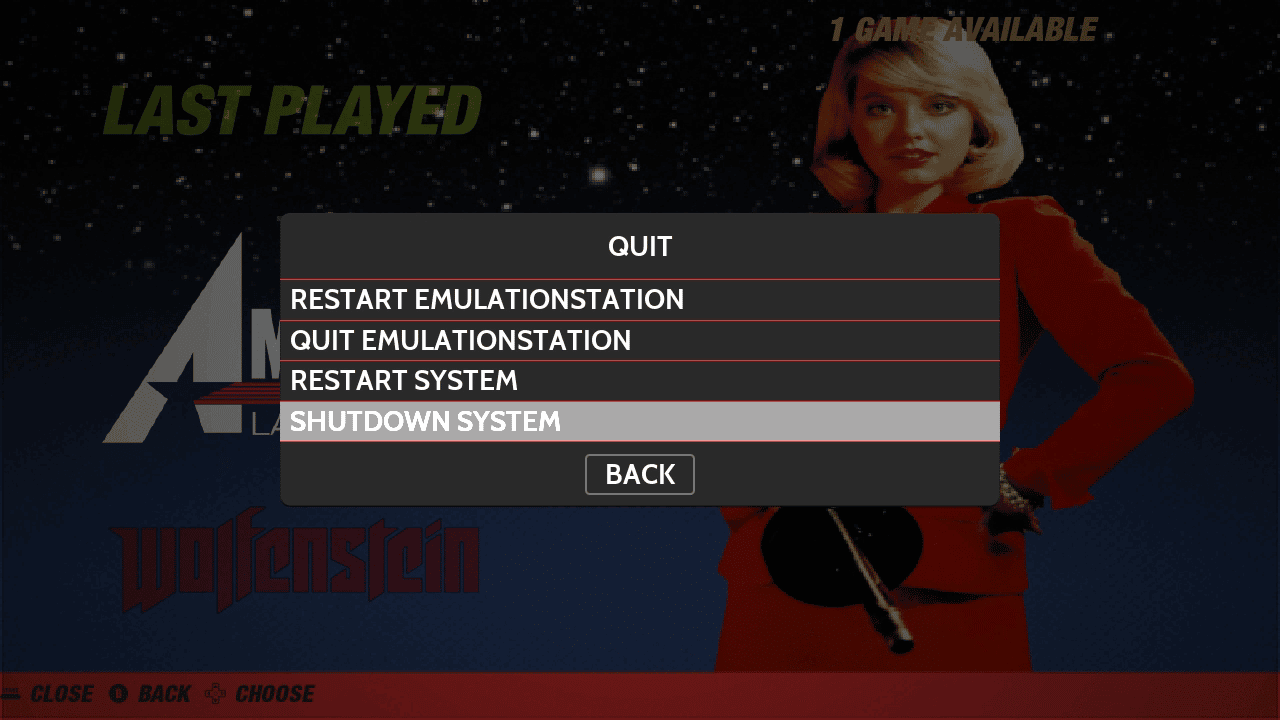
Choose Quit and then Shutdown System, the device will now safely shutdown.
Adding games to the micro SD card
NOTE: If you want your second Micro SD card slot to be used instead of the first. Go to Options on the main screen, then choose Advanced and then Switch to SD2 for ROMS. The card will then be prepared with the correct folder structure. You can then copy any files to the second card.
Once the device has shutdown you can now remove the micro SD card and plug it back into your PC. If you are prompted to Format any drives, choose No. You will see a few new drives are visible on your PC. Do not click on the drives other than EASYROMS as you will not be able to access them.
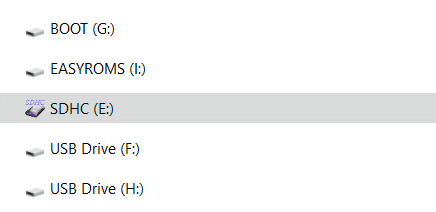
Choose the EASYROMS drive and you will see a list of folders.
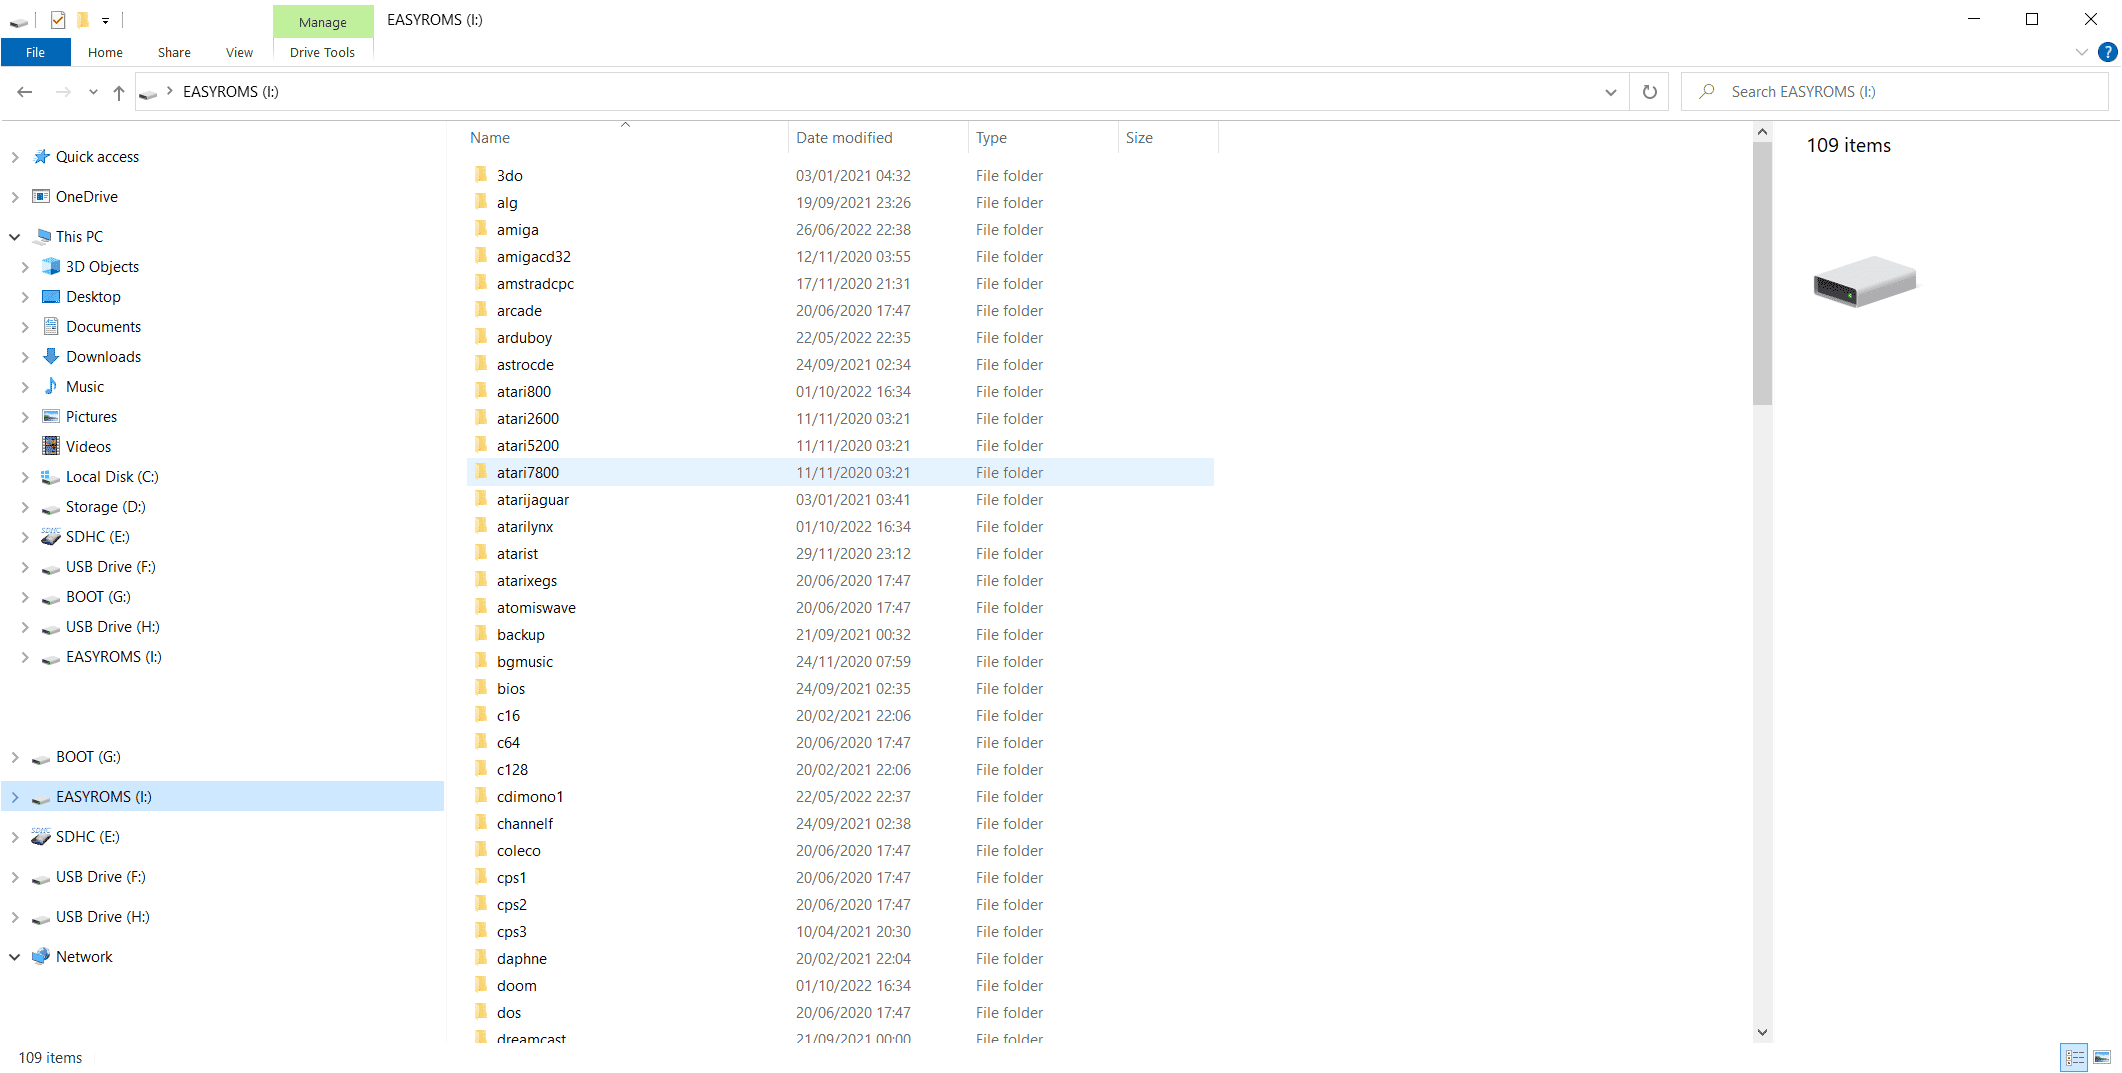
Many of the folder names will be familiar as these are where the game ROMS go for each system, For example, the “atari2600” folder is where Atari 2600 games go, and the “pcengine” folder is where PC Engine games go. You can now copy your ROM files to their respective folders.
If you are unsure how to do this, you can follow our guide on how to add games, and later how to scrape the game data here.
Second boot and micro SD card scan
Once you have added your games you can Eject the micro SD card and insert it back into your retro gaming handheld and switch it on.
ArkOS will now boot up again.
The first boot will take longer than usual as it will scan your micro SD card for the newly added games. This process may take a while if you add many. Once the process is completed it will display the main menu and show new consoles or computers that the scan found.

Browse to a console or computer and select it to display the list of games it found while scanning. Choose a game and it will load.

Scraping game data on ArkOS
If you would like to add preview screenshots and game info for your games, we recommend reading our guide here on how to do this. You may need to change the theme settings to display these.
This concludes our guide on how to install ArkOS. It is based on the Emulation Station and RetroArch system and we have some other guides in our knowledgebase which may be of interest.
Where to buy a retro gaming handheld?
Are you interested in buying or upgrading to a new handheld? You can browse our range of retro gaming handhelds here.
