
In this video and text based guide, we will show you how to reset Windows back to a fresh install on your ONEXPLAYER 1S.
Table of contents
First you need to ensure that your ONEXPLAYER 1S battery is fully charged.
In short, the process to enter the Windows boot menu is as follows.
- Switch on the ONEXPLAYER
- When you see the logo, press the DESKTOP button and Volume + button together
- This will display the boot menu.
Accessing the Windows Boot Menu
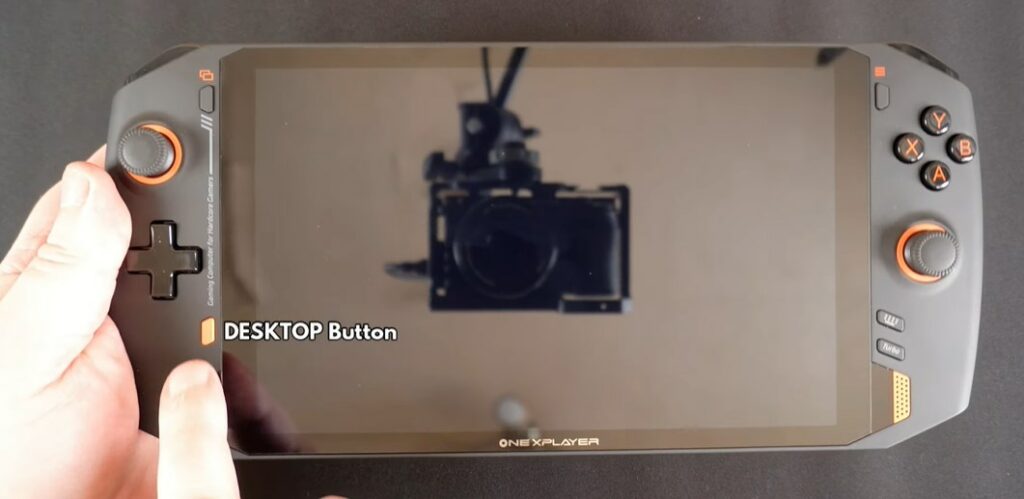
The DESKTOP button is located here.
And the volume button is located on the back and is the button closest to the top of the device.
Power on the ONEXPLAYER using the power button on the back. And when you see the logo, press both the DESKTOP and VOLUME + button at the same time.
If you missed the time to do it. You can power off the ONEXPLAYER and try it again.
Using the Windows Boot Menu
Once you have the Windows boot menu displaying. Press and hold the KEYBOARD button for a second or two until it illuminates.
The menu option you want to select is the UEFI OS (One-netbook PCI-E 1TB SSD). If you have replaced the SSD, then the name or number may be different.
You can use the D-Pad to choose the correct menu option and then press the START button to continue.
Windows Reset Process
It will take a few moments for the software to load. The display will rotate to portSt, this is nothing to worry about.
Once the software has loaded you will be presented with three menu options.
Choose the one in the middle to start the reset process.
The reset process will now start. During this period, do not switch off the ONEXPLAYER.
Windows Reset Completed
Once the reset has completed. The ONEXPLAYER will reboot and after a few moments you will be presented with the initial Windows set up menus.
