The RG350 and RG350M can be updated without having to remove the Micro SD Card and writing image files to it.
Appropriate Firmware
IMPORTANT NOTE: This firmware update should only be installed on the original firmware. If you have installed other custom firmware do not install this update!
You will first need to download the appropriate firmware for your device:
RG350 (Plastic case) – Download from here.
RG350M (Metal Alloy case) – Download from here.
The above two Beta v1.1 firmware are dated 10th May 2020 and include support for HDMI output. Please note that this is a beta and is unsupported by us. You do use at your own risk. The files can be extracted using 7zip.
Preparing the firmware
We will be copying the firmware on to the second Micro SD Card. If you have a card reader on your PC you can plug it into that, or if you wish to transfer via USB cable on the RG350M please follow our overview guide here.
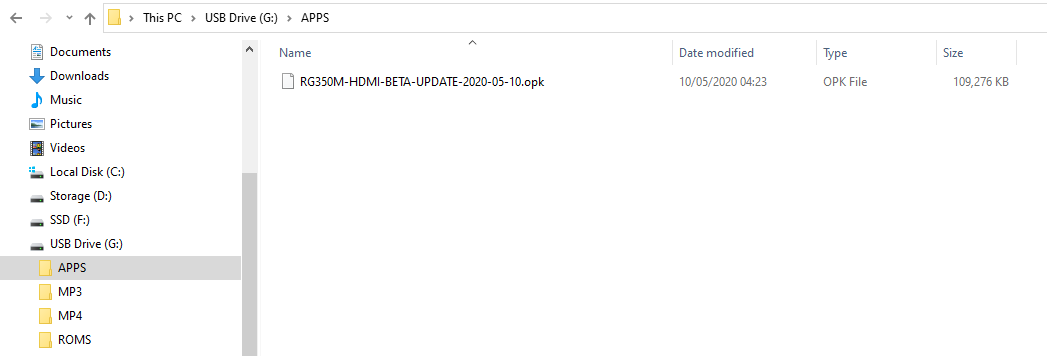
Extract the .OPK file found inside the download to your PC and then copy it to the APPS folder on the Micro SD Card. If the folder is not present, please create the folder otherwise the update will not be recognised.
You can now safely eject the card and put it back in to the your device.
Installing the update
NOTE: Please ensure that your device is fully charged before performing the update.
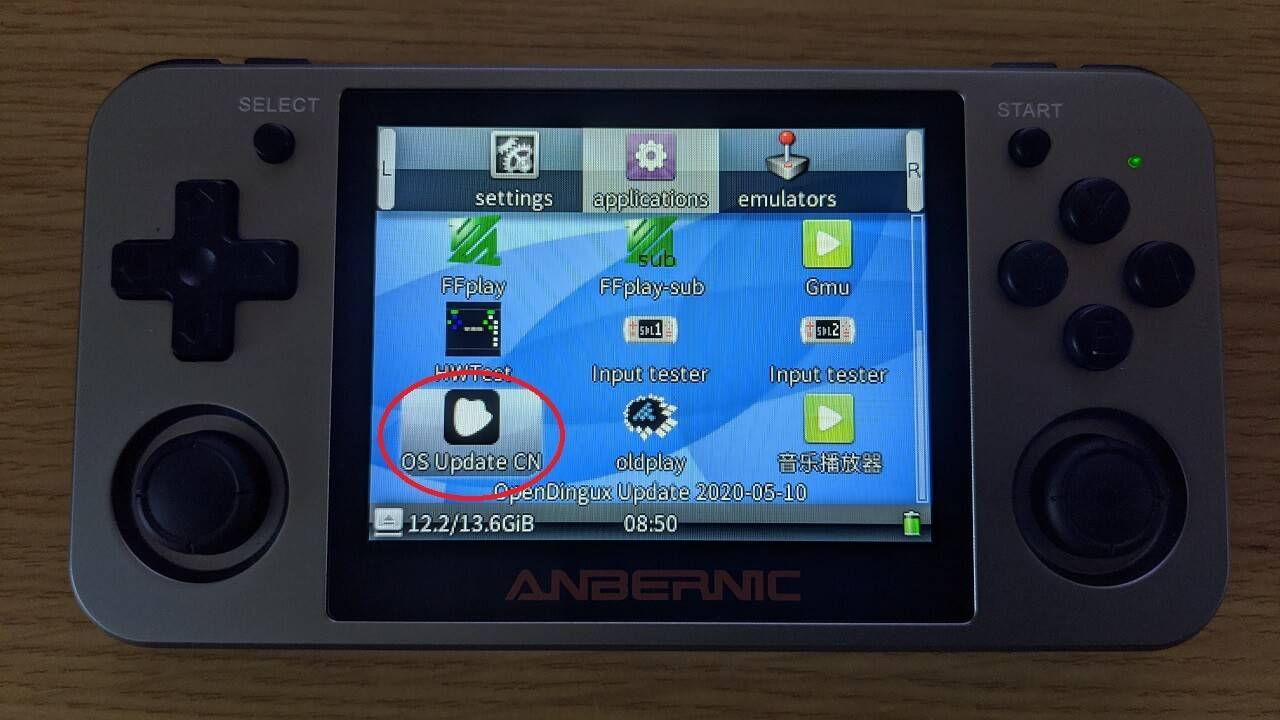
With the Micro SD Card now back in the device, you can now switch it on. Once it has booted, navigate to the Applications menu by tapping the L or R shoulder buttons. Scroll down the icons until you see the update file, it should be named OS Update or similar.

Open this app with the A button.
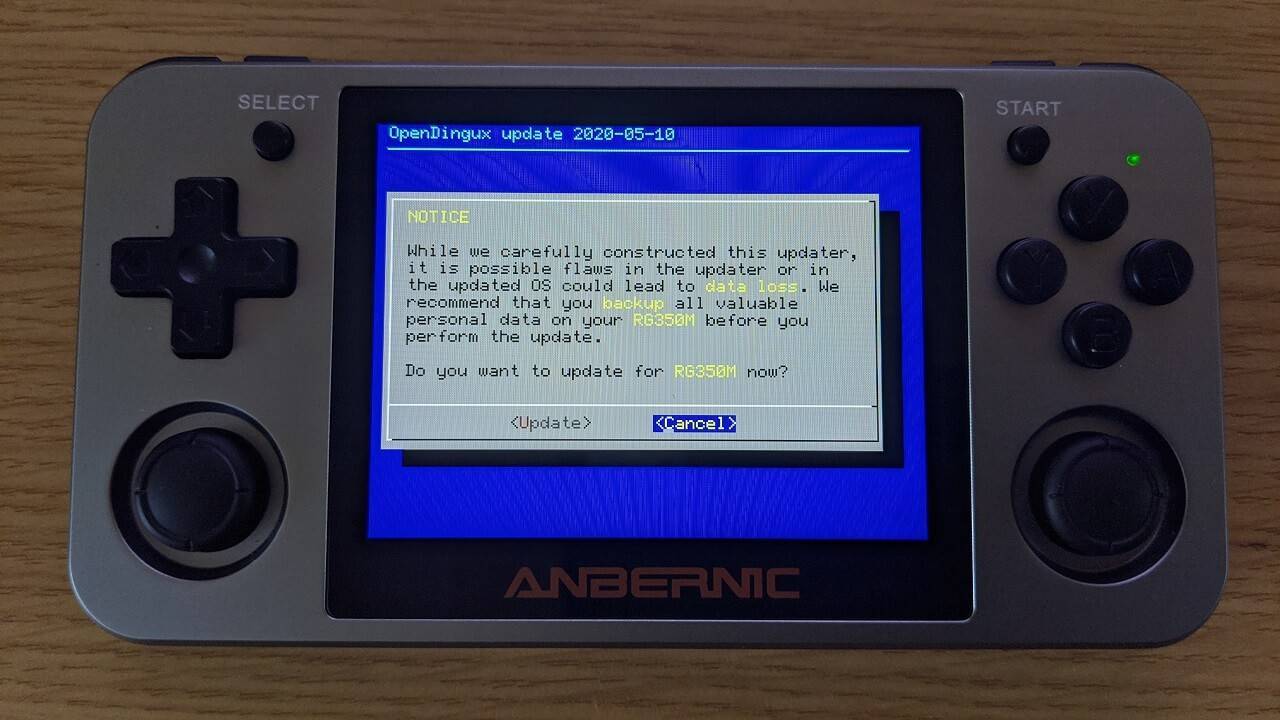
Double check you are installing the correct update for your device and navigate to Update and press the START button to start the firmware upgrade.
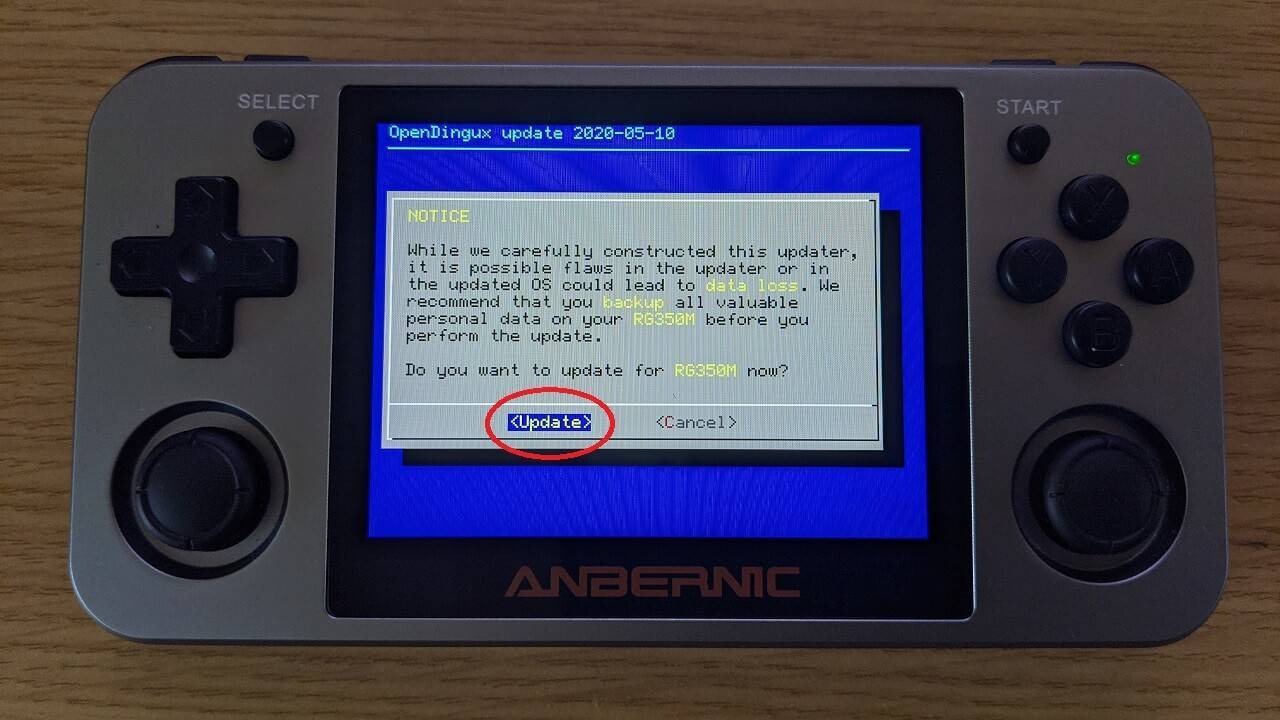
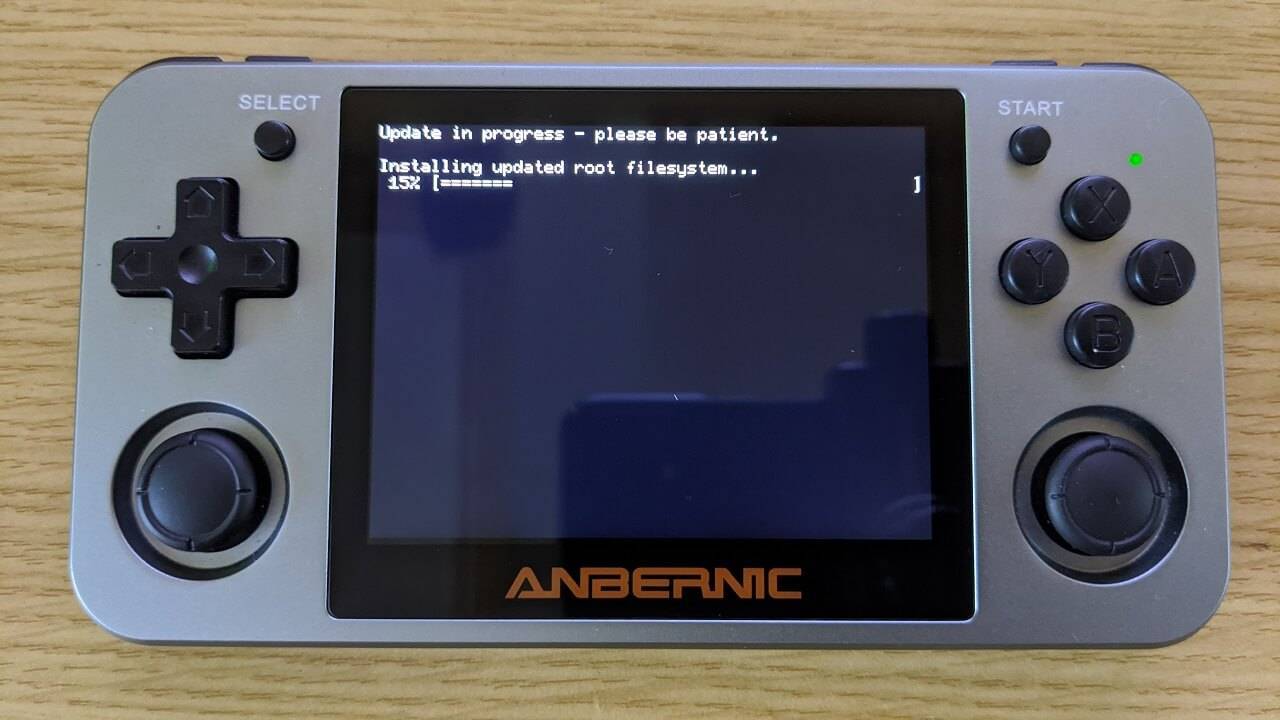
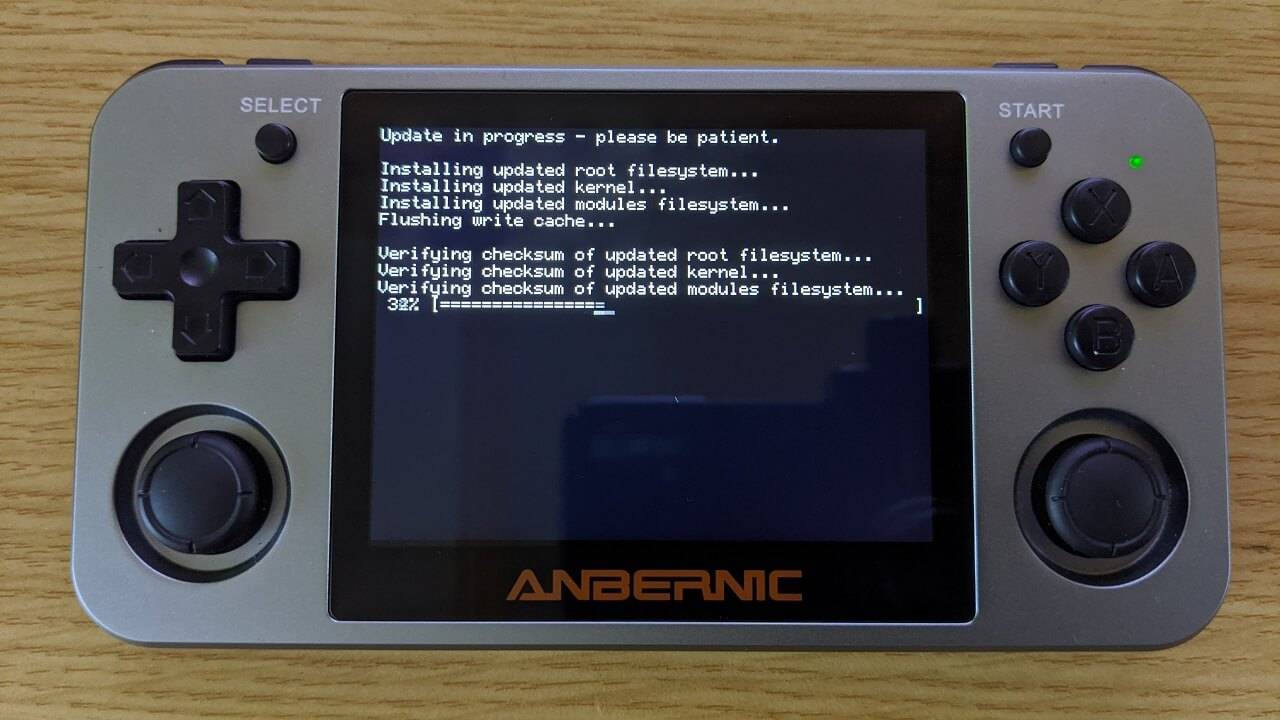
The upgrade process will now begin. This will happen in several stages and take a few minutes to perform. Do NOT at any time switch off the device or remove the Micro SD card. The below two images show the start and near the end of the procedure.
Once the update has completed you will be presented with the below information. Press the START button to continue.
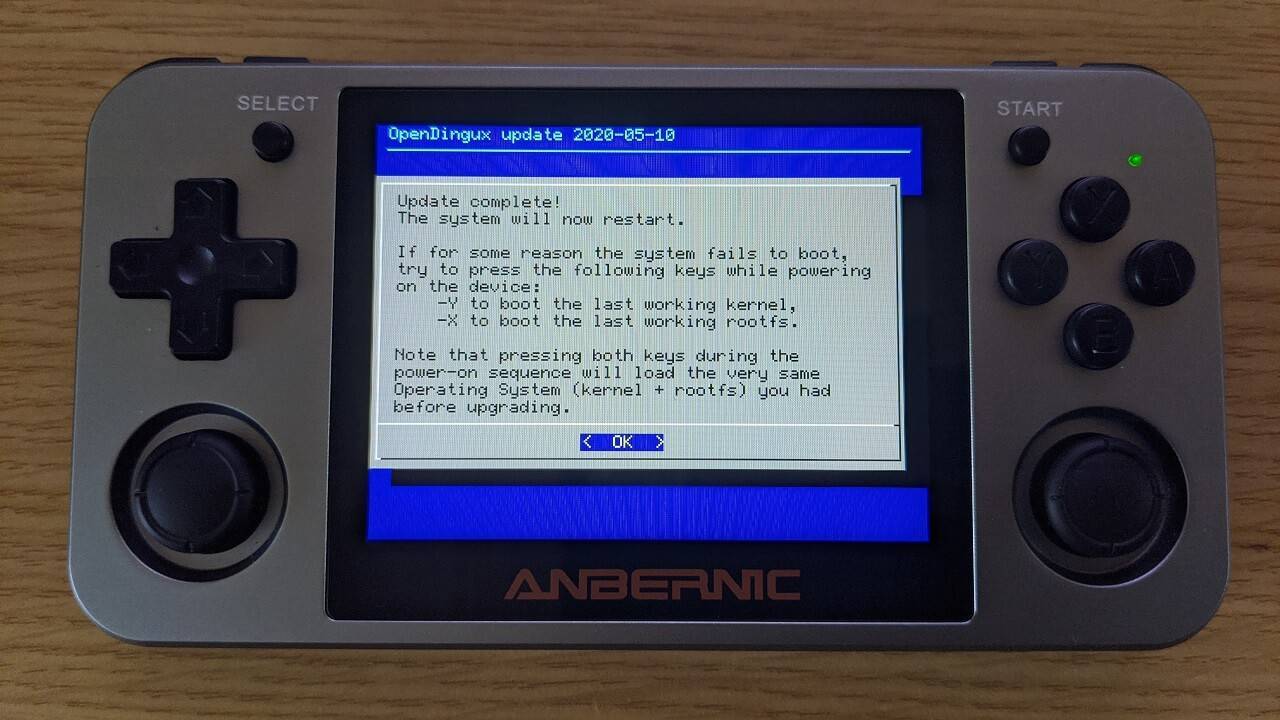
The device will now reboot and return to the main menu and is now ready to use.
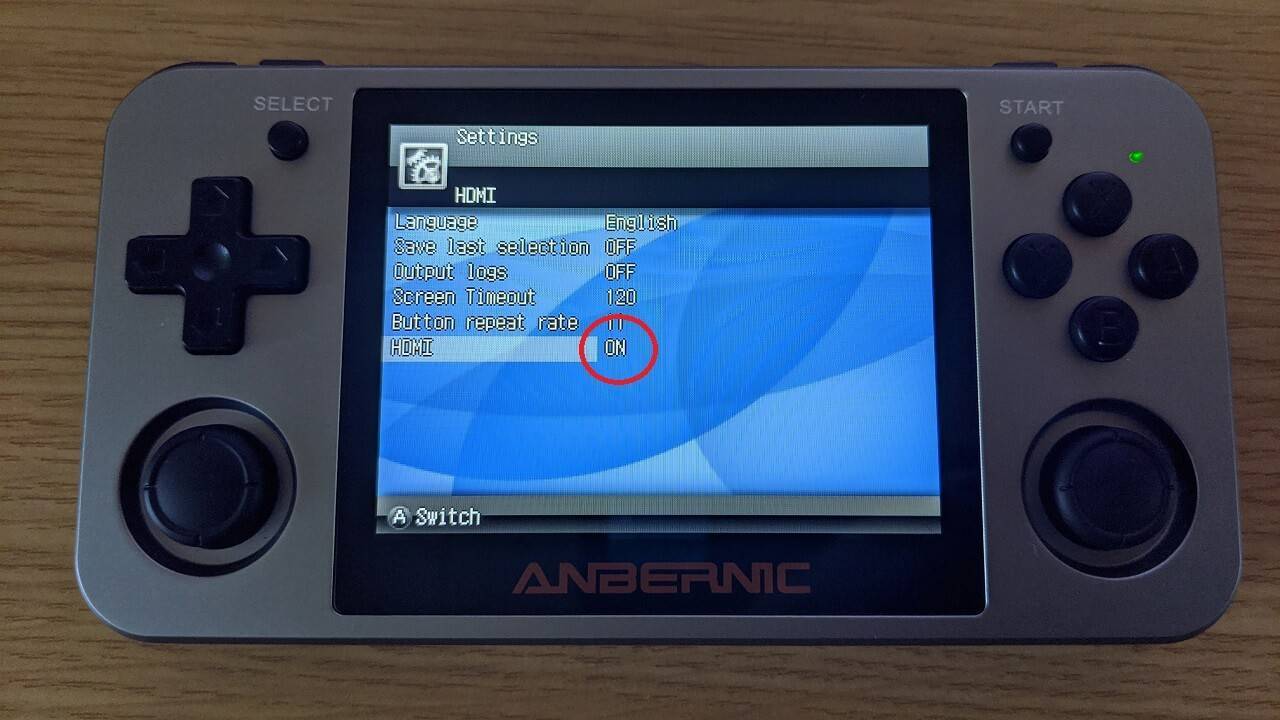
You can activate the HDMI (beta) output by loading the Gmenu2x settings app found in Settings.

Scroll down the menu to HDMI option and press Left or Right on the D-Pad to switch ON/OFF the HDMI output. Press START to confirm your choice.