This guide is applicable for the following mini PC models:
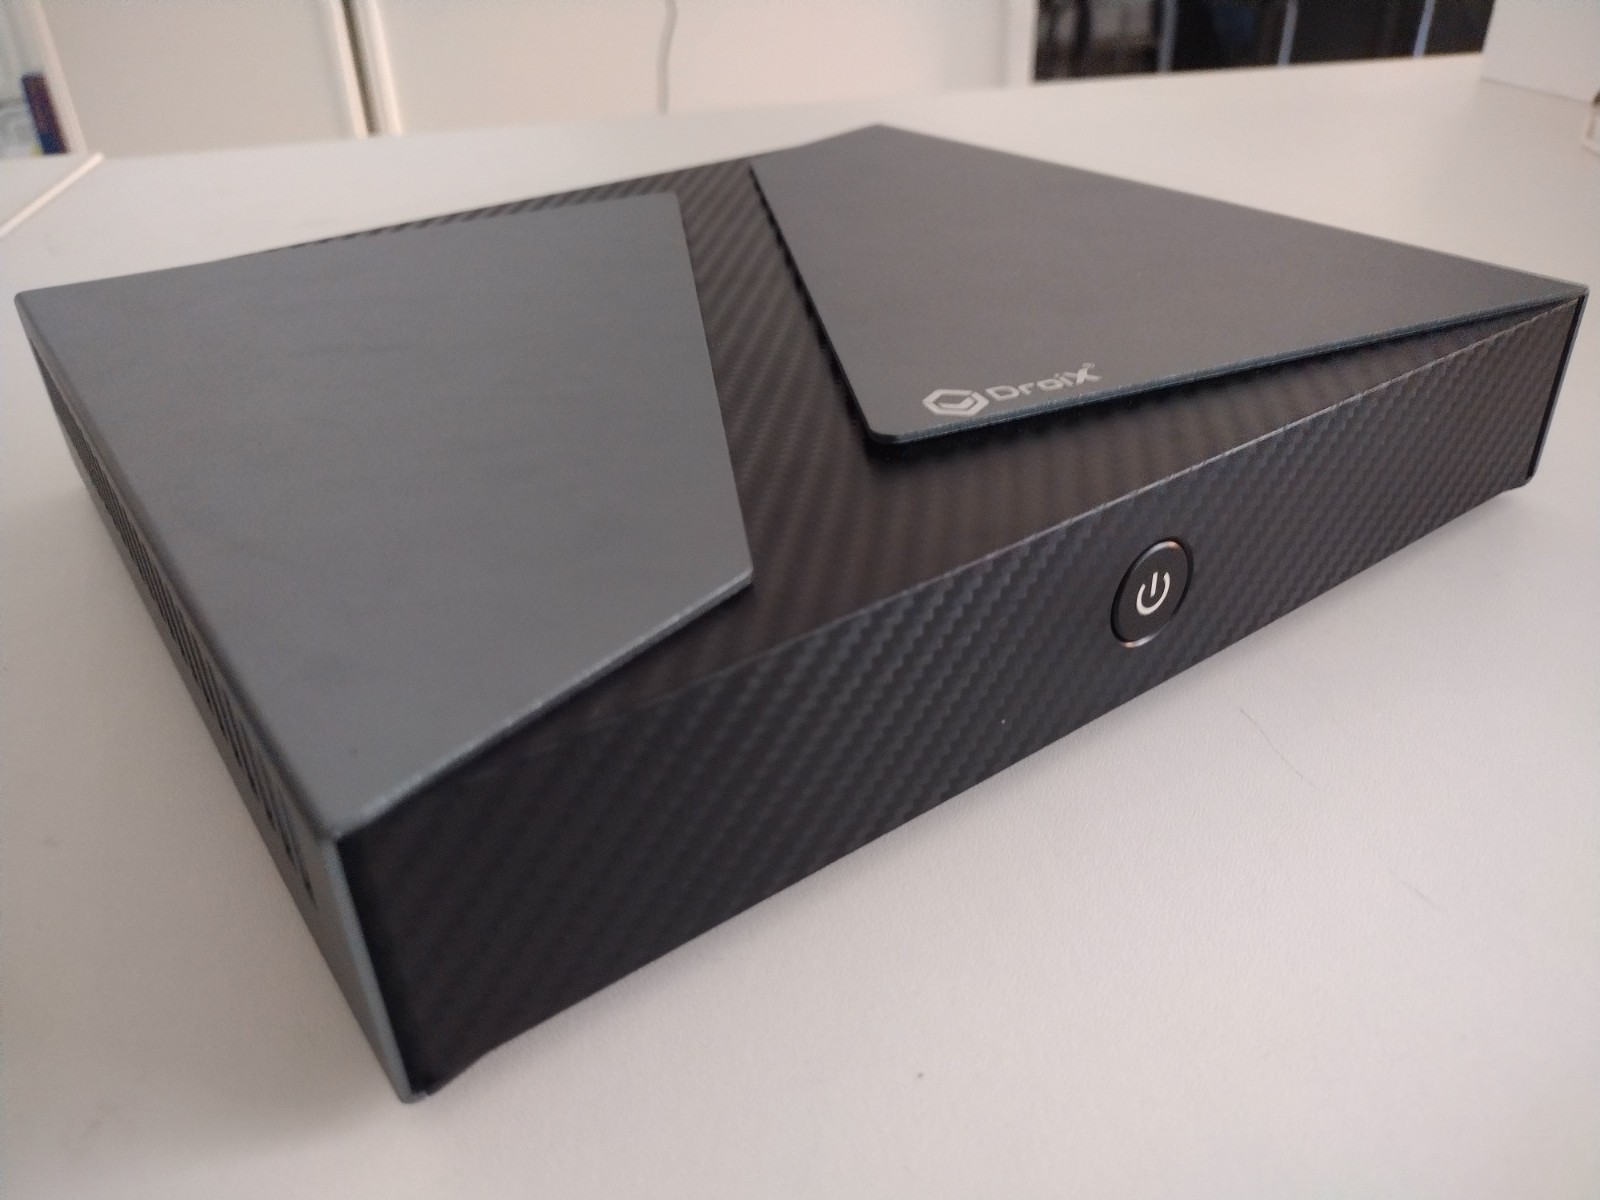
If you are looking to upgrade your DroiX Stheno mini PC, we at DroiX have put together a short guide to help you disassemble the unit and upgrade your device as soon as possible.
Step 1 – Remove the rear panel
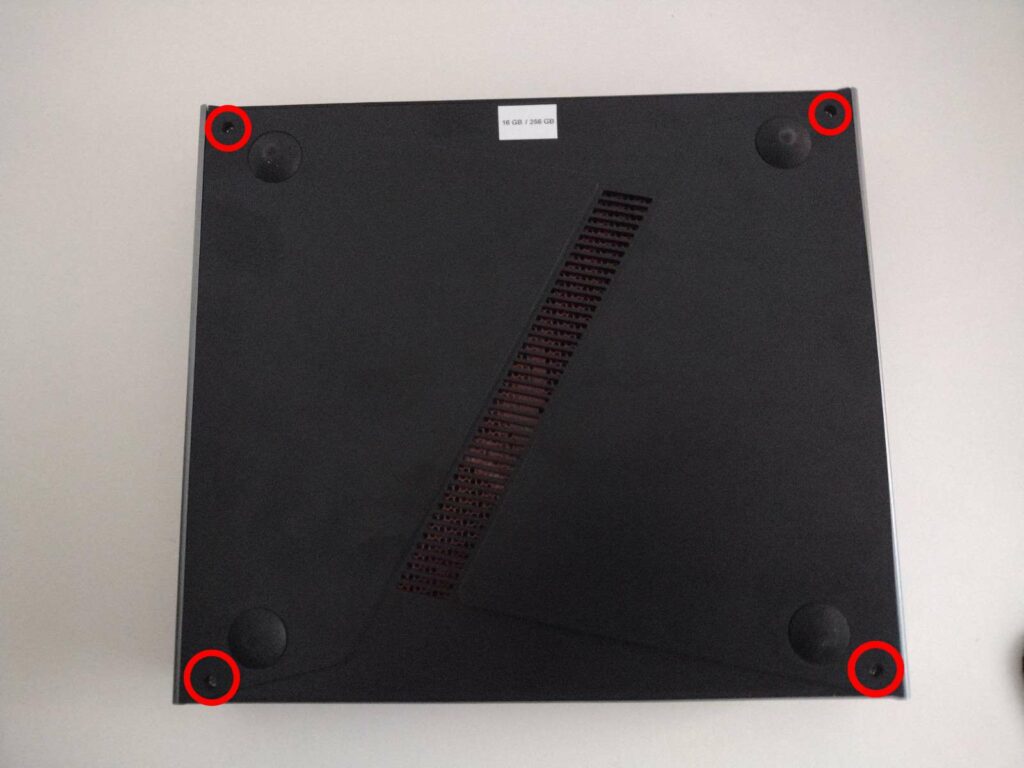
To access the mini PC, you will first need to remove the rear of the unit.
First, loosen the four screws located in the corners of the rear panel. You will then need to pry away the panel using a plastic spudger or a similar tool.
Step 2 – Replacing The Components
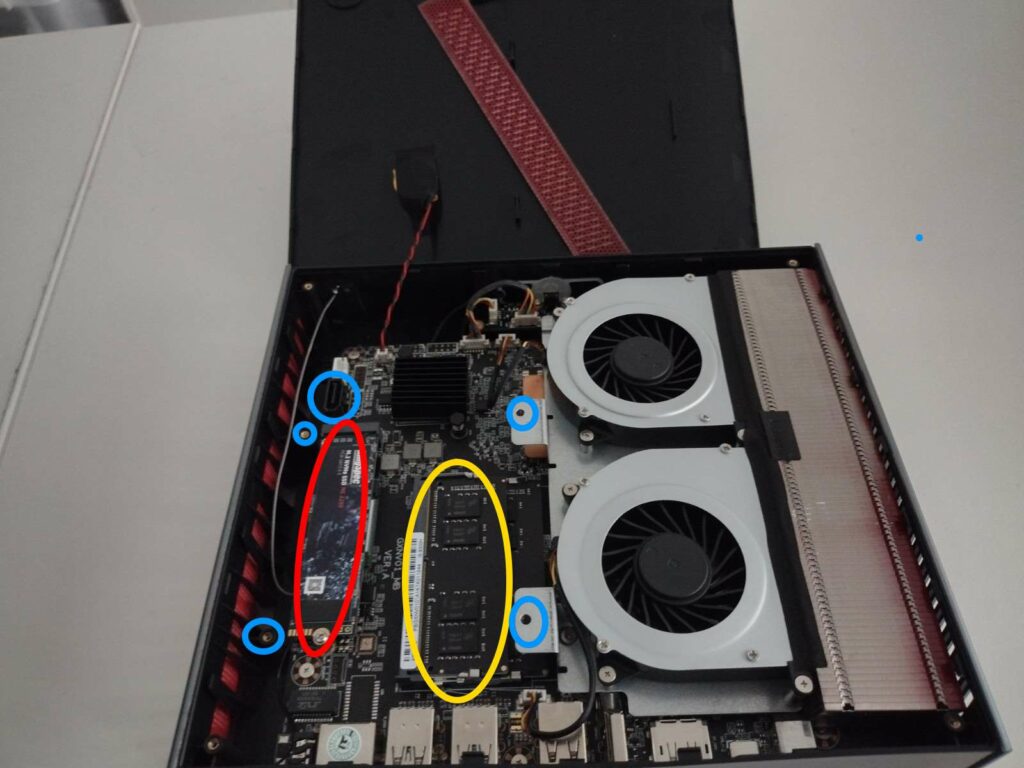
You will now be inside the mini PC – be careful, as the system will likely be connected to the lid via a wired battery.
To replace the M.2 SSD (circled in red), loosen the screw at the end of the socket, and you can then insert/remove the M.2 SSD as you please.
To change the RAM (outlined in yellow), you lightly pull the securing clips on the sides of the RAM sticks outward, until the stick springs up by itself. You can then pull it out without resistance.
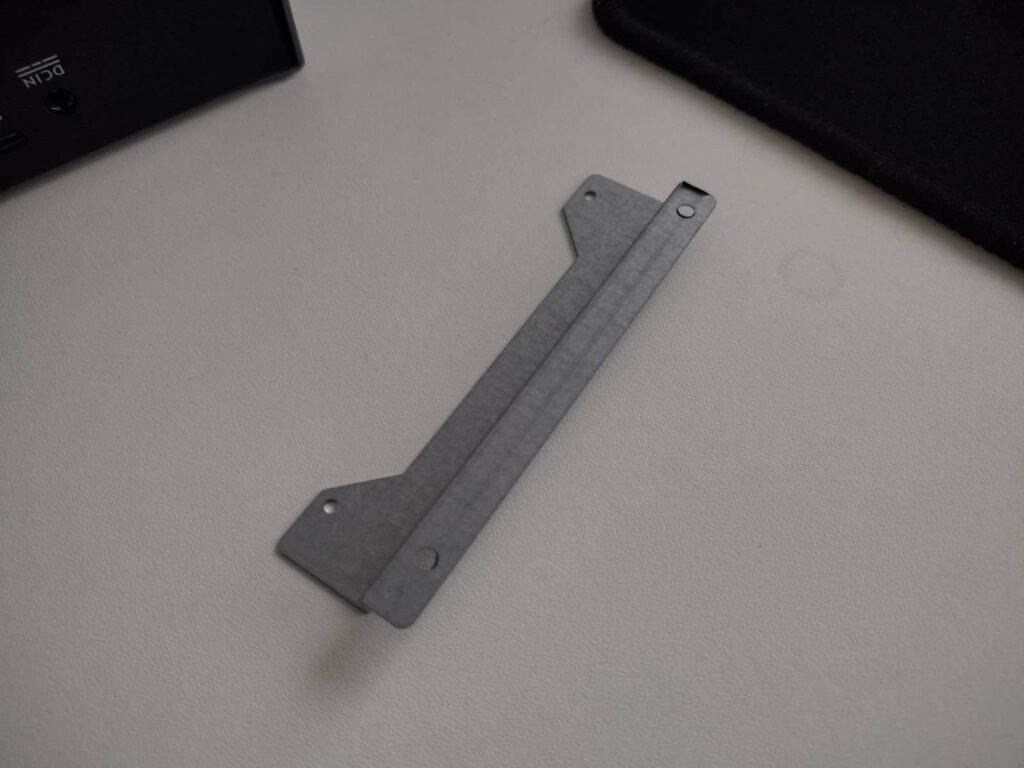
The light blue circle indicates the interface for the SATA cable (which will be included in your package). You can connect a 2.5-inch HDD or SSD to this location. The screw holes for part of the mounting bracket are also circled.