
This guide is applicable for the following mini PC models:
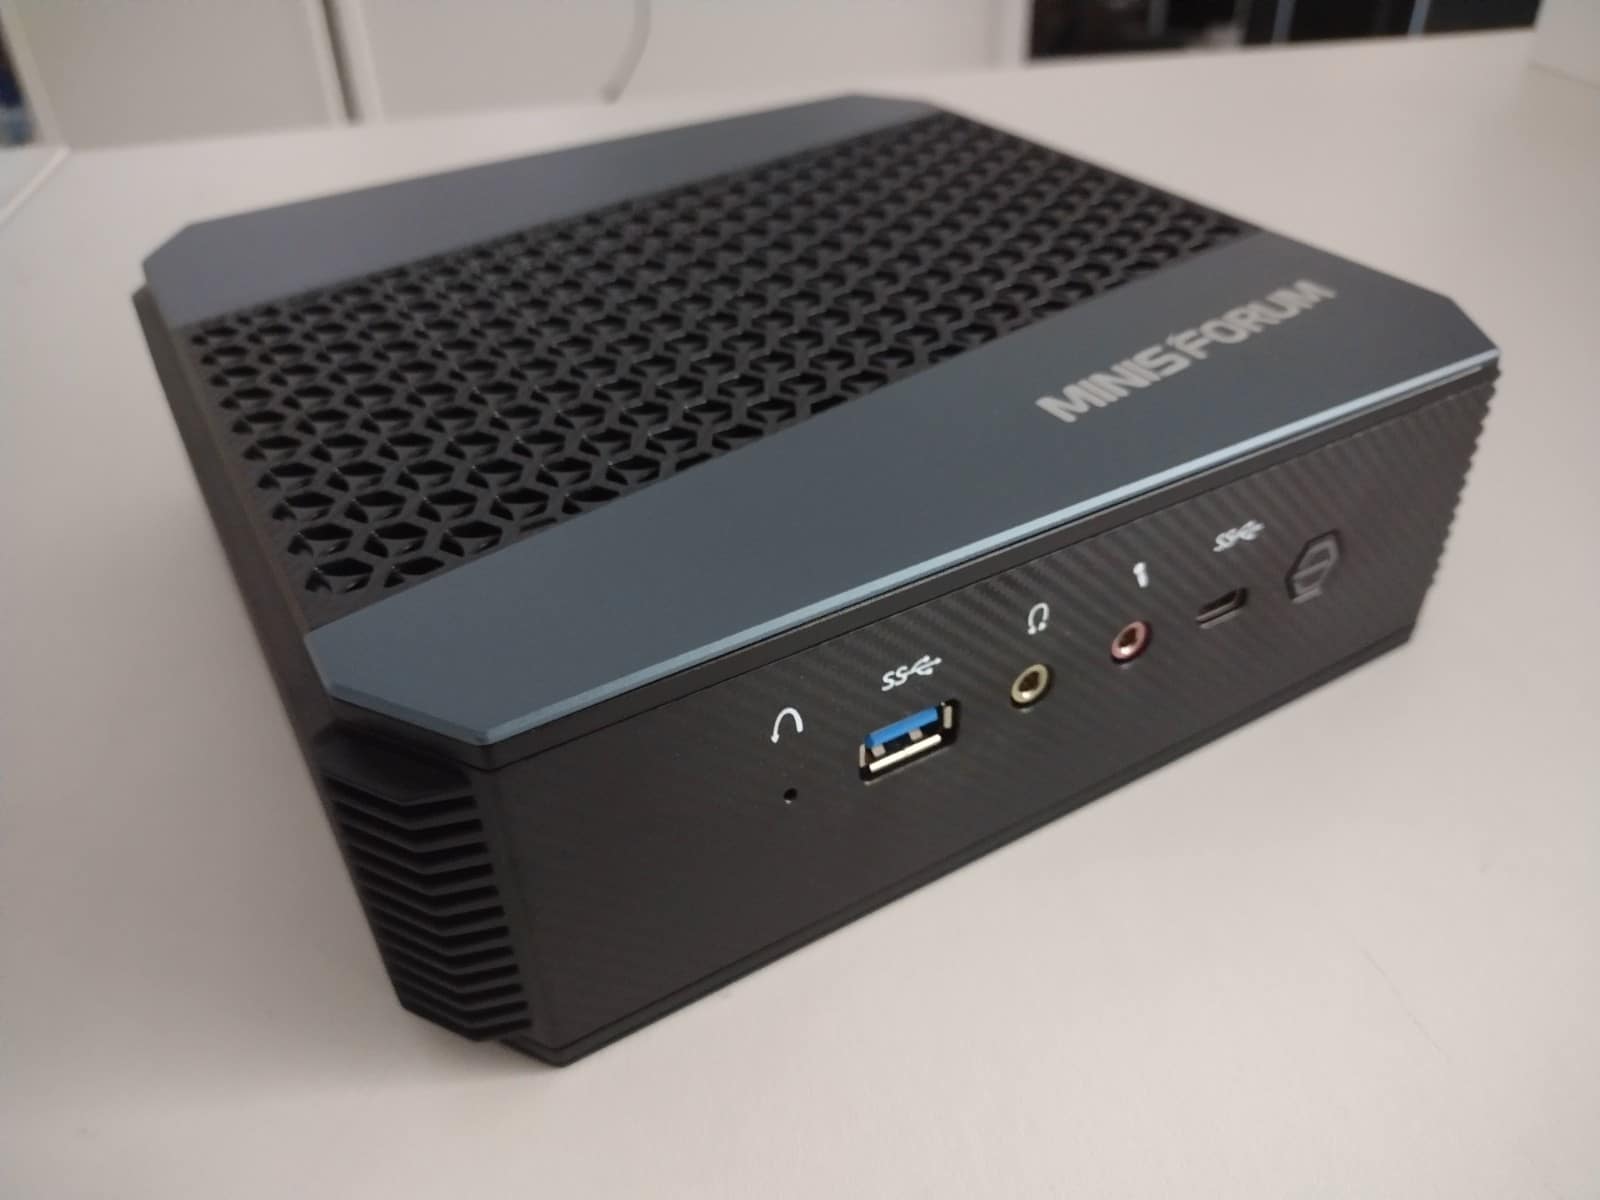
If you are looking to upgrade your MinisForum HX90, we at DroiX have put together a short guide to help you disassemble the unit and upgrade your device as soon as possible.
Step 1 – Remove the rear panel
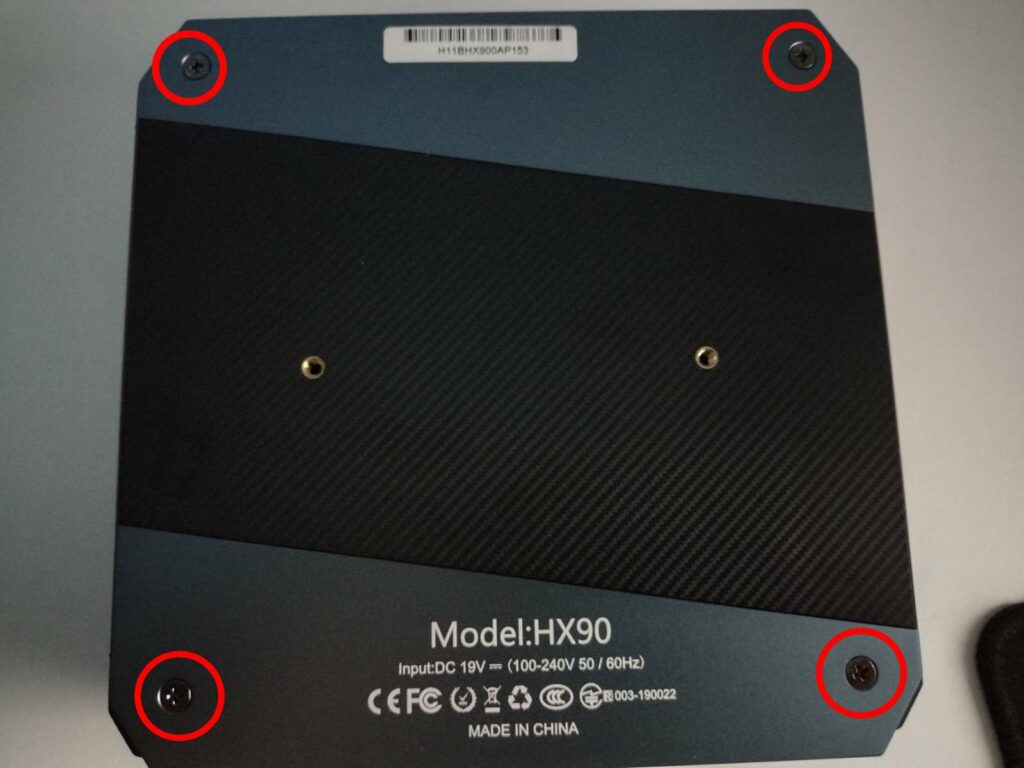
To access the mini PC, you will first need to remove the rear of the unit.
First, loosen the four screws located in the corners of the rear panel. You will then need to pry away the panel using a plastic spudger or a similar tool.
Step 2 – Replacing The Components
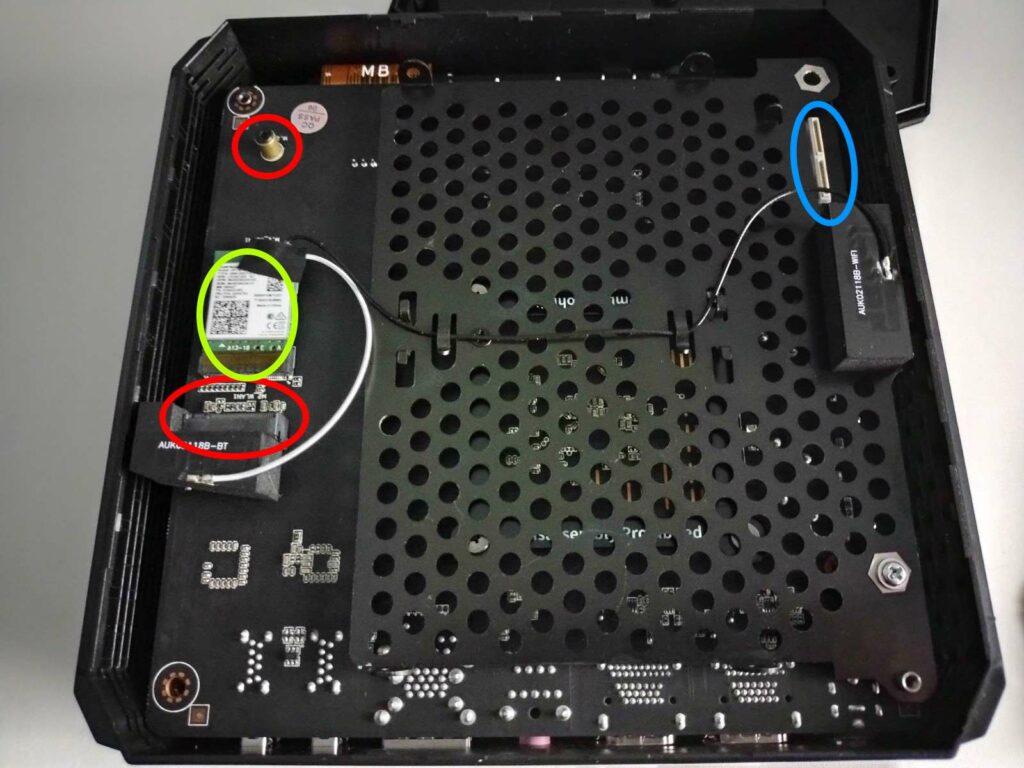
The HX90’s design is slightly different from other mini PCs. When you first open it, you’ll be met with two slots.
The M.2 NVMe SSD slot (whose main parts are outlined in red). And the drive bay (the large hole-filled plate). The Wi-Fi chip is also present (outlined in green).
To replace the M.2 SSD (circled in red), loosen the screw at the end of the socket, and you can then insert/remove the M.2 SSD as you please.
The light blue circle indicates the interfaces for the SATA cables (which will be included in your package). Through these, you can connect up to two 2.5-inch SSDs or HDDs up to the unit on the drive bay.
Now to access the rest of the device, you will need to lift the PCB out. Our suggested way to do this is to turn the device upside down, and try to lift up the shell. Be very careful, as the PCB is attached to the shell on the side of the front panel (via a ribbon cable).
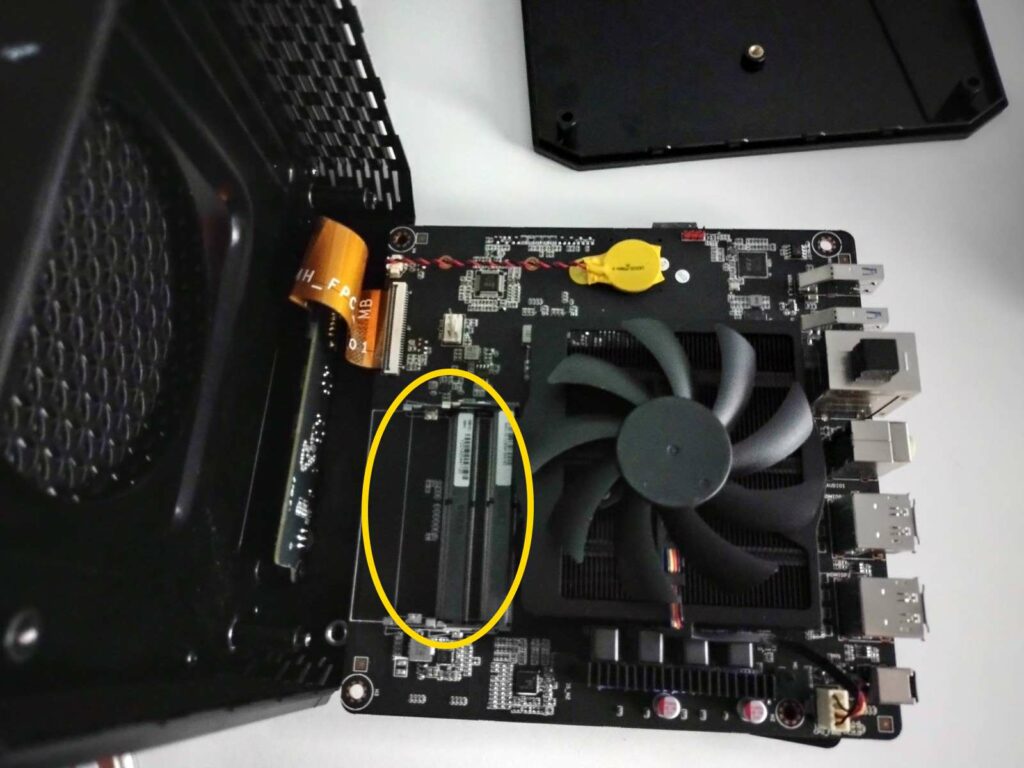
To change the RAM (outlined in yellow), you lightly pull the securing clips on the sides of the RAM sticks outward, until the stick springs up by itself. You can then pull it out without resistance.
