
In this article
- Download the right firmware
- Extract the firmware
- Back up your SD card (Optional)
- Format your SD Card (Optional)
- Install the Custom Firmware
[Update 2021/11/09] This guide is somewhat outdated. Check out our new comprehensive custom firmware guide for the RG351P, RG351V, and more!]
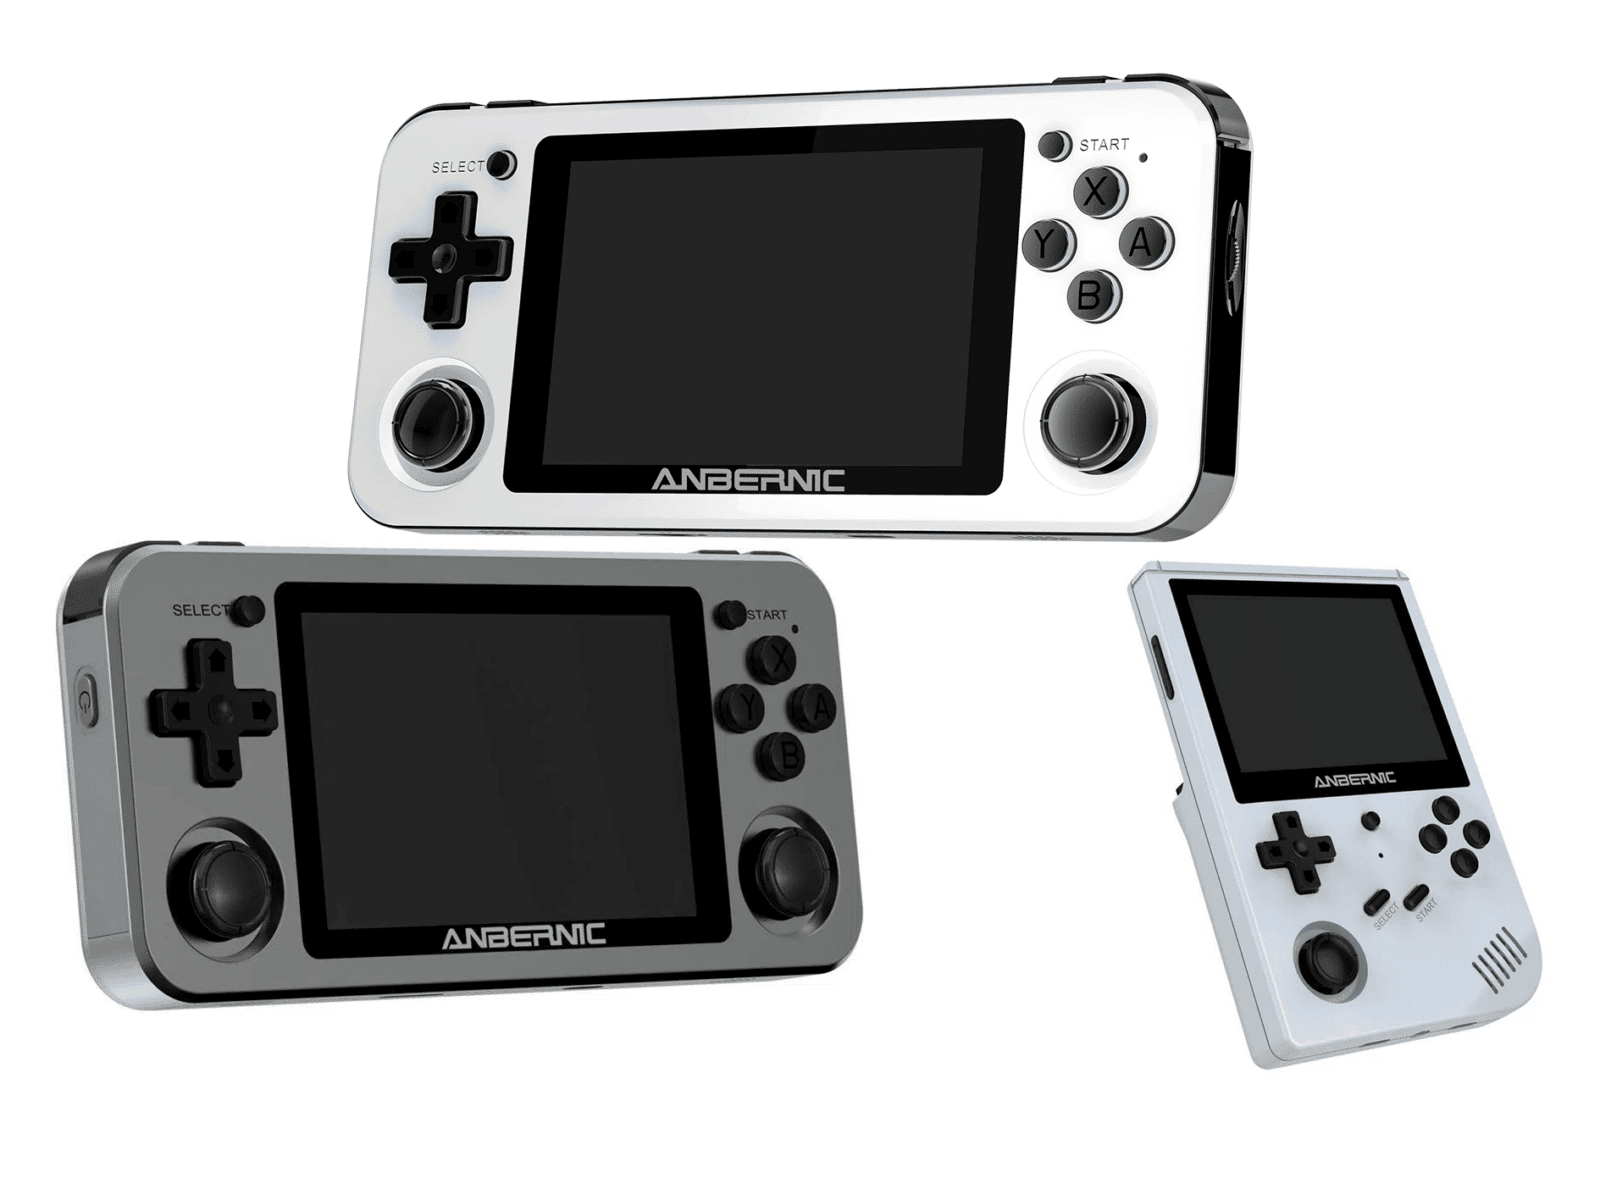
The following article is a simple guide intended to help you install custom firmware on your RG351P, RG351V, or RG351M.
The benefits of custom firmware are numerous, including:
- An expanded selection of emulators
- Increased performance in games
- Expanded feature-sets for the device (depending on the specific firmware)
There are multiple custom firmwares out their for the RG351 family of devices, but the one we’ll be going over how to install today is 351ELEC – the first custom firmware developed for the RG351P/M/V, and the one that we believe to provide the most straightforward, no-frills improvement over the stock version of the firmware.
To install the custom firmware, you will need:
- A microSD card. This can be anywhere from 16GB to 128GB in size (you can attempt to use cards larger than 128GB, although we can’t be sure they’ll work)
- A desktop computer or laptop with a way of accessing the contents of an SD card (a USB card reader, or a built-in microSD card slot)
- The latest 351ELEC Firmware – Which you can find here: https://github.com/351ELEC/351ELEC
- Win32 Disk Imager – Which you can find here: https://sourceforge.net/projects/win32diskimager/
- Software for working with compressed files (.zip, .rar, etc.) – We suggest 7zip: https://www.7-zip.org/
Note for Mac users: While this guide is intended for Windows PC’s, you can achieve similar results using ApplePi Baker
Download the right firmware
The latest 351ELEC firmware can be downloaded from here: https://github.com/351ELEC/351ELEC/releases
There will be two versions of the firmware. One version for the RG351P/RG351M, and a separate one for the RG351V (which needs its own version due to hardware differences).
Download the .img.gz that matches your device.
Extract the firmware
With your image compression software of choice (WinZIP, WinRAR, 7zip, etc.), extract the img.gz file you have downloaded.
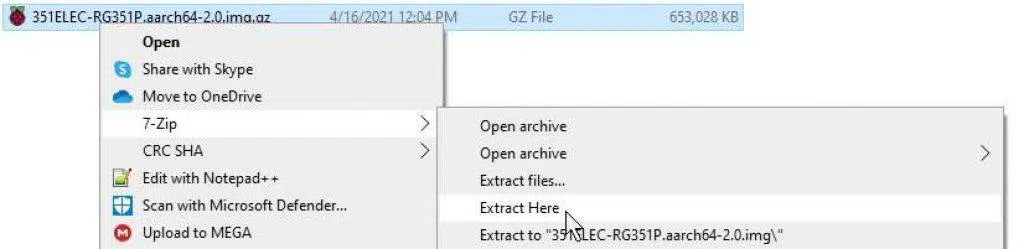
You’ll then have a regular image file. Which can be used to install the firmware on your device in a moment.
Back up your SD card (Optional)
Note: This step is only applicable if you are using a used SD card (i.e., if you are using the SD card that came with your RG351P/M/V), or another card with firmware on it.
It is important that you back up your files before attempting to install new firmware on it, as this firmware installation will wipe the contents your microSD card.
Here is one way to do it (if you have an alternative way, feel free to do so):
- Install Win32 Disk Imager
- Insert your SD card into your computer
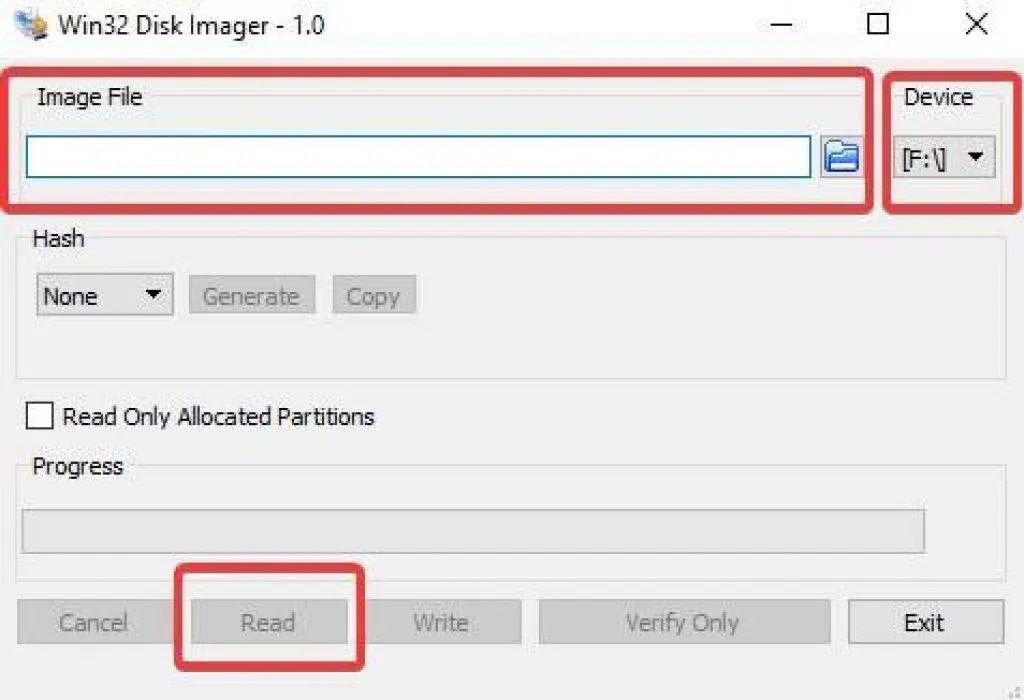
- Start Win32 Disk Imager
- Under “Image File”, click the blue folder icon, and select a name/ location for the file (make sure to add the .img at the end of the name, as Win32 Disk Imager will not do this automatically)
- Under “Device”, select the drive letter that corresponds to your SD card (note that if your card has multiple partitions, Win32DiskImager will copy them all)
- Select “Read”, and the program will create an image file which you can use to restore the SD card, or prepare additional SD cards.
Format your SD Card (Optional)
Note: This step is only applicable if you are using an SD card that is unreadable due to it not being formatted. If you can already access the contents of your SD card, you can ignore this step.
Take your SD card and format it as NTFS (the actual format doesn’t really matter, as long as it is a format that your computer can read/write to).
Windows 10 can do this natively (right click the SD card in your navigation pane, and select format). However, there are a wide variety of third-party tools that you can also use to do this, such as MiniTool’s PartitionWizard.
This image is just provided as an example of how the format menu will look!
Install the Custom Firmware
Now that your SD card is ready, and you have your firmware file on hand, now you can install your image. Install Win32 Disk Imager, and start it up.

Click the blue folder icon under “Image File” to navigate to your custom firmware image and select it.
Under “Device”, select the drive letter that corresponds to your SD card.
Once both of these are done, click “Write”. The firmware will now be installed.
Once the firmware is installed, insert it into your RG351P/M/V and turn it on. The first boot will take longer than usual, as the firmware needs to do some preliminary setup. Once that is done however, you can use the system as normal.
We hope you have found this guide informative. If you have further questions or suggestions, please feel free to leave a comment below!
If you are looking to purchase an RG351P or RG351V of your own, you can do so here on our website at the following links:
https://droix.co.uk/product/rg351v-retro-handheld/
https://droix.co.uk/product/anbernic-rg351m/
https://droix.co.uk/product/anbernic-rg351p-games-console/
Until next time!
