


LATEST REVIEWS
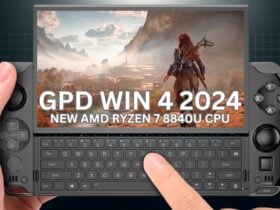
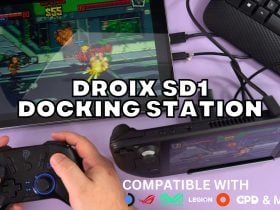
Read more on our GPD WIN 4 2024 review, featuring the new AMD Ryzen 7 8840U CPU and OcuLink port. Learn how it redefines gaming with superior performance and versatility.

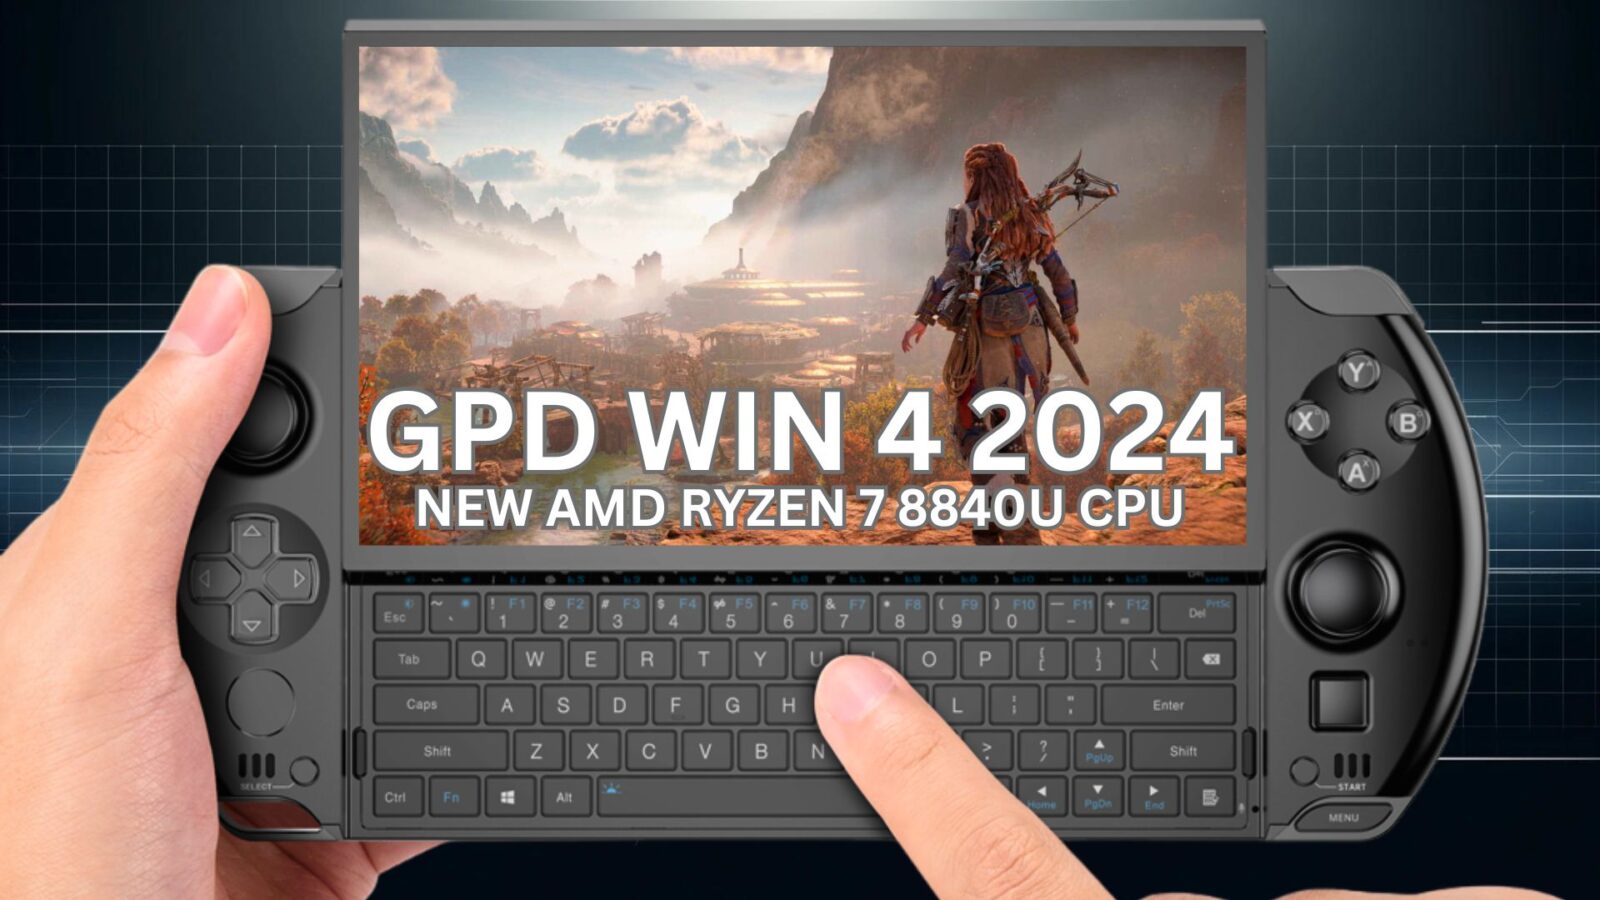
Discover the ultimate handheld gaming PC experience in our latest AYANEO Flip review, highlighting its innovative dual-screen and keyboard models.

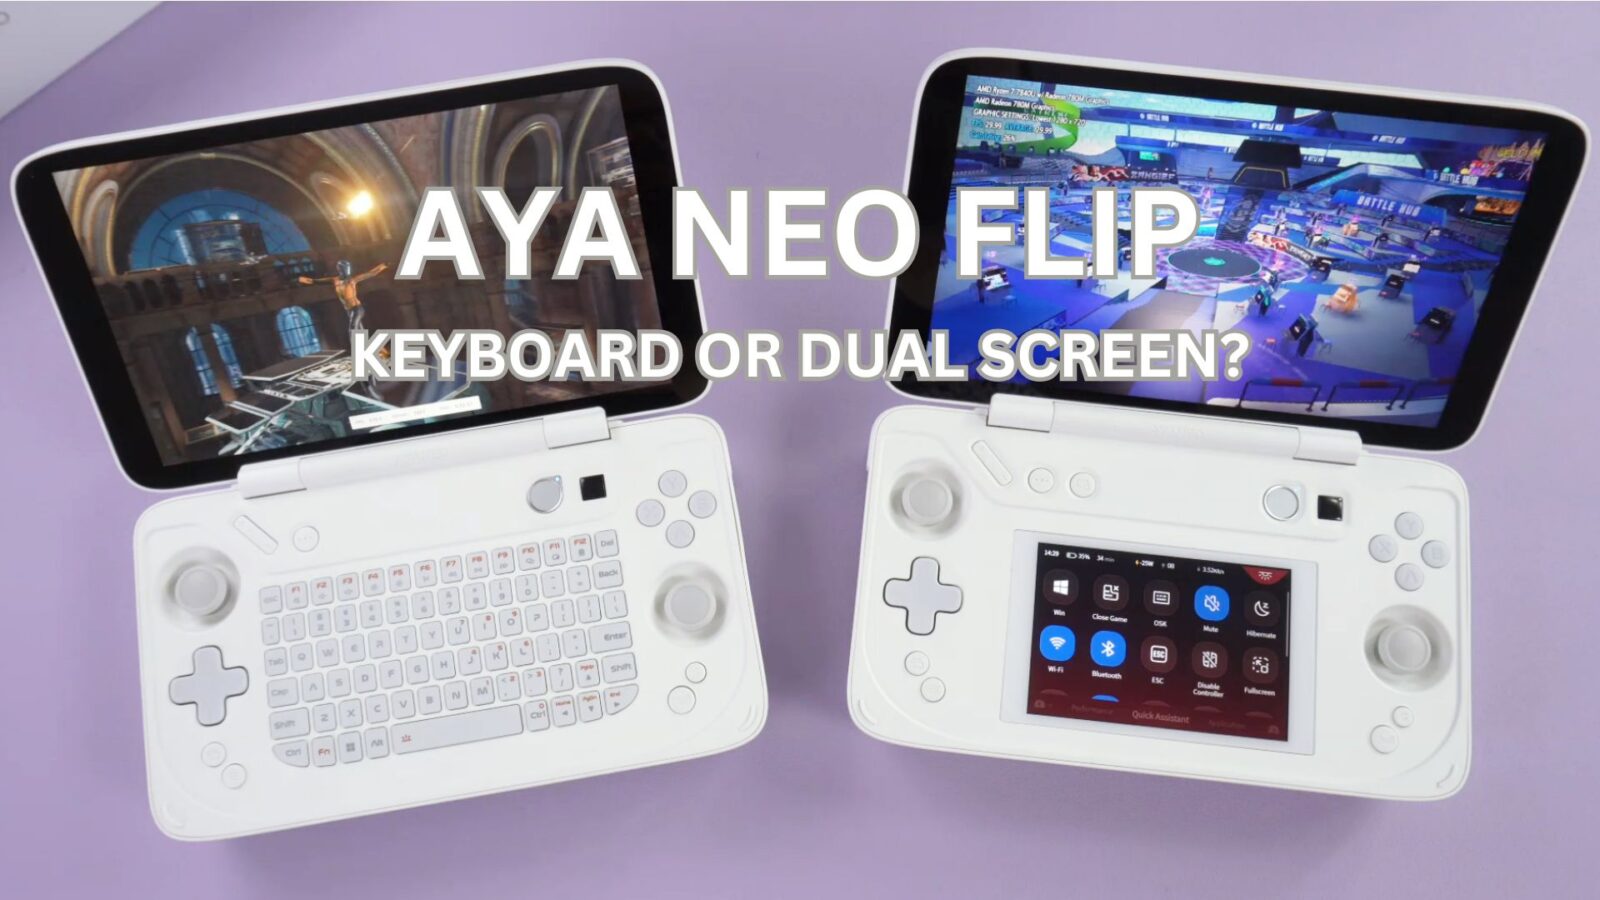
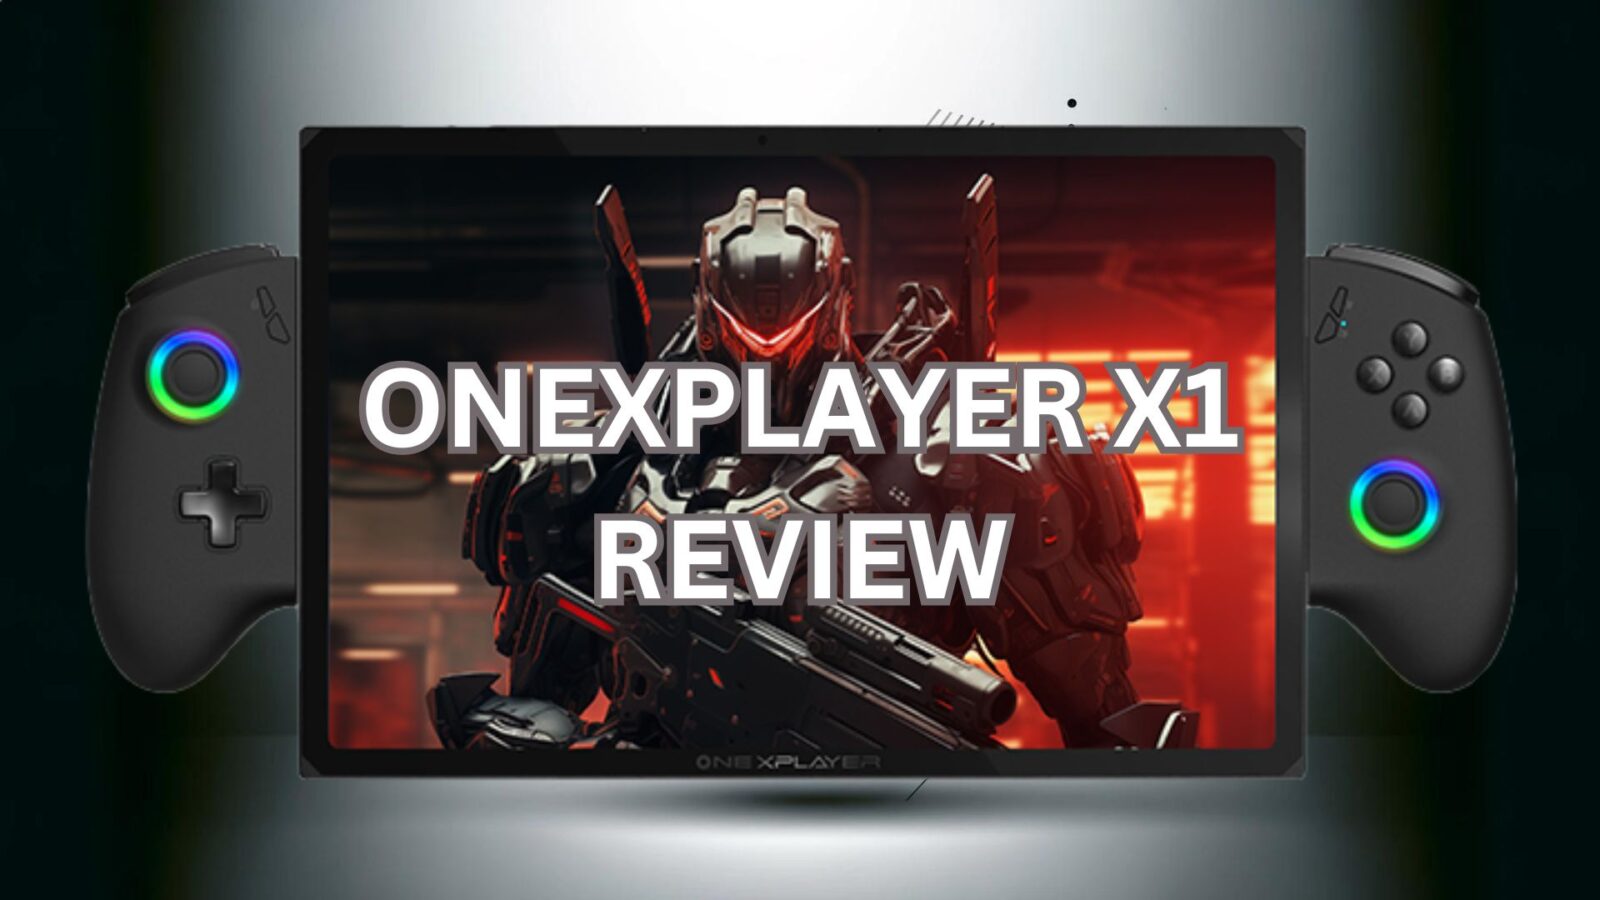
In our ONEXPLAYER X1 review, we explore its unique 3-in-1 gaming handheld, tablet, and laptop functionality.

Discover the ultimate portable computing experience in our ONE Netbook A1 Pro review, exploring its impressive versatility, performance, and design for on-the-go professionals and tech enthusiasts alike.
LATEST EDITORIALS
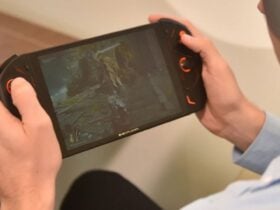
OneXPlayer have announced an update to their OneXPlayer 2 model released last year. Lets see what is new in the OneXPlayer 2Pro handheld gaming PC.
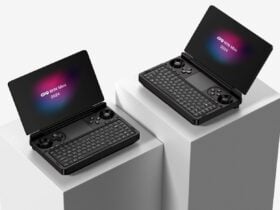
GPD have announced an update to their popular WIN Mini handheld gaming PC. Let's find out what is new in the GPD WIN Mini 2024
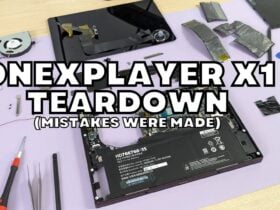
In our ONEXPLAYER X1 teardown we disassemble this handheld gaming PC/tablet and find out what it looks like inside.

AYA NEO have announced the full specs for their Android based AYA NEO Pocket S retro gaming handheld.
LATEST NEWS

Spring into tech this Easter with DroiX! 🌼🎮 From March 12th to April 2nd, ...

Pre-orders for the GPD WIN Mini 2024 are now open! Featuring the new 8840U ...
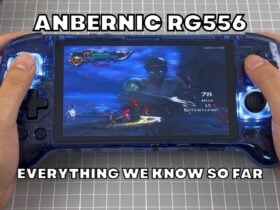
Everything we know so far on the Anbernic RG556 retro gaming handheld. ...

The Anbernic RG35XX Plus pre-orders are now open! Be first in line for the ...

The Retroid Pocket 4 and 4 PRO have officially been announced after some weeks ...

The AYA NEO Pocket Air pre-orders now open! Experience next-gen gaming with its powerful ...
GAMING
Discover the ultimate handheld gaming PC experience in our latest ...


LATEST ANNOUNCEMENTS
Read more on our GPD WIN 4 2024 review, featuring ...

MINI PC


FROM DROIX
DroiX has joined forces with Acepc, a renowned leader in ...