
With Windows 11 being available to the general public since October last year. More and more people are currently looking for potential upgrade paths to Microsoft’s latest OS.
If you’ve recently bought a computer but are unable to upgrade to Windows 11 like you expected, the answer may NOT be buying a new PC.
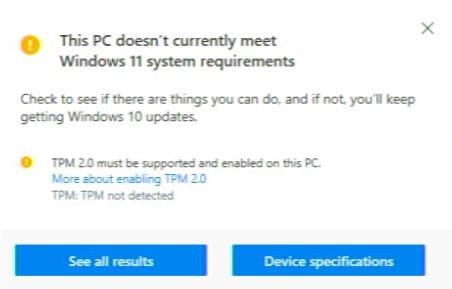
It’s possible that your computer may simply have had it’s TPM 2.0 component disabled. Learn what TPM is, and how to enable it on your computer in this guide.
What is TPM 2.0
The Trusted Platform Module is (an international standard for) a dedicated microcontroller that can be present somewhere on a PC’s motherboard, or within its CPU.
It is what is known as a “secure cryptoprocessor”, and is designed to secure the hardware of a given system through the use of cryptographic keys.
TPM plays a crucial role in platform integrity. Ensuring that the functions of the hardware are not compromised by malicious actors (i.e., malware, infected hardware).
Common uses of the TPM include full-disk-encryption. Which protects the contents of a drive from unwillingly being accessed by third parties.
TPM is also often used in digital rights management (DRM) solutions. As the TPM is capable of generating cryptographically secure keys, the unlawful transferral of digital licenses can be more easily prevented.
TPM 2.0 is the newest iteration of the TPM standard that has been in circulation since 2014. TPMs however were a feature that was typically only reserved for enterprise environments, where cybersecurity is taken much more seriously. Your average user did not need, want, or probably even know about its existence until Microsoft announced TPM 2.0 as a requirement for Windows 11.
Enabling TPM 2.0
If your computer is confirmed to support TPM 2.0, but the PC Health Check app is still telling you that you can’t upgrade, it’s possible that the Trusted Platform component of your system may be disabled.
To enable it, you’ll need to venture into your system’s BIOS to flick some switches.
Enter the BIOS
Entering the BIOS can be performed in one of two ways;
- The first way is to access it at boot time. Press ESC, F1, F2 or whatever else your PC designates as the interrupt button during the booting period of the PC.
- The second, longer but more consistent way to do so is through Windows’s Advanced Startup Options.
We’ll briefly go over the latter here.
In the Windows start menu, select the power button, then select restart while holding the LEFT SHIFT key.
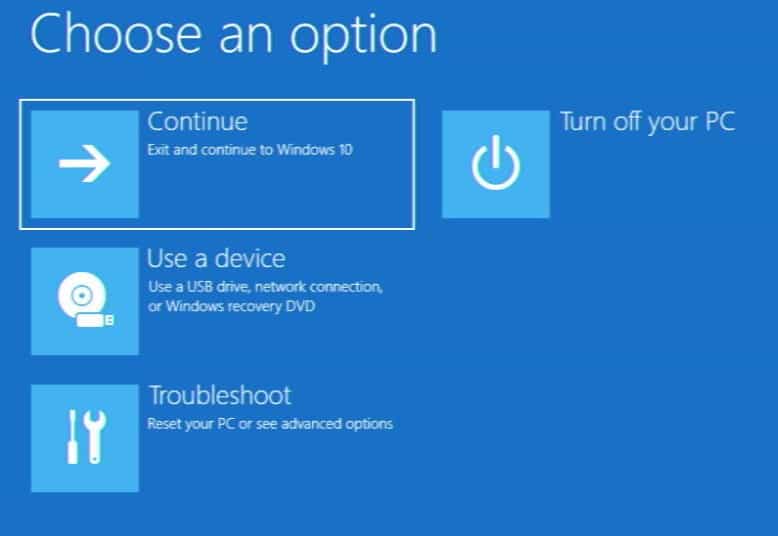
This will bring you into the Advanced Startup options.
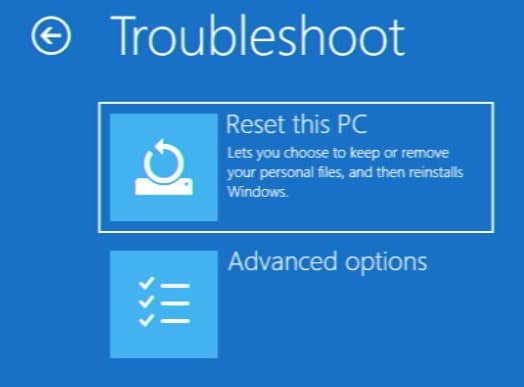
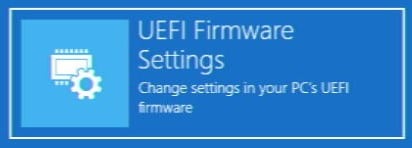
From here, select Troubleshoot, Advanced Options, then finally UEFI Firmware Settings. This will reboot the PC straight into the BIOS.
Navigating the BIOS
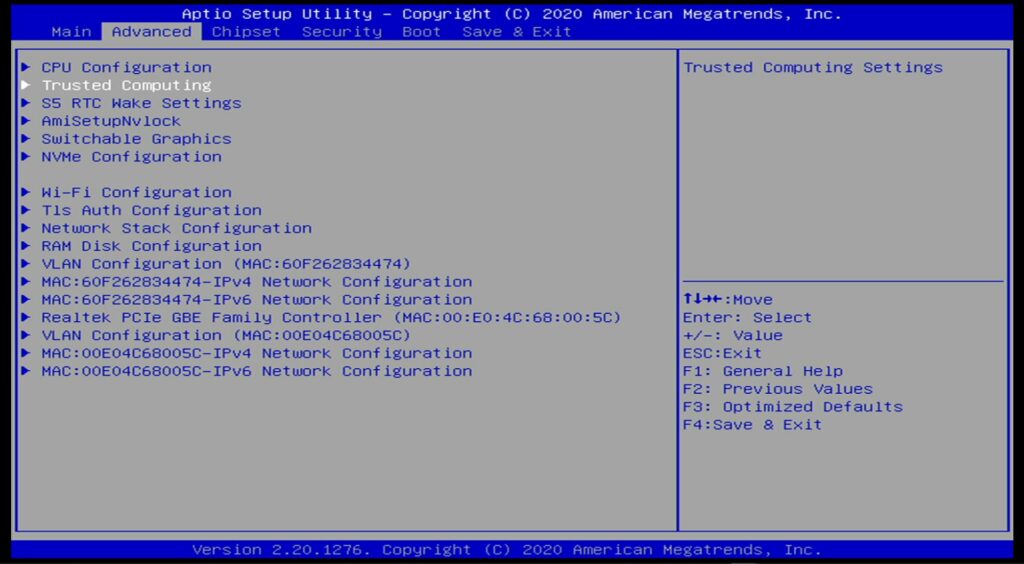
Now that you’re in the BIOS, you’ll need to locate the Trusted Platform settings for your system. You can use the arrow keys and ENTER/ESC to move around.
This will look slightly different depending on exactly what device you’re using. In this guide, I’m using the DroiX Proteus 10 as an example.
Navigate to the “Advanced” section and select. “Trusted Computing”.
Set the Security Device Support to enabled, and you’re good to go! You can then go back (hit ESC), navigate to Save & Exit, then select Save Changes and Exit.
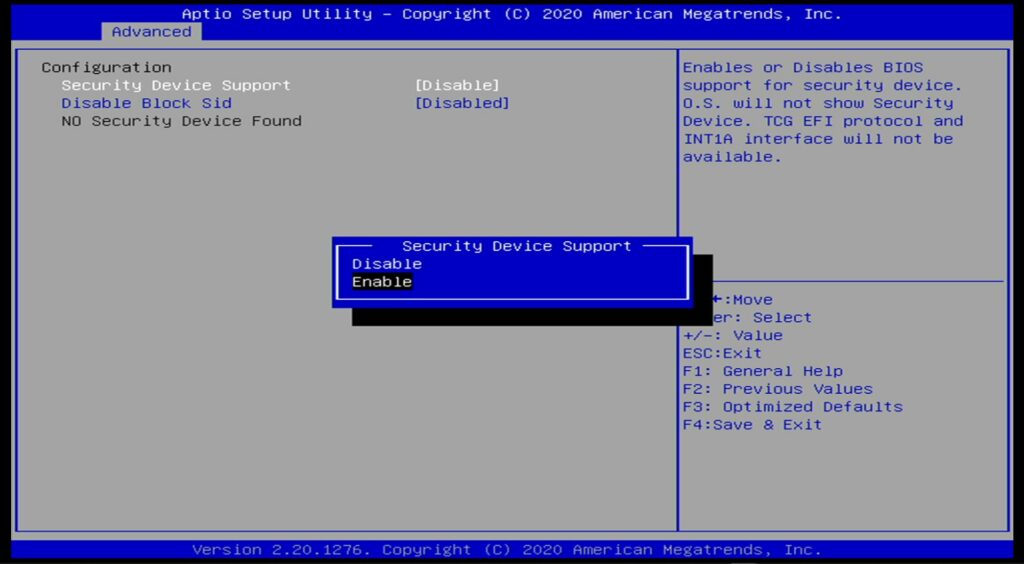
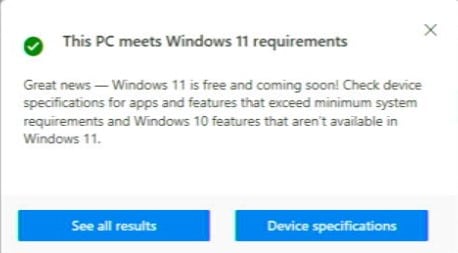
Now, assuming that the only limitation was a lack of TPM, your system should now be eligible to upgrade to Windows 11!
What to do if it is still not compatible
If you are unable to upgrade your PC after this process, there are two things you could do.
- The first of these is to bypass the Windows 11 restrictions. We have a handy guide for this here. Please note however that this is not without it’s own potential problems, and you should only attempt this at your own risk.
- The second is to purchase a different model! We at DroiX have compiled a selection of mini PC’s that we have confirmed to run Windows 11. See the DroiX Windows 11 PC range here.
